Category: DIY projects

Where we have found peace

This is the first time I have sat down — alone, just to sit — since my last blog post.

Life has been cray to the zee.

But oh so wonderful.

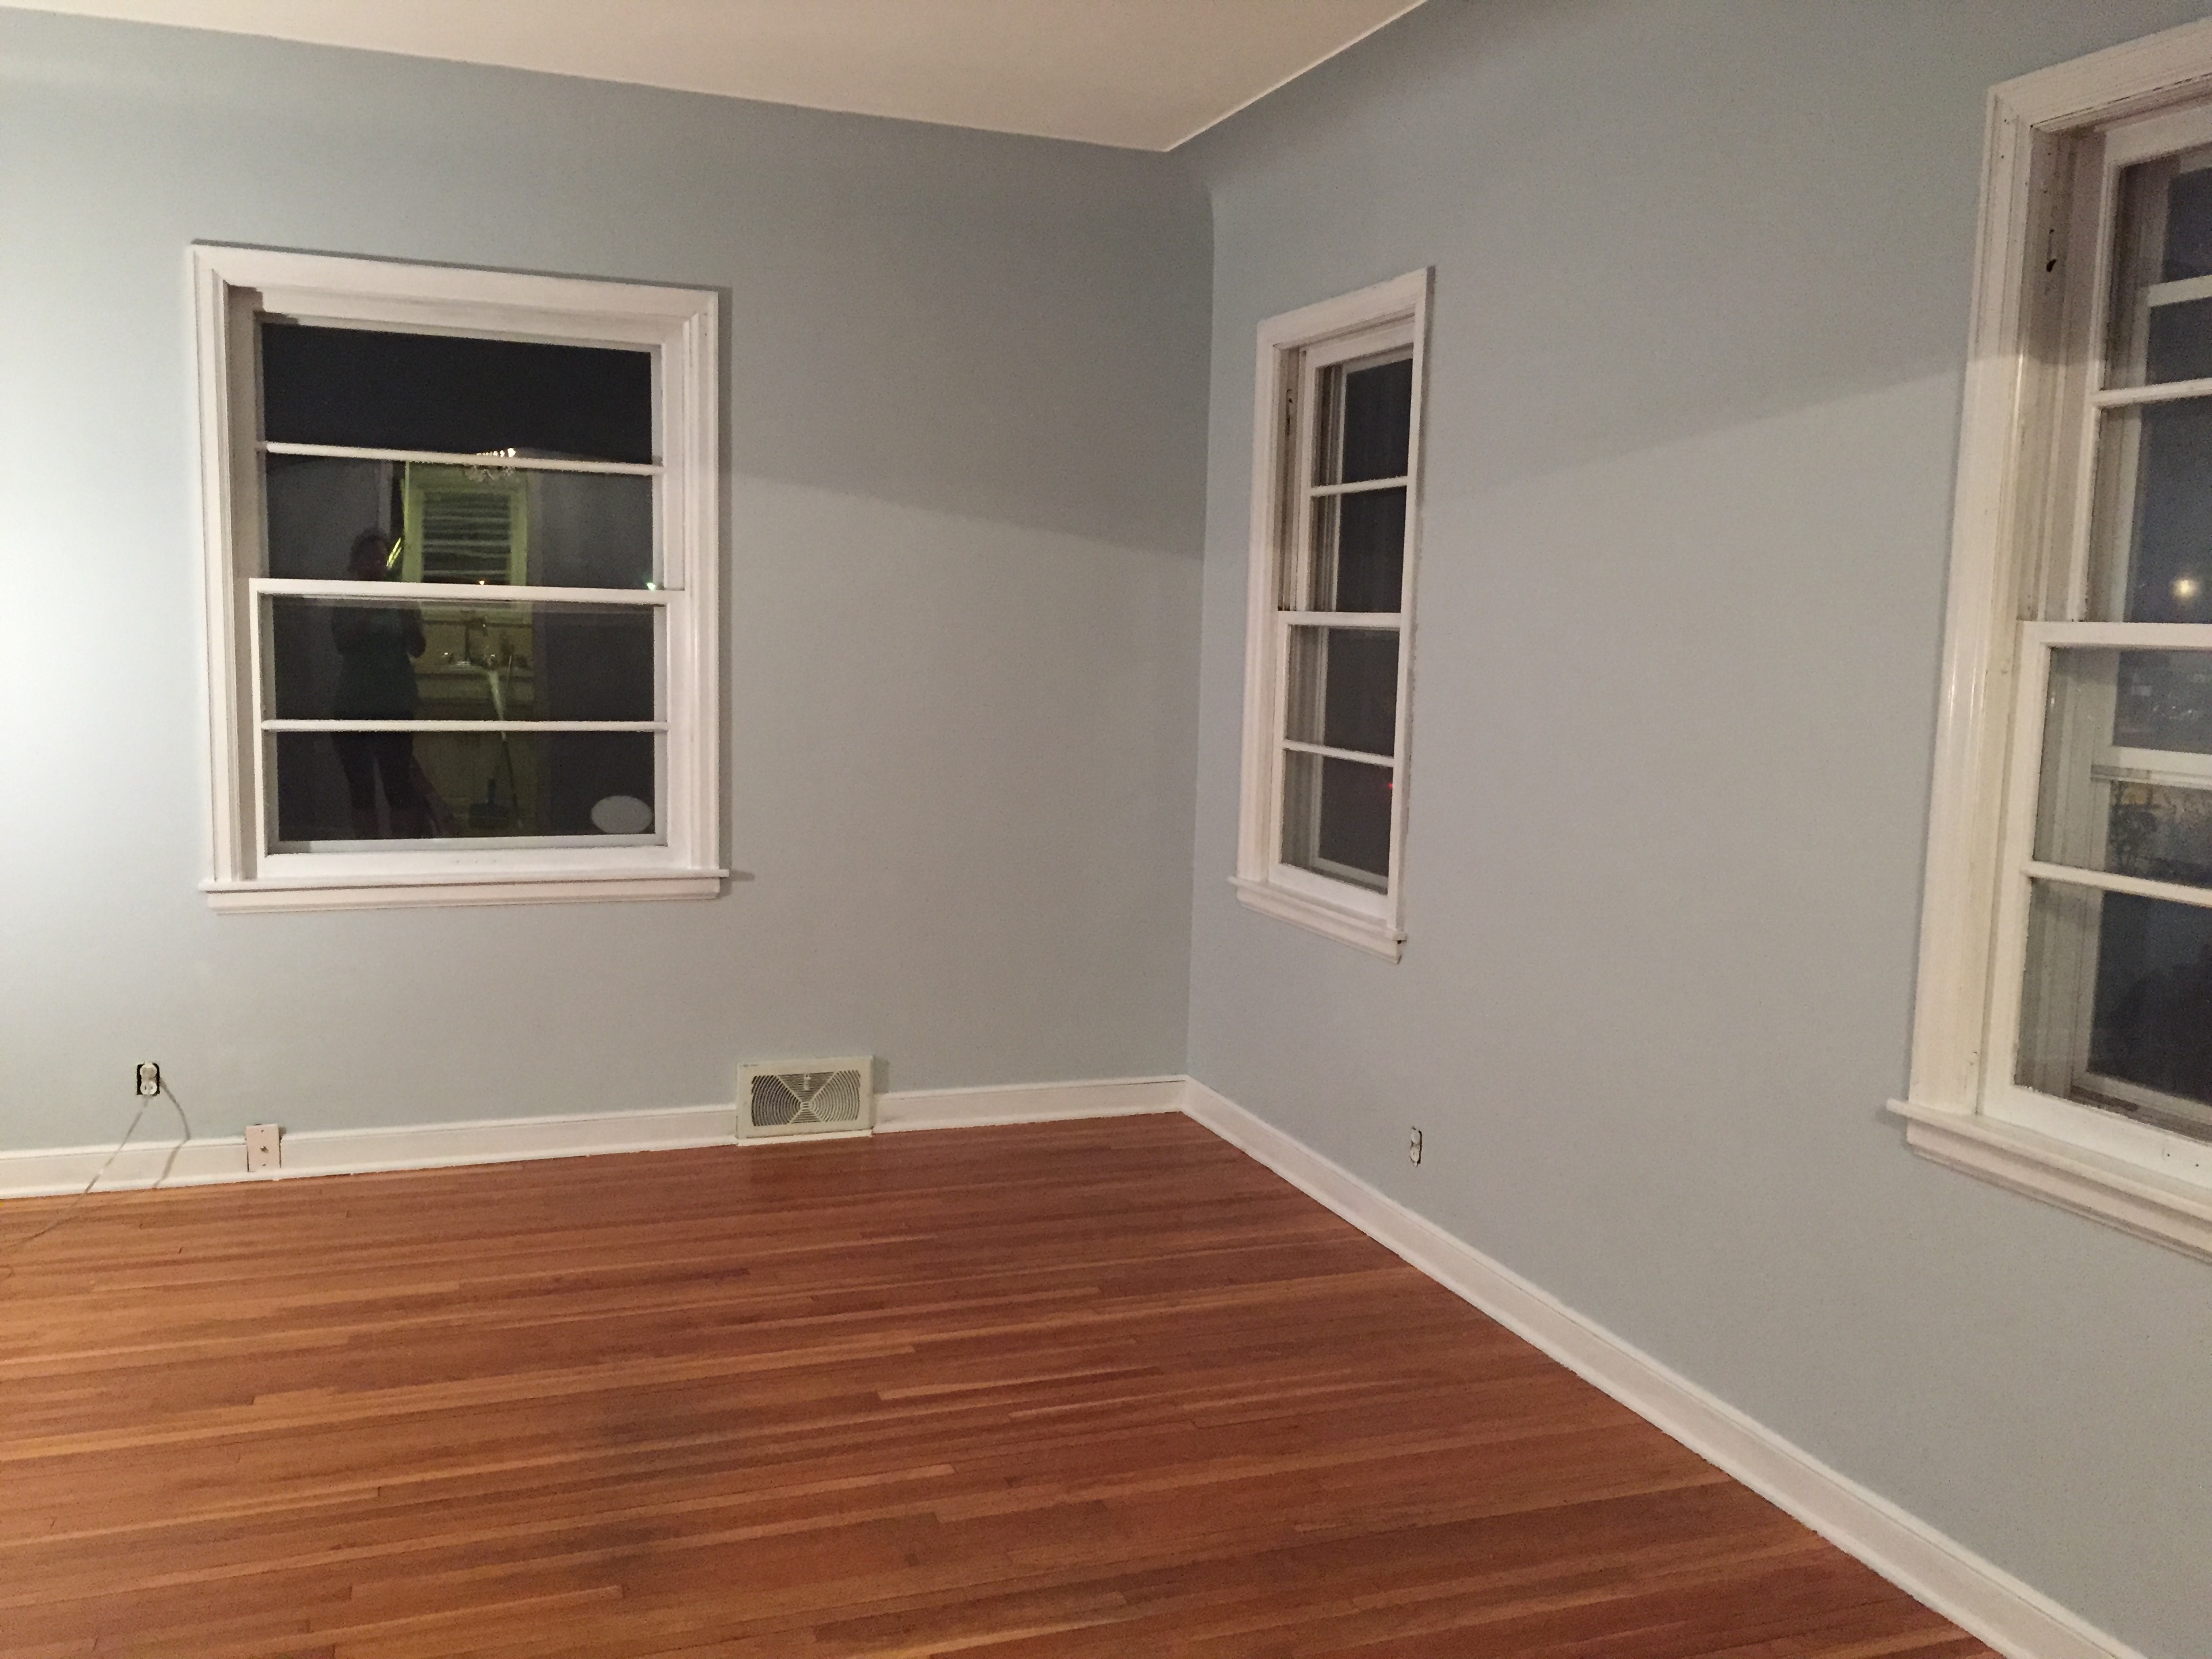
April 7, we bought a house.

IMG_4735

Then we started packing…

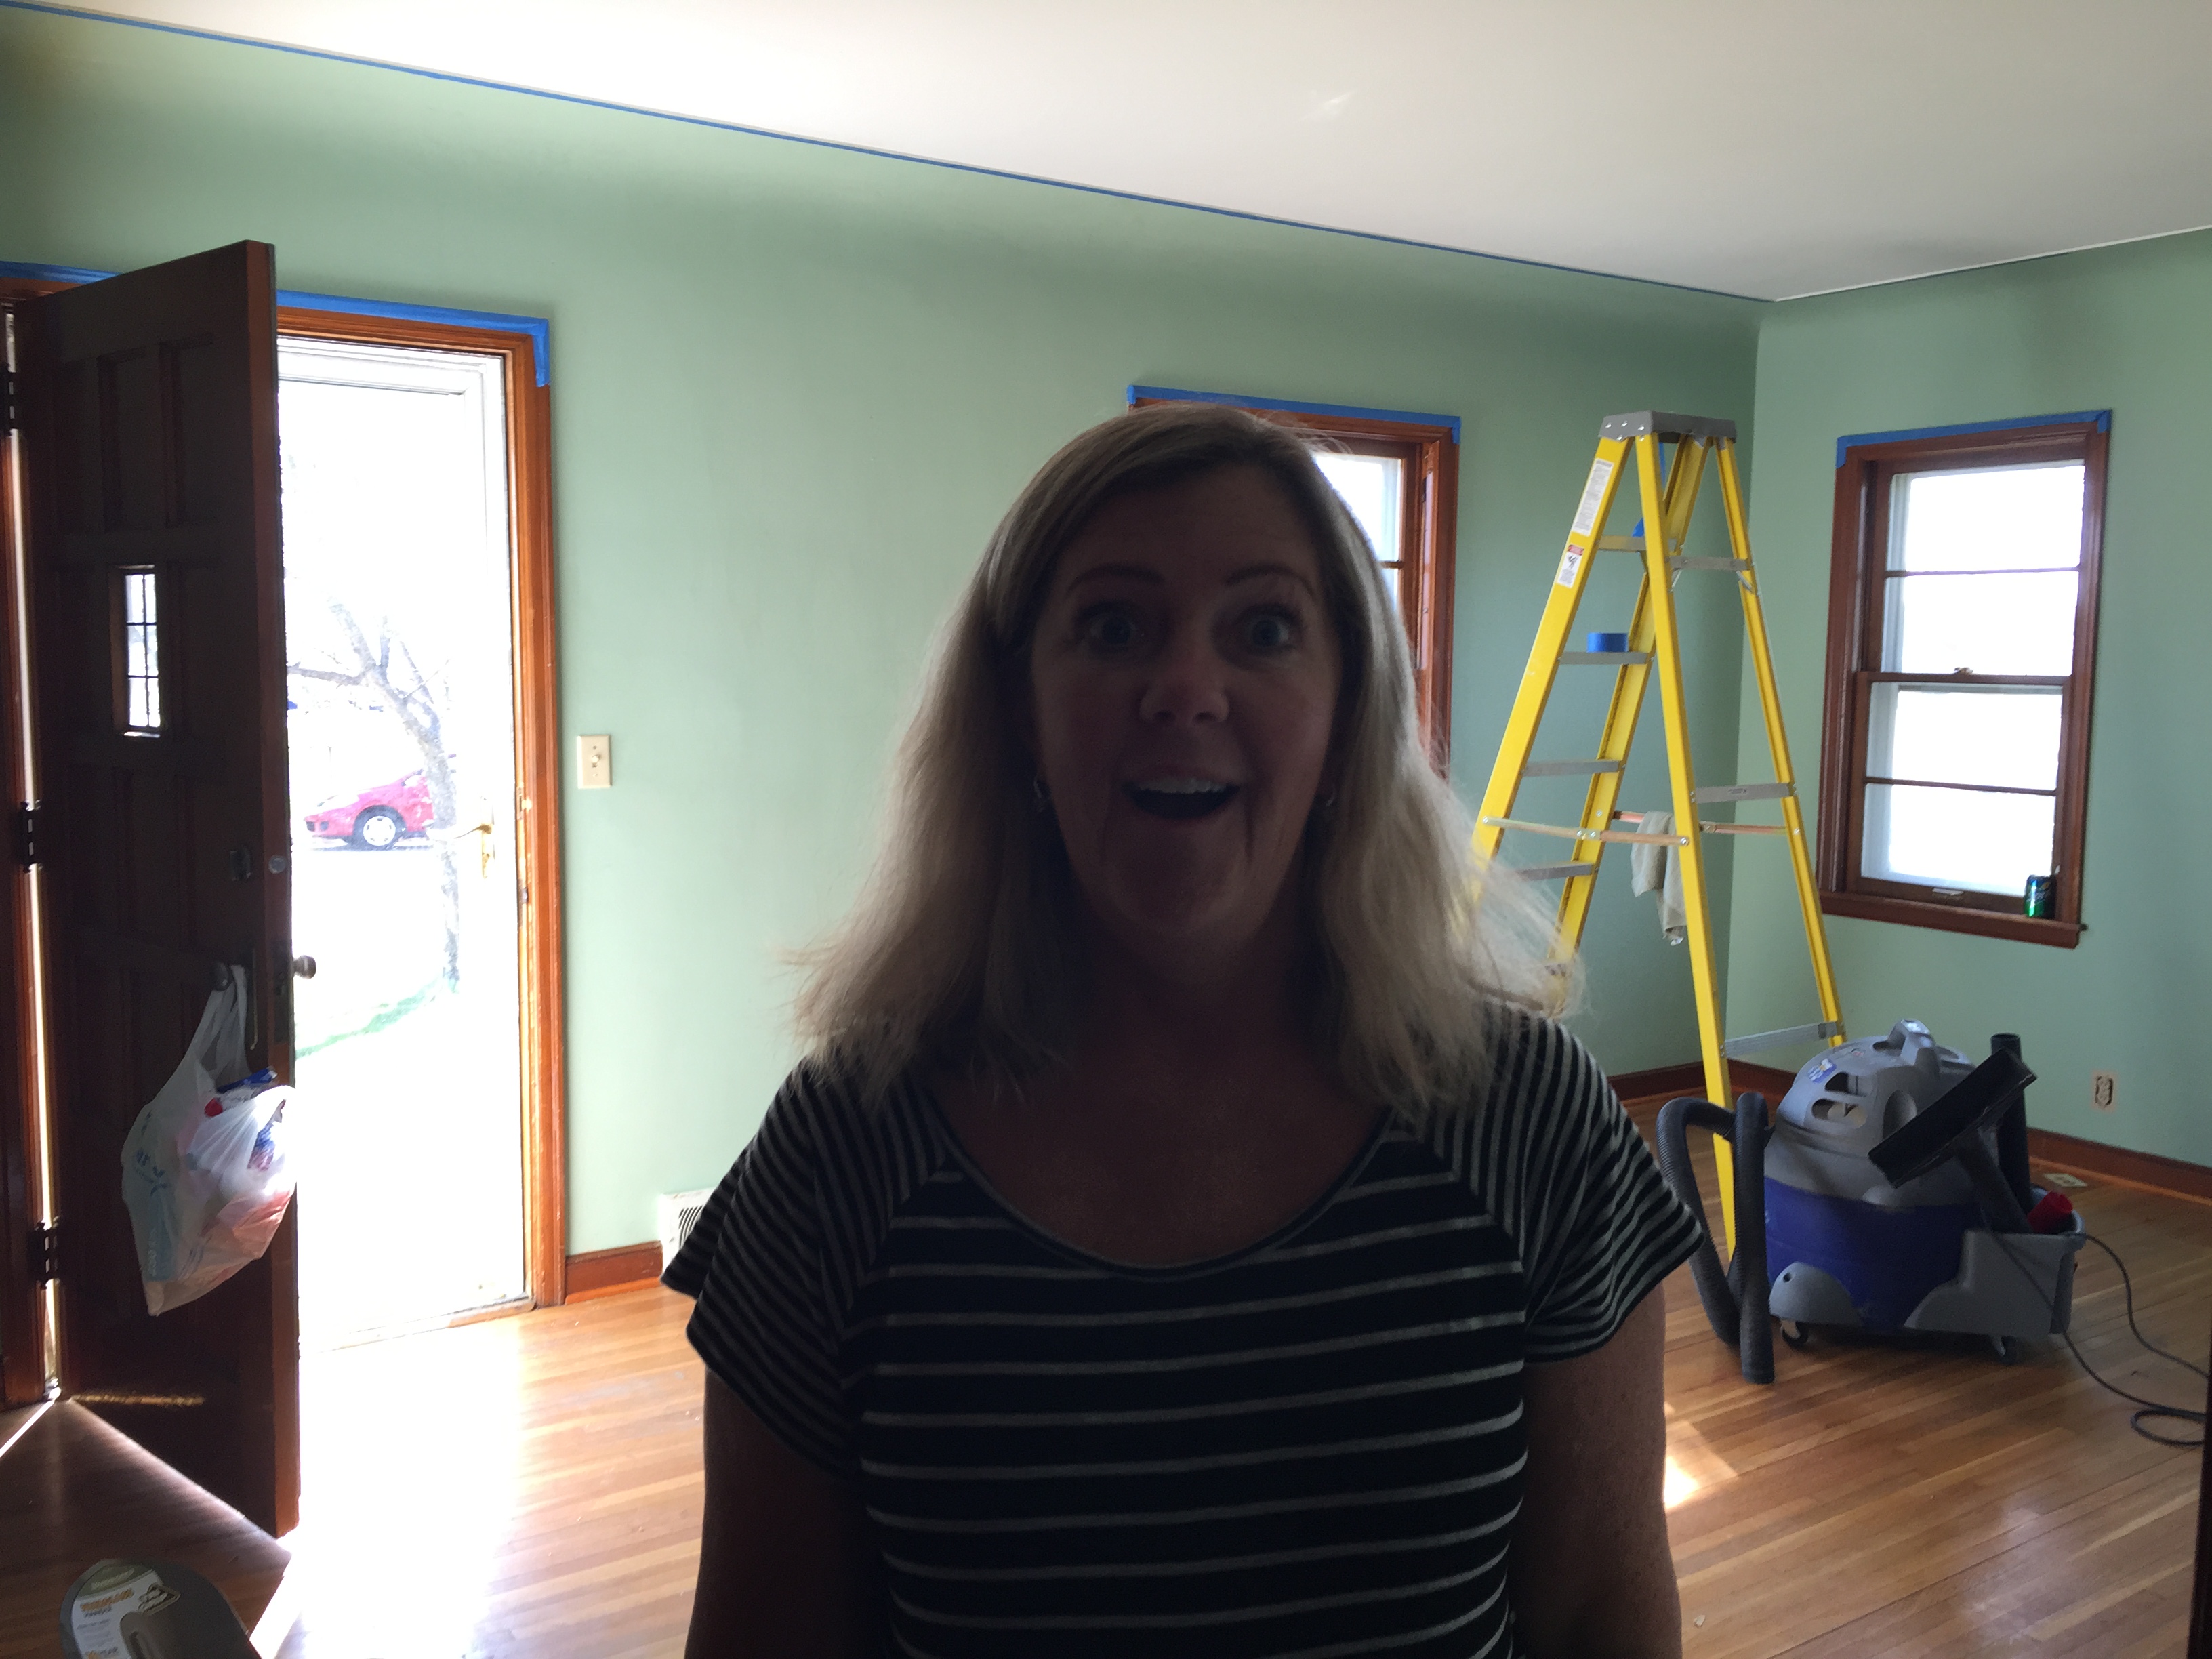
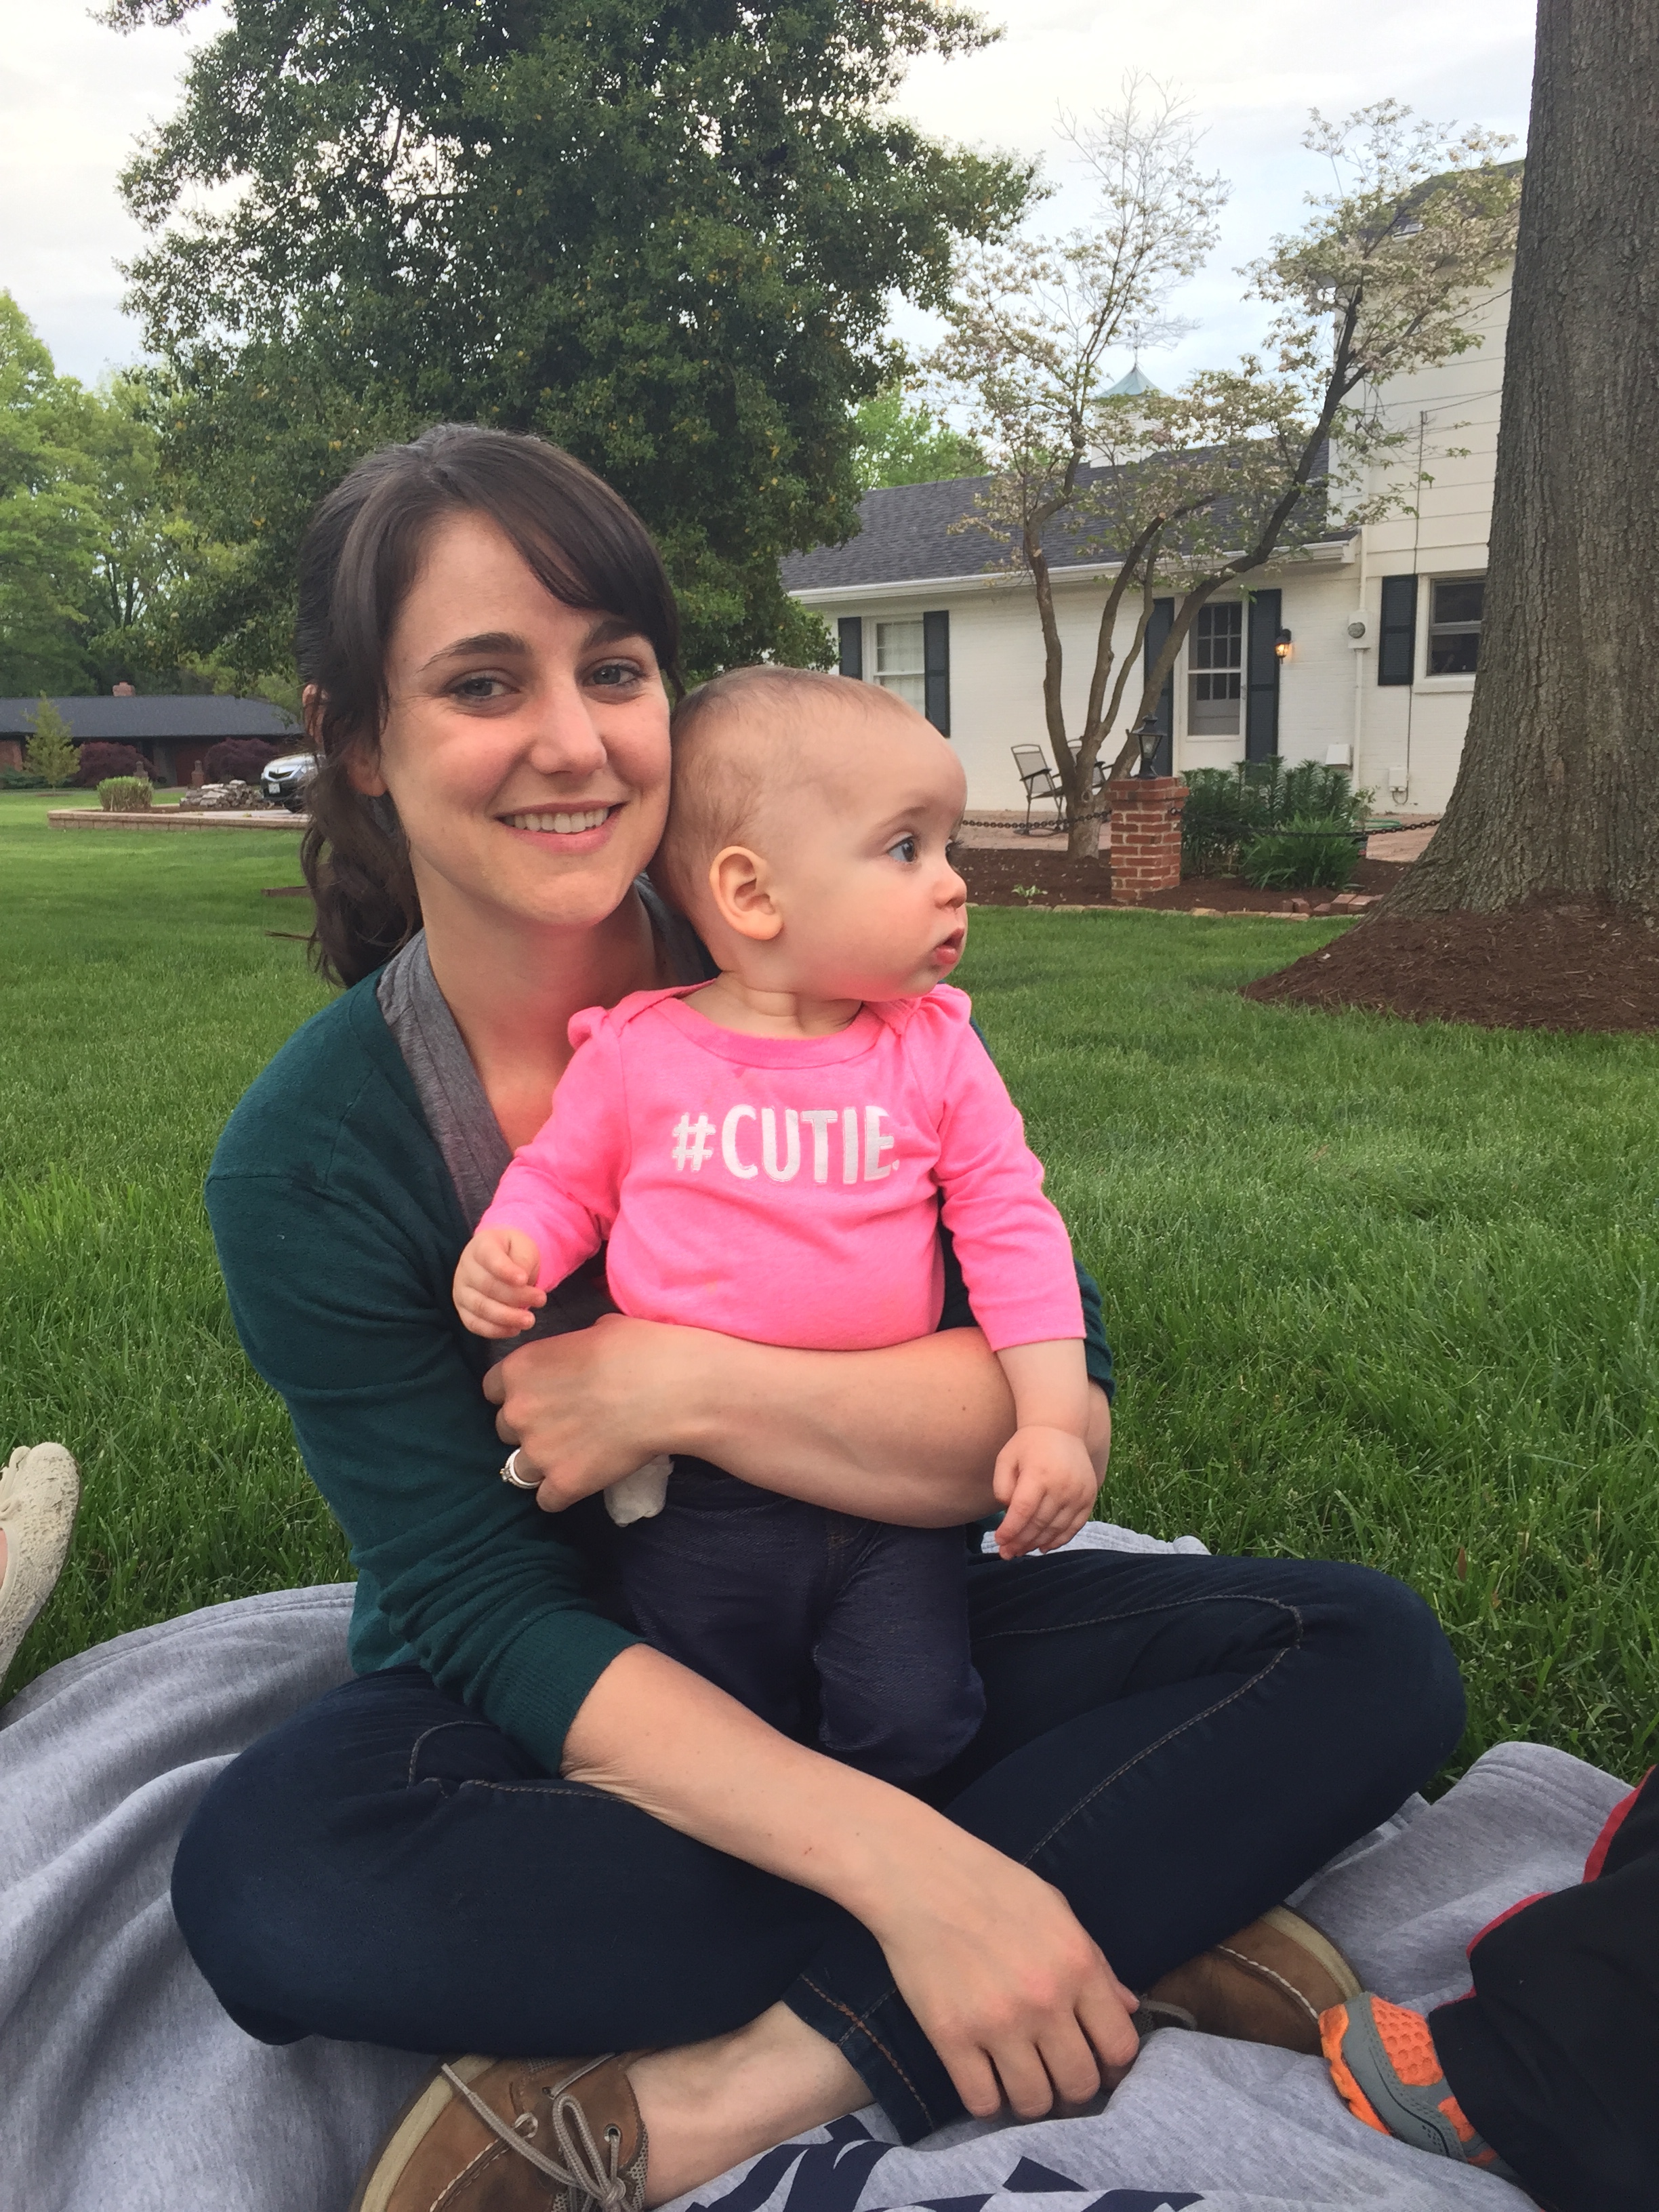
On April 14, my mom came to town to stay for a week and watch Seton while Davey and I fixed up the house (when we weren’t working).

IMG_4786

IMG_4795

IMG_4802

IMG_4803

We put her to work during Seton’s naps! (aren’t we great hosts?)

IMG_4806

IMG_4807

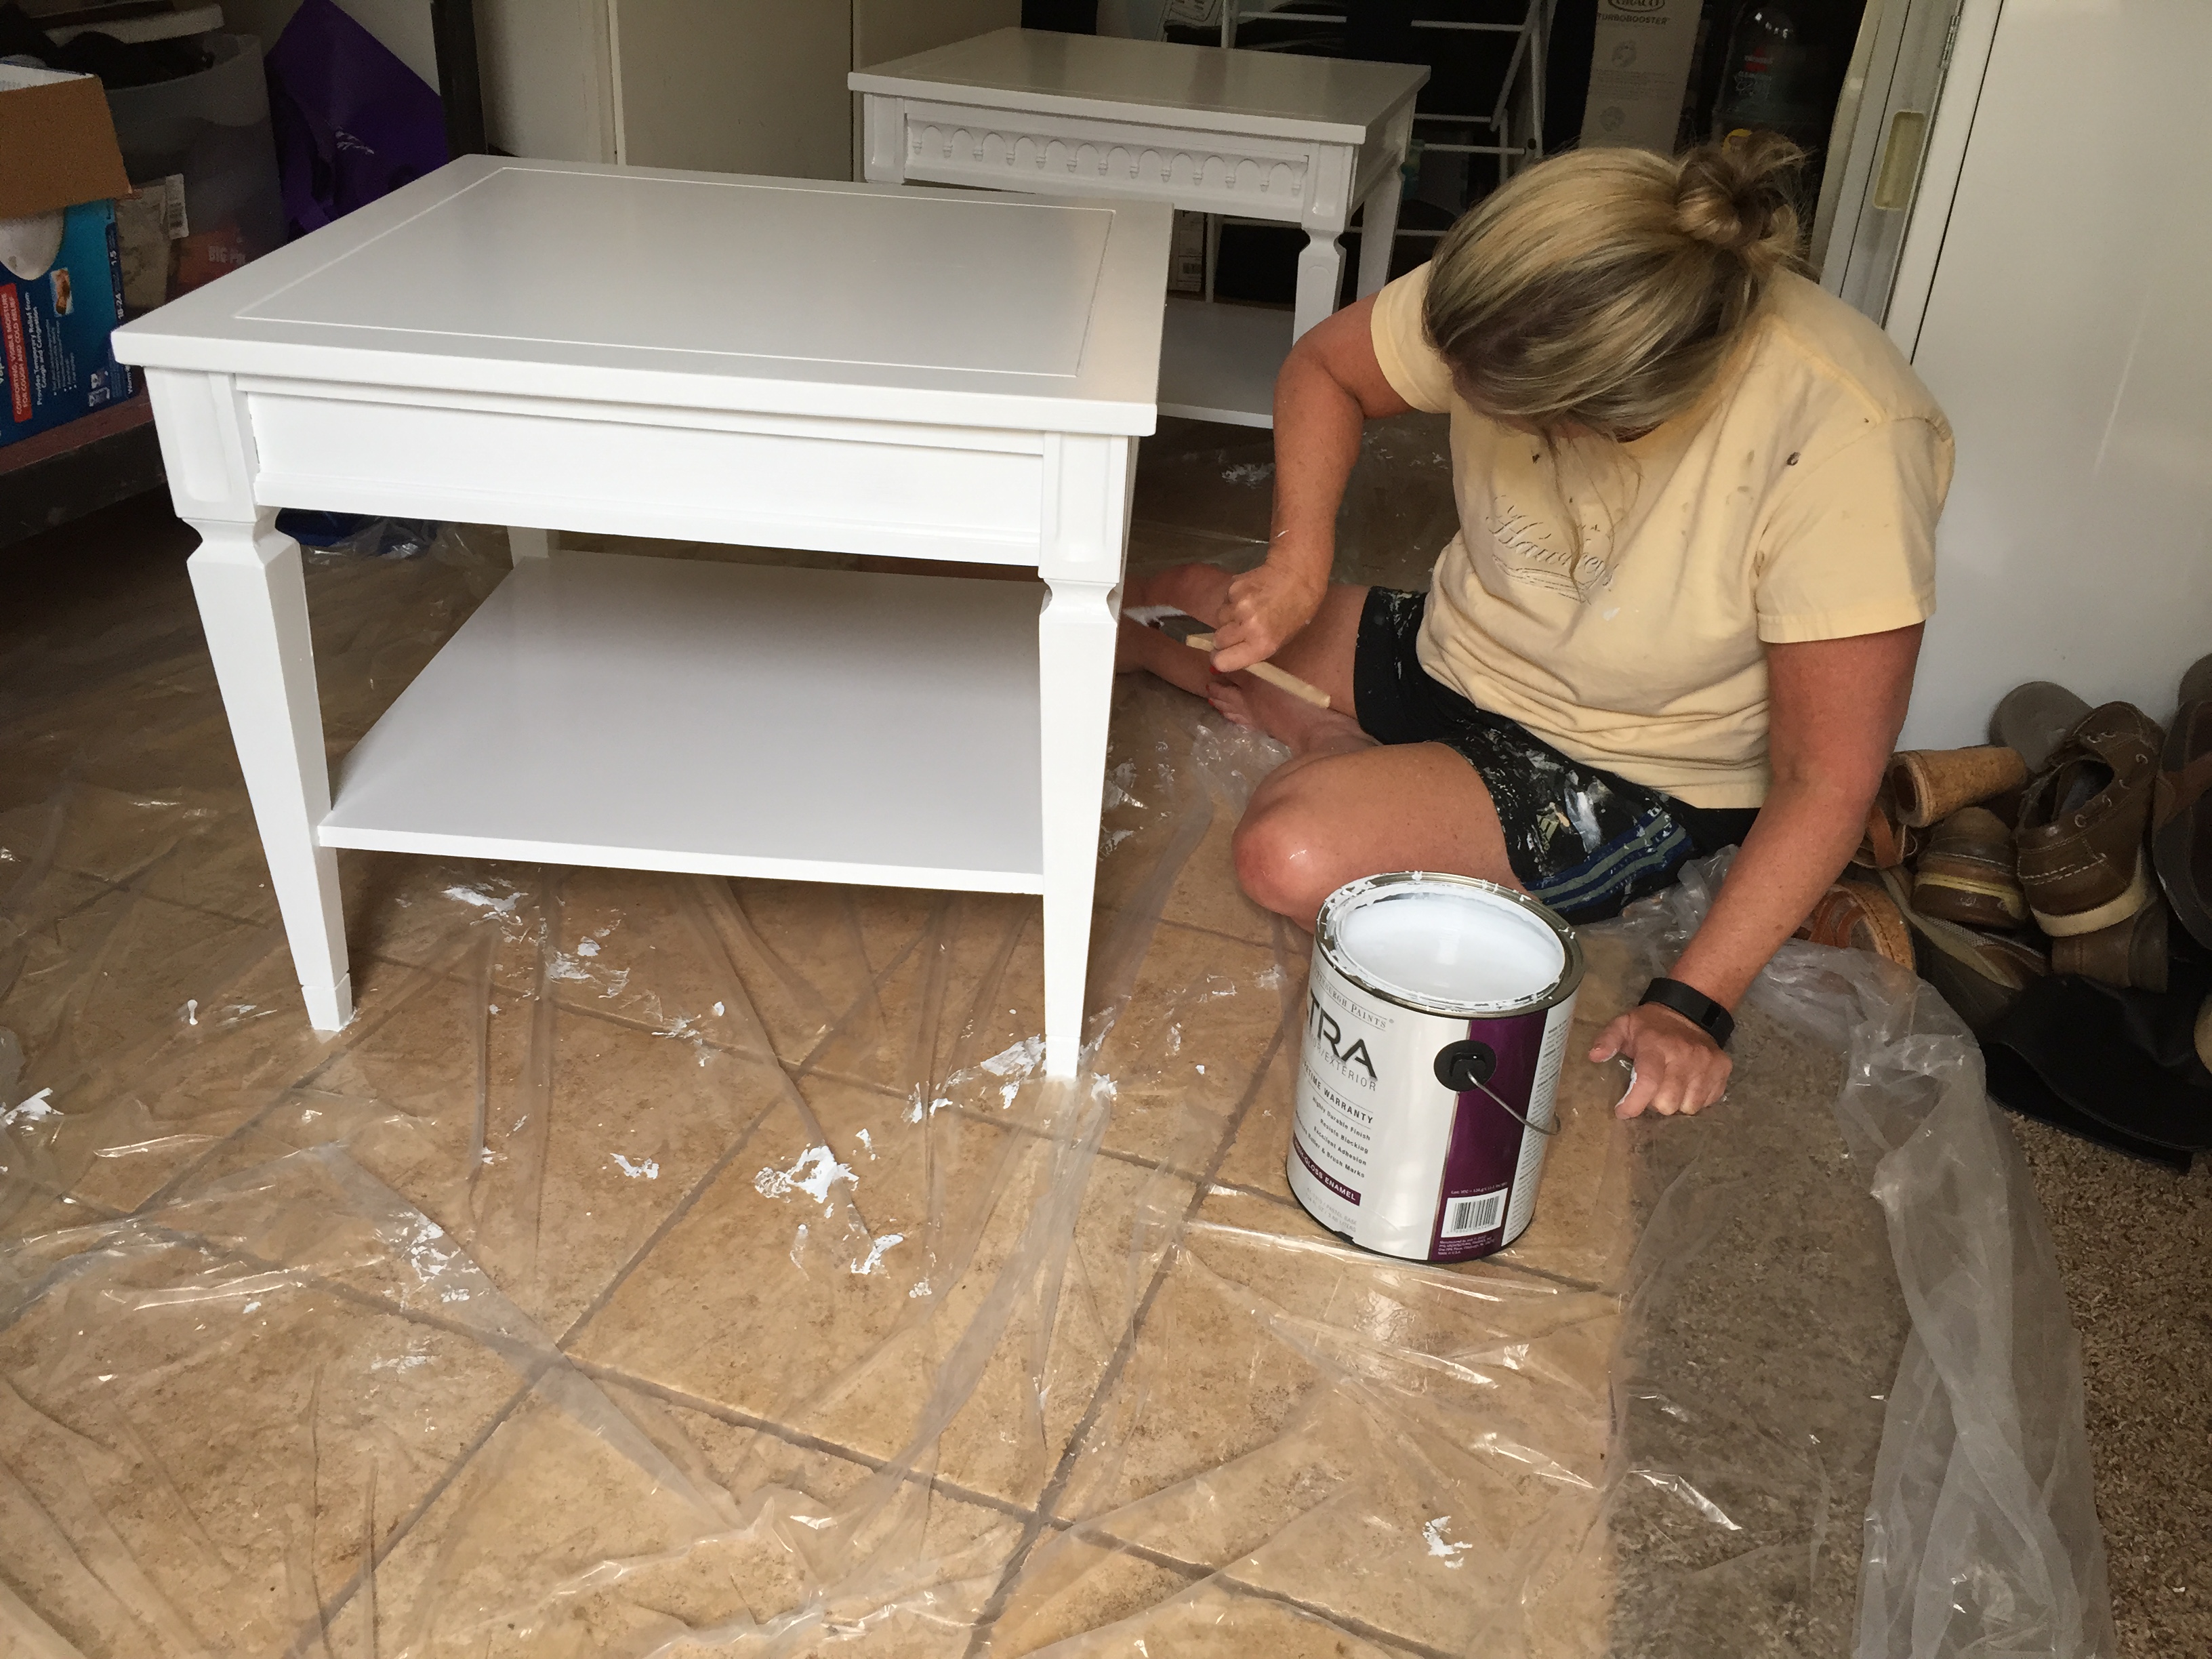
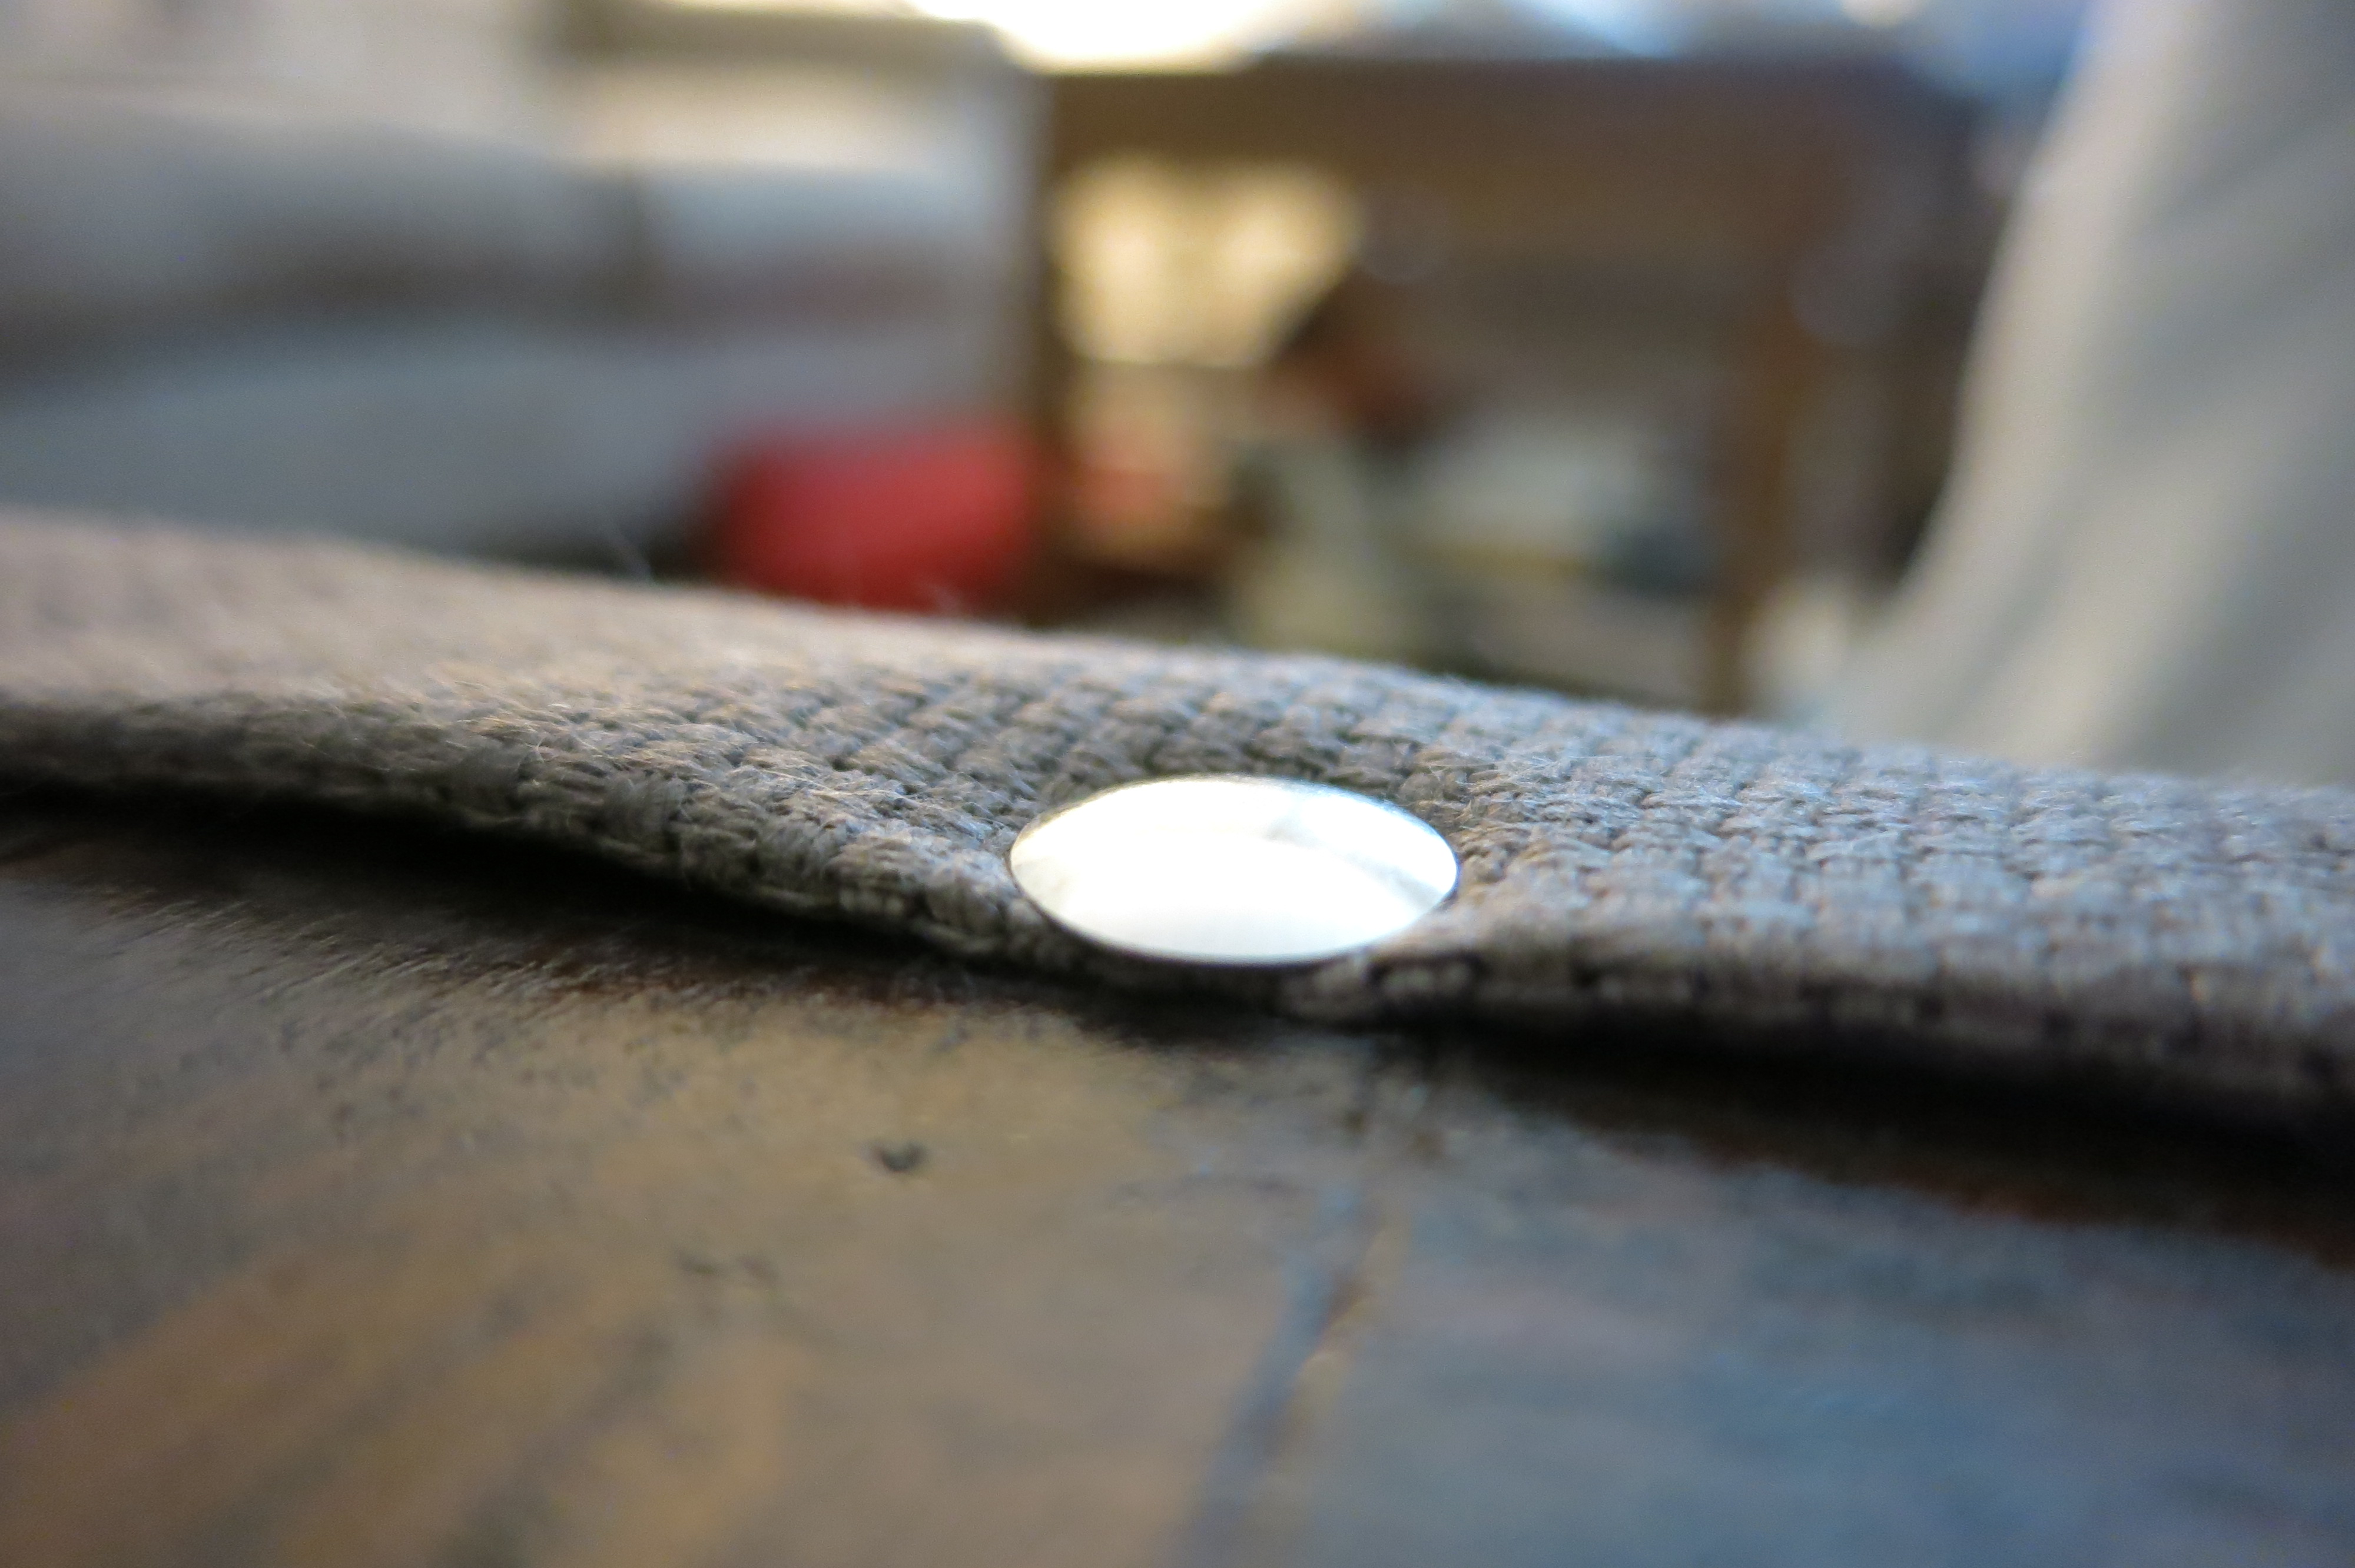
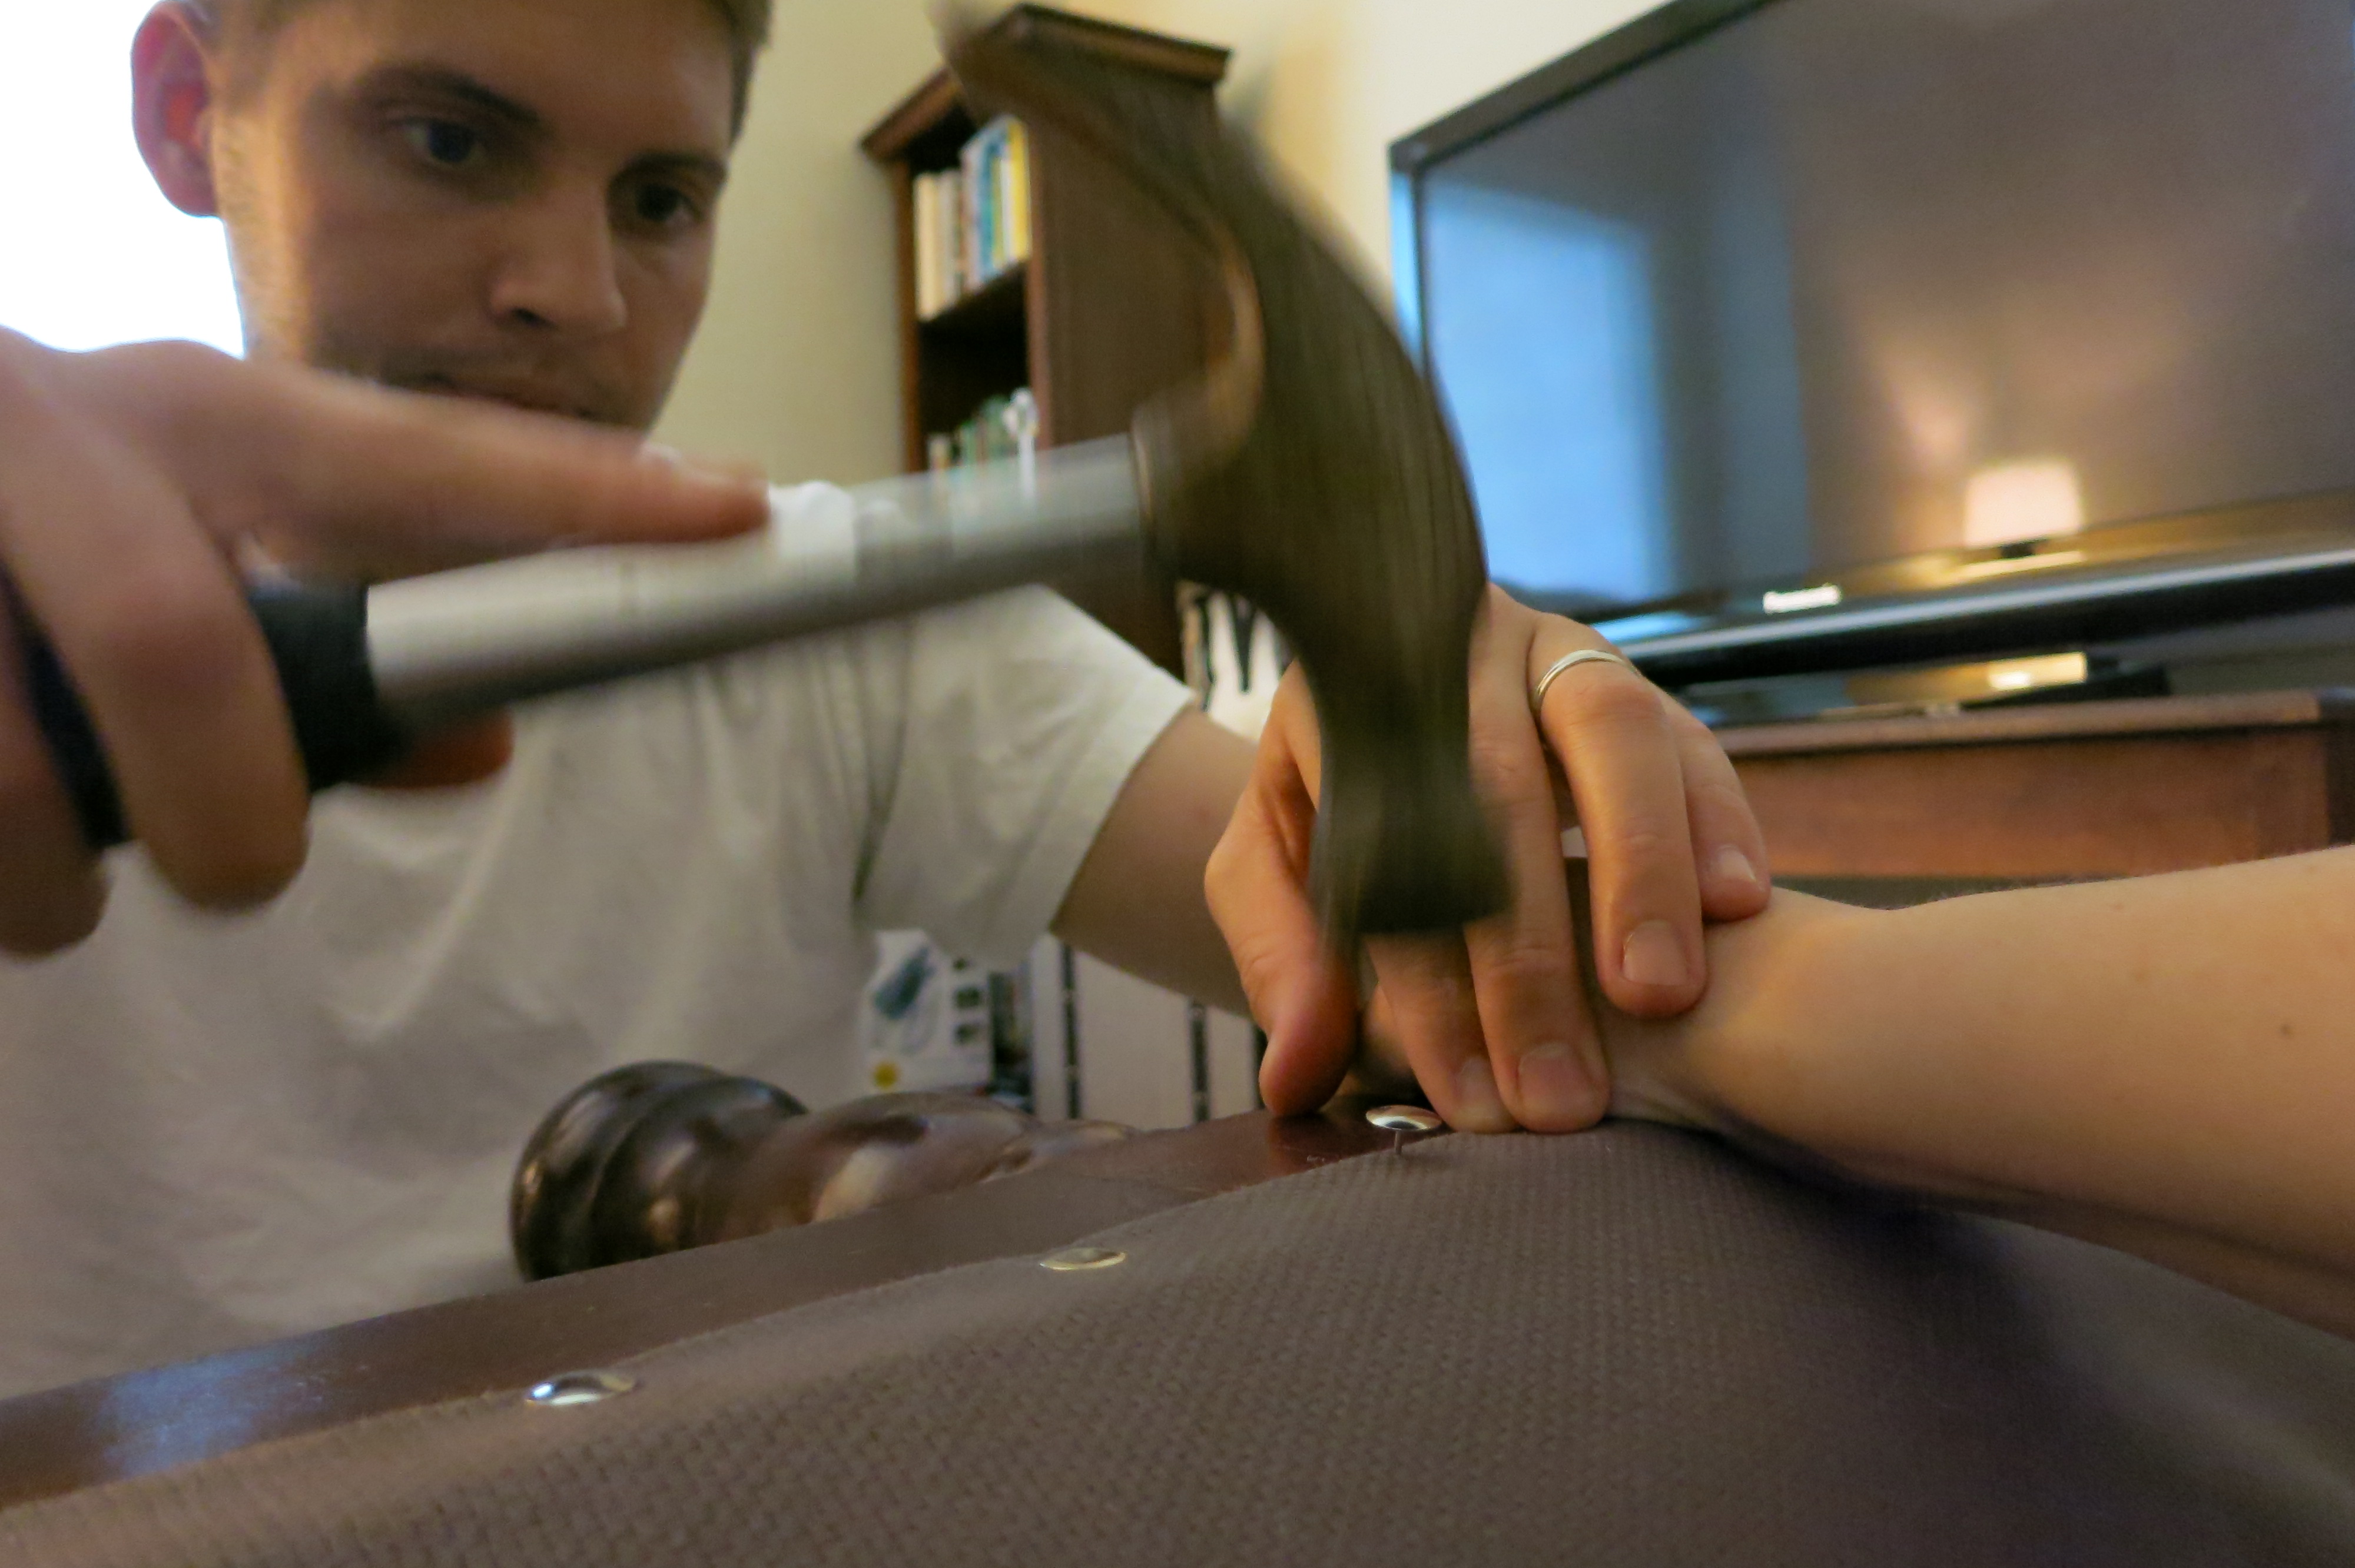
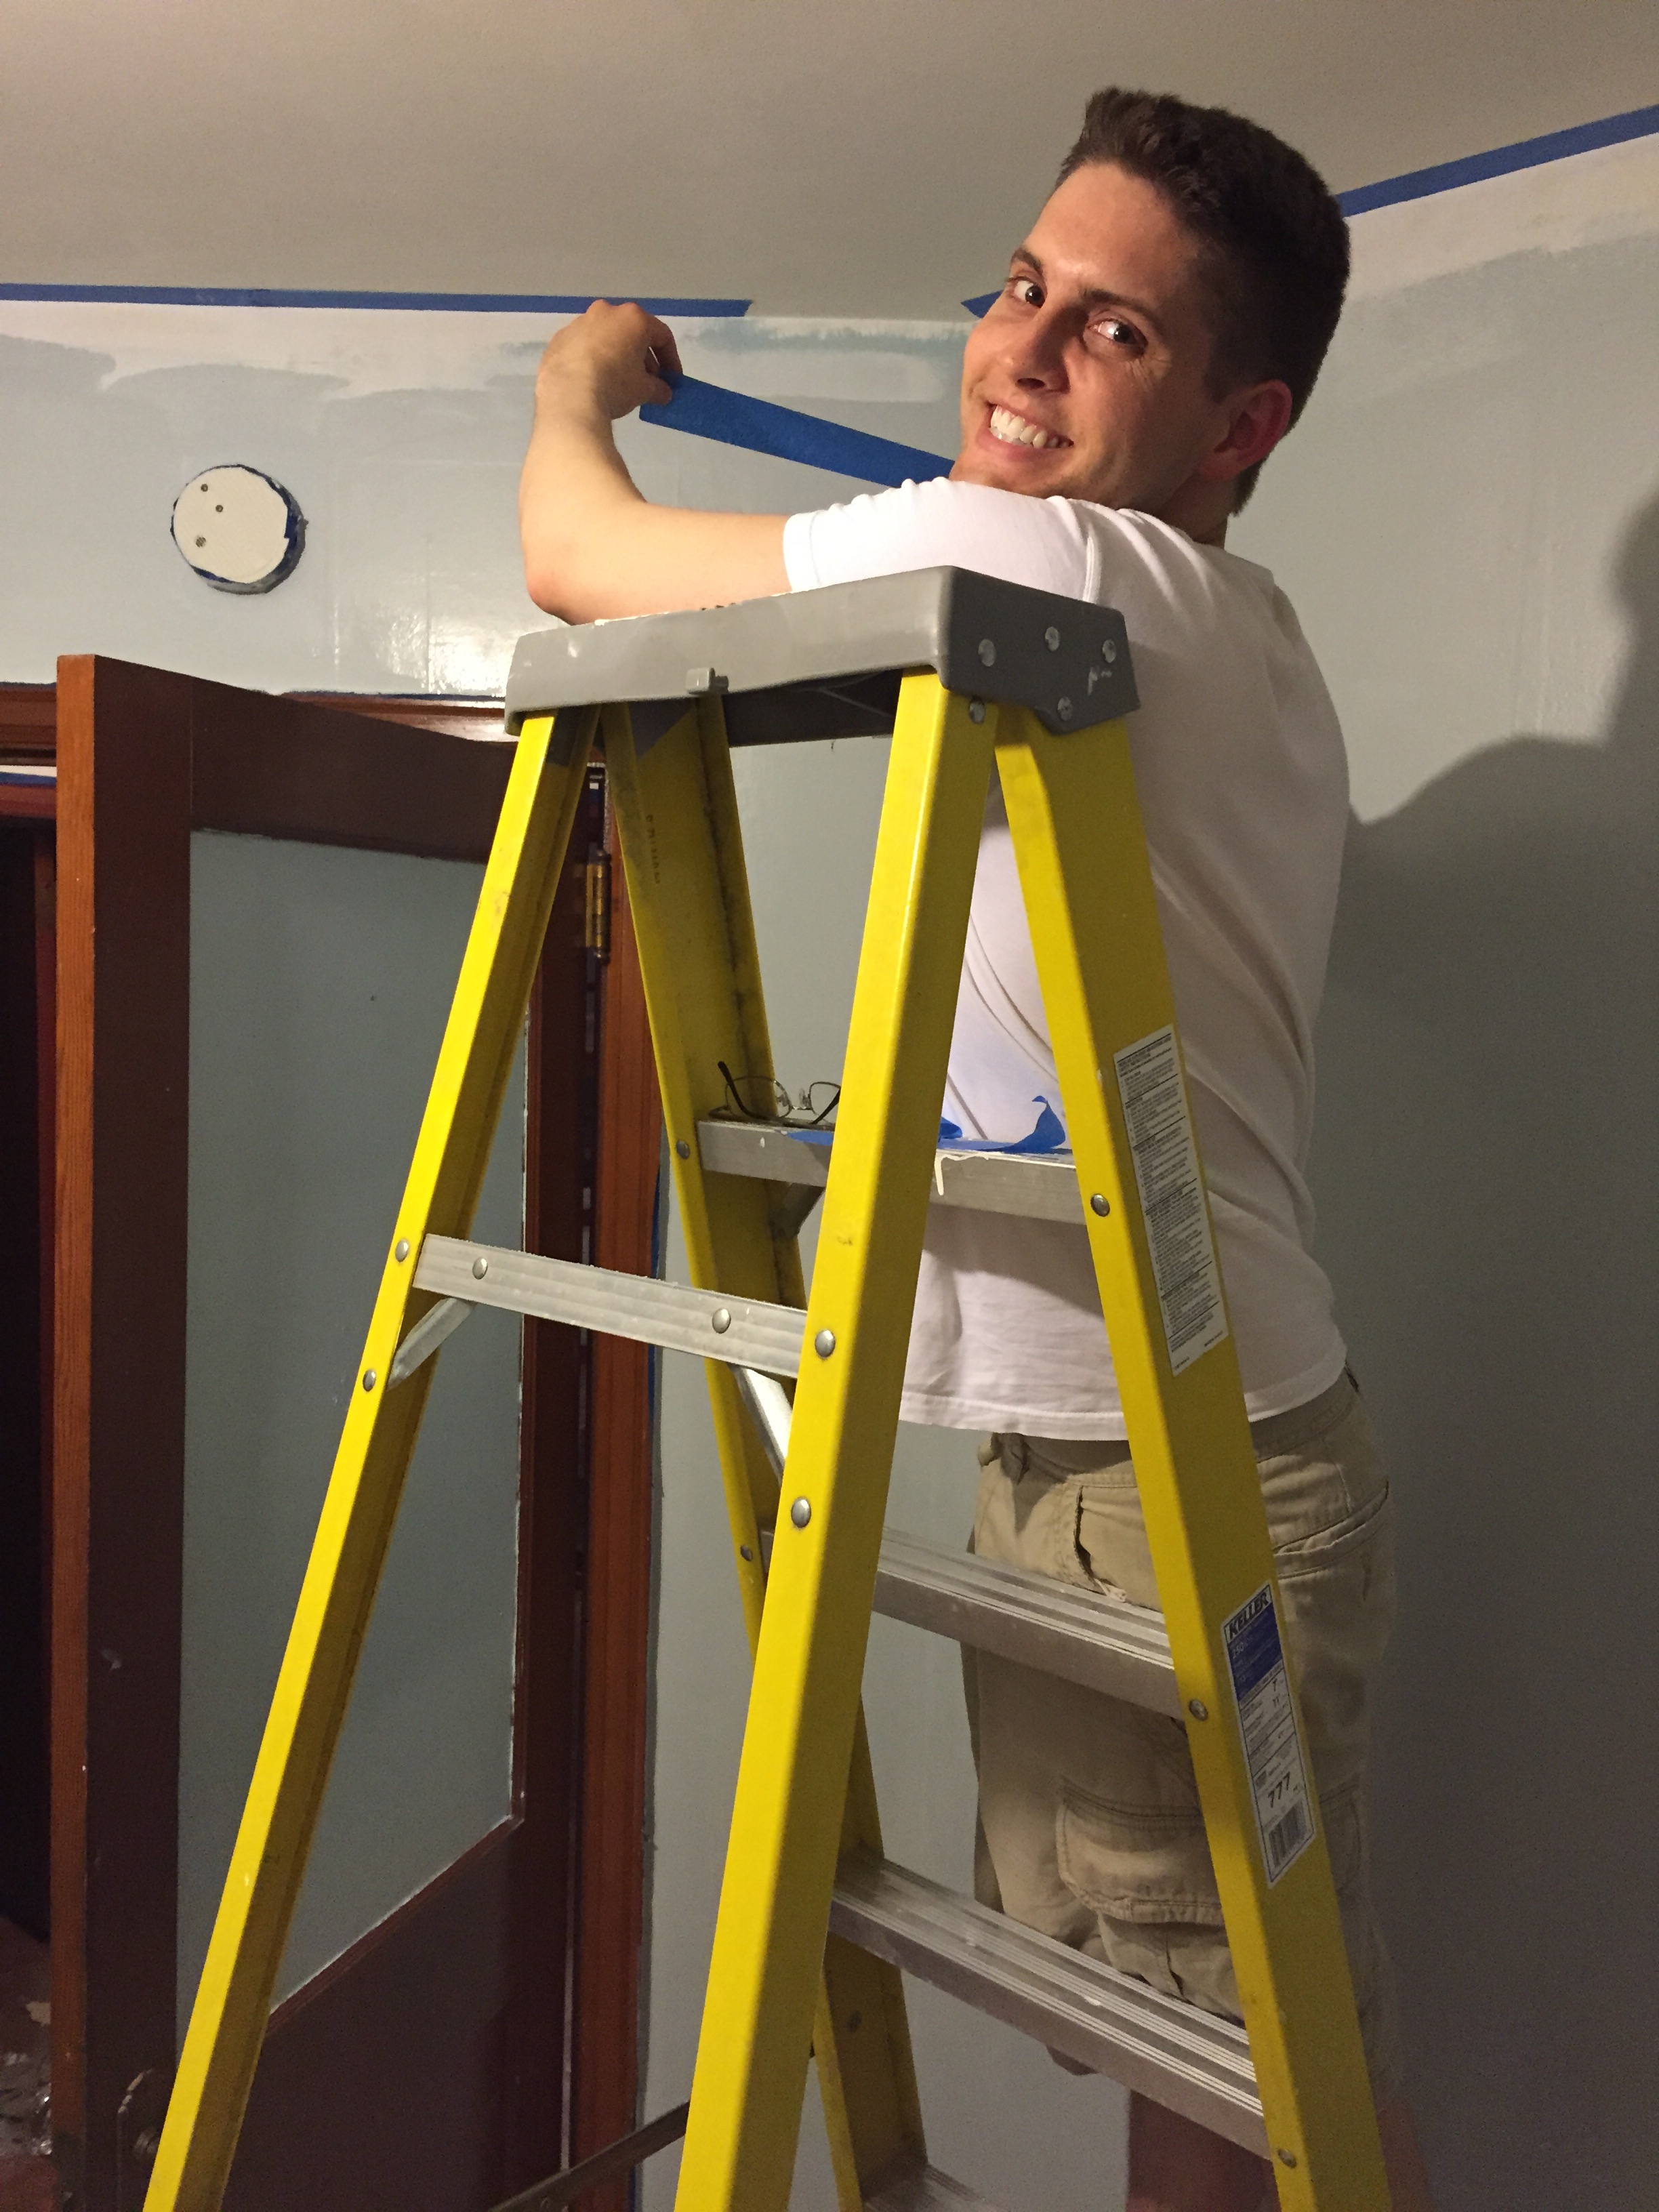
Painting date nights are healthy for a marriage. 😉

IMG_4811

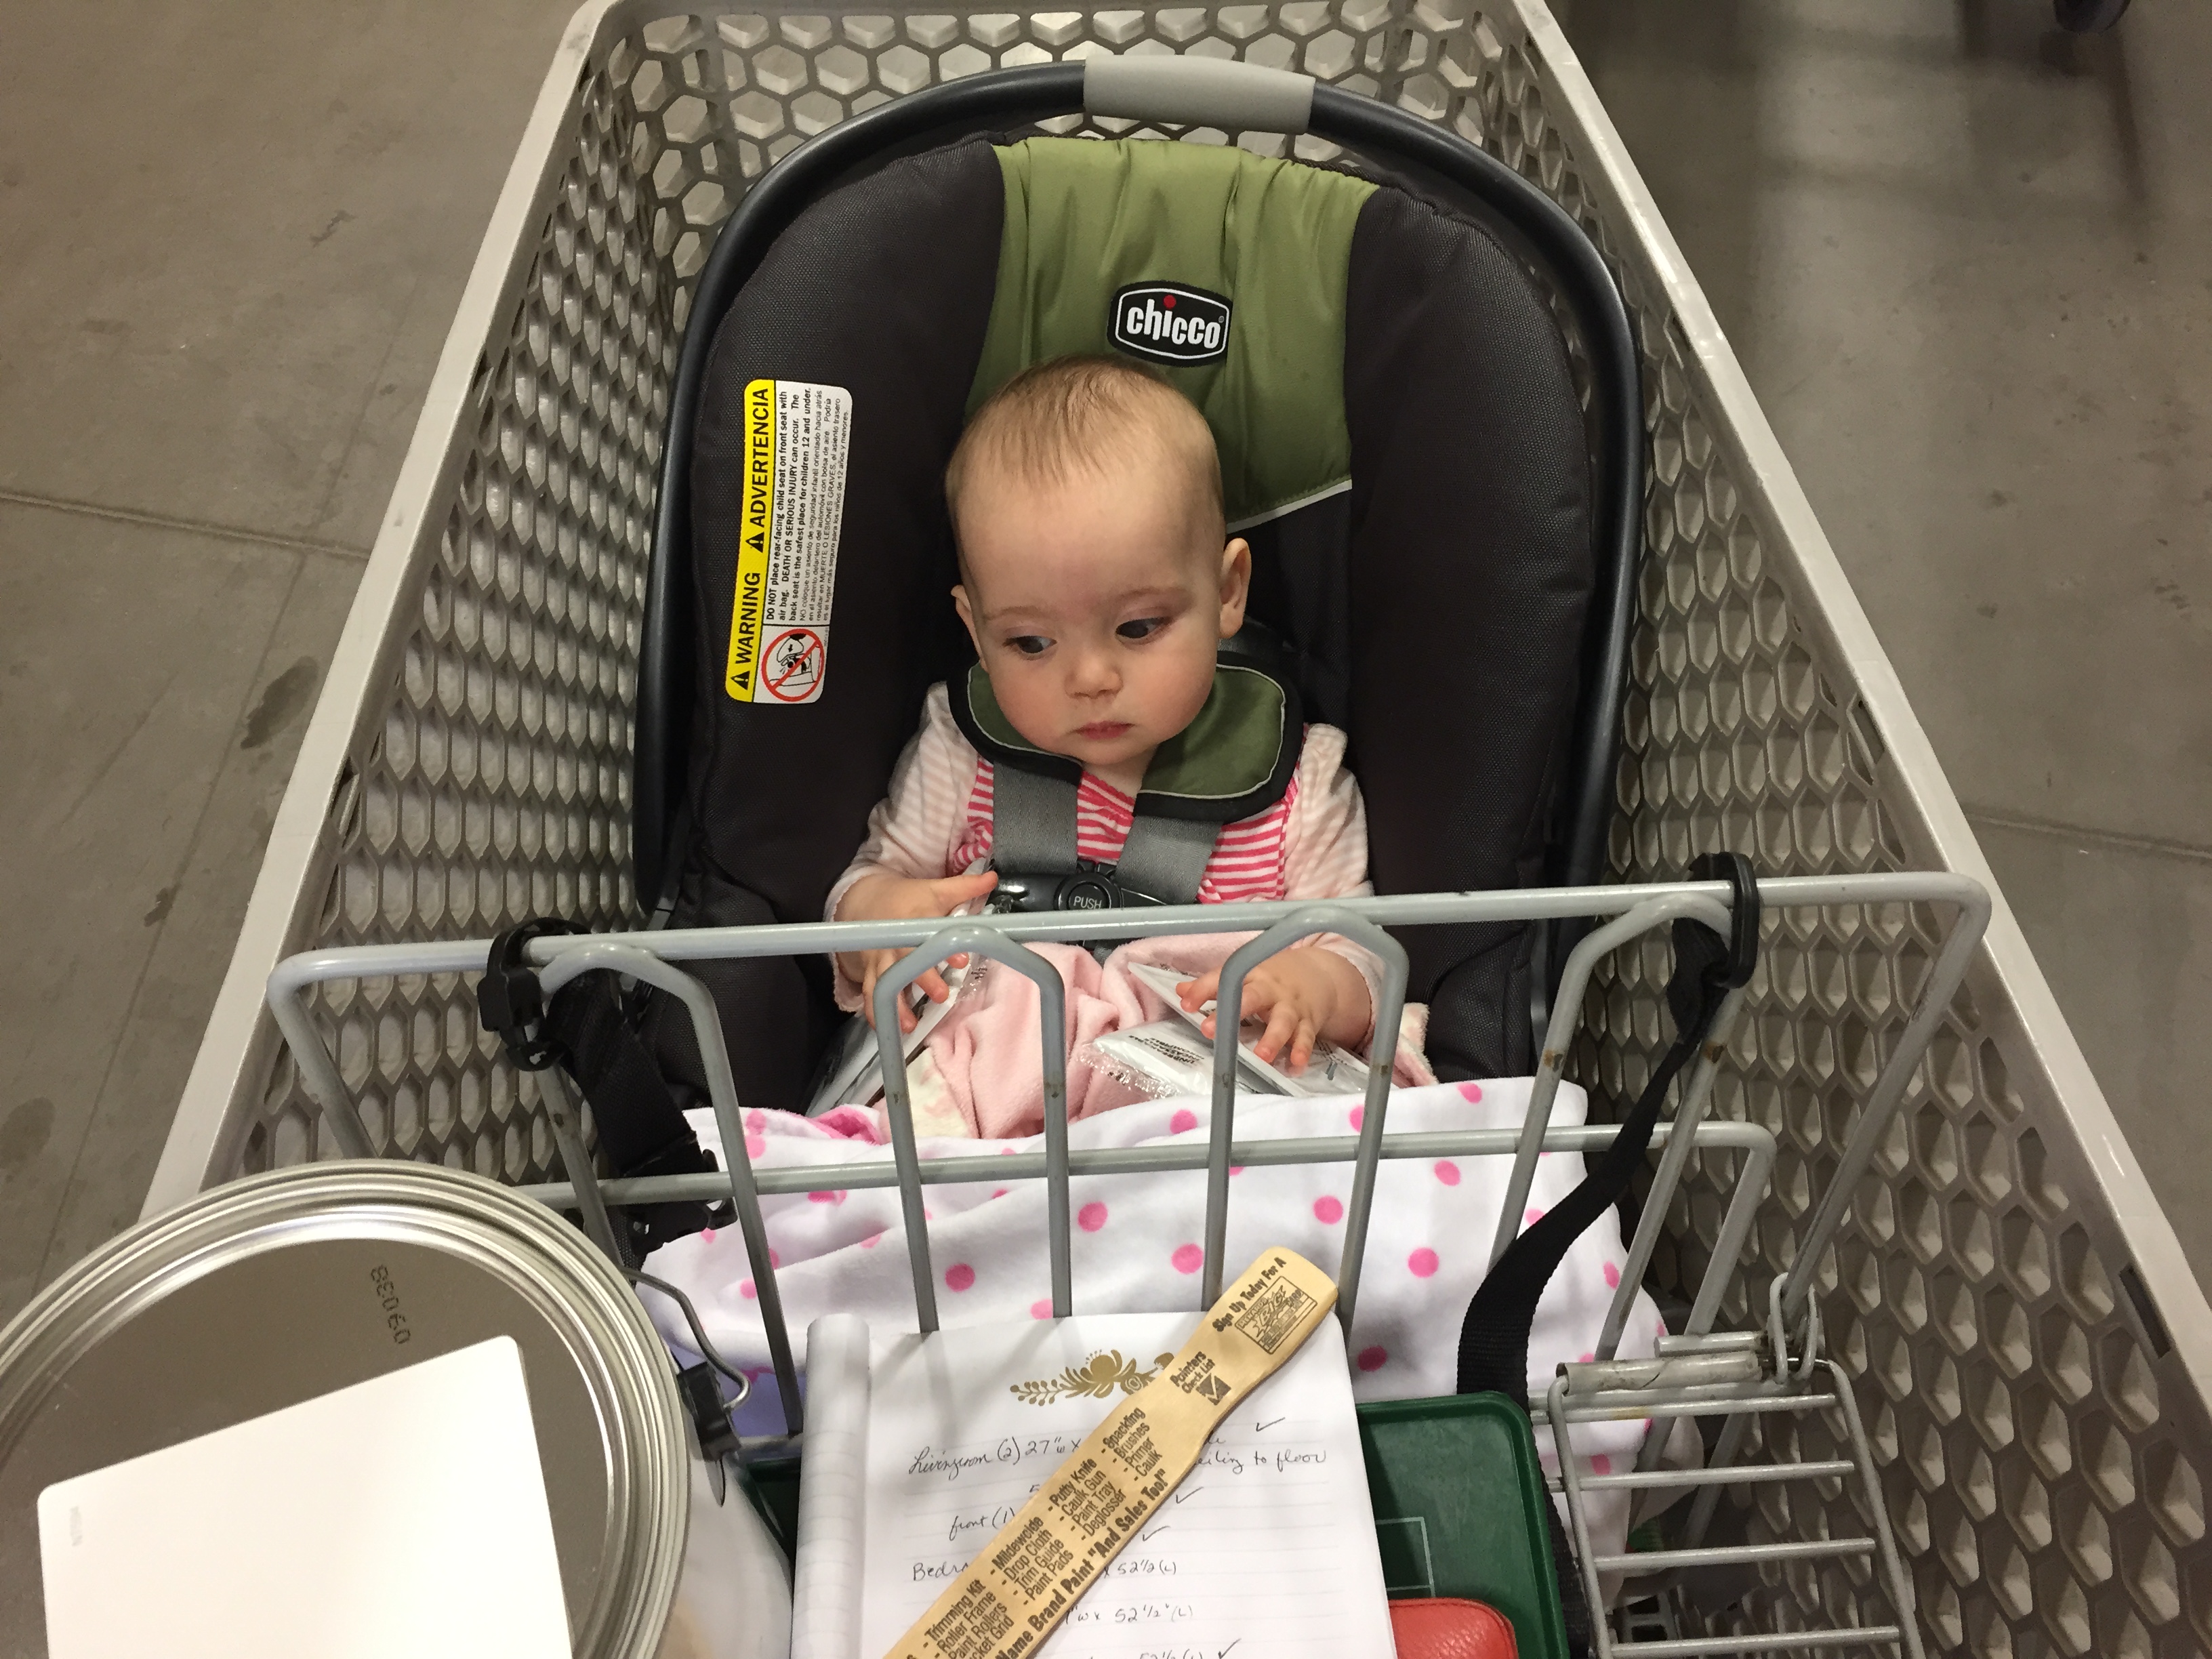
We spent a lot of time at Ikea.

IMG_4828 
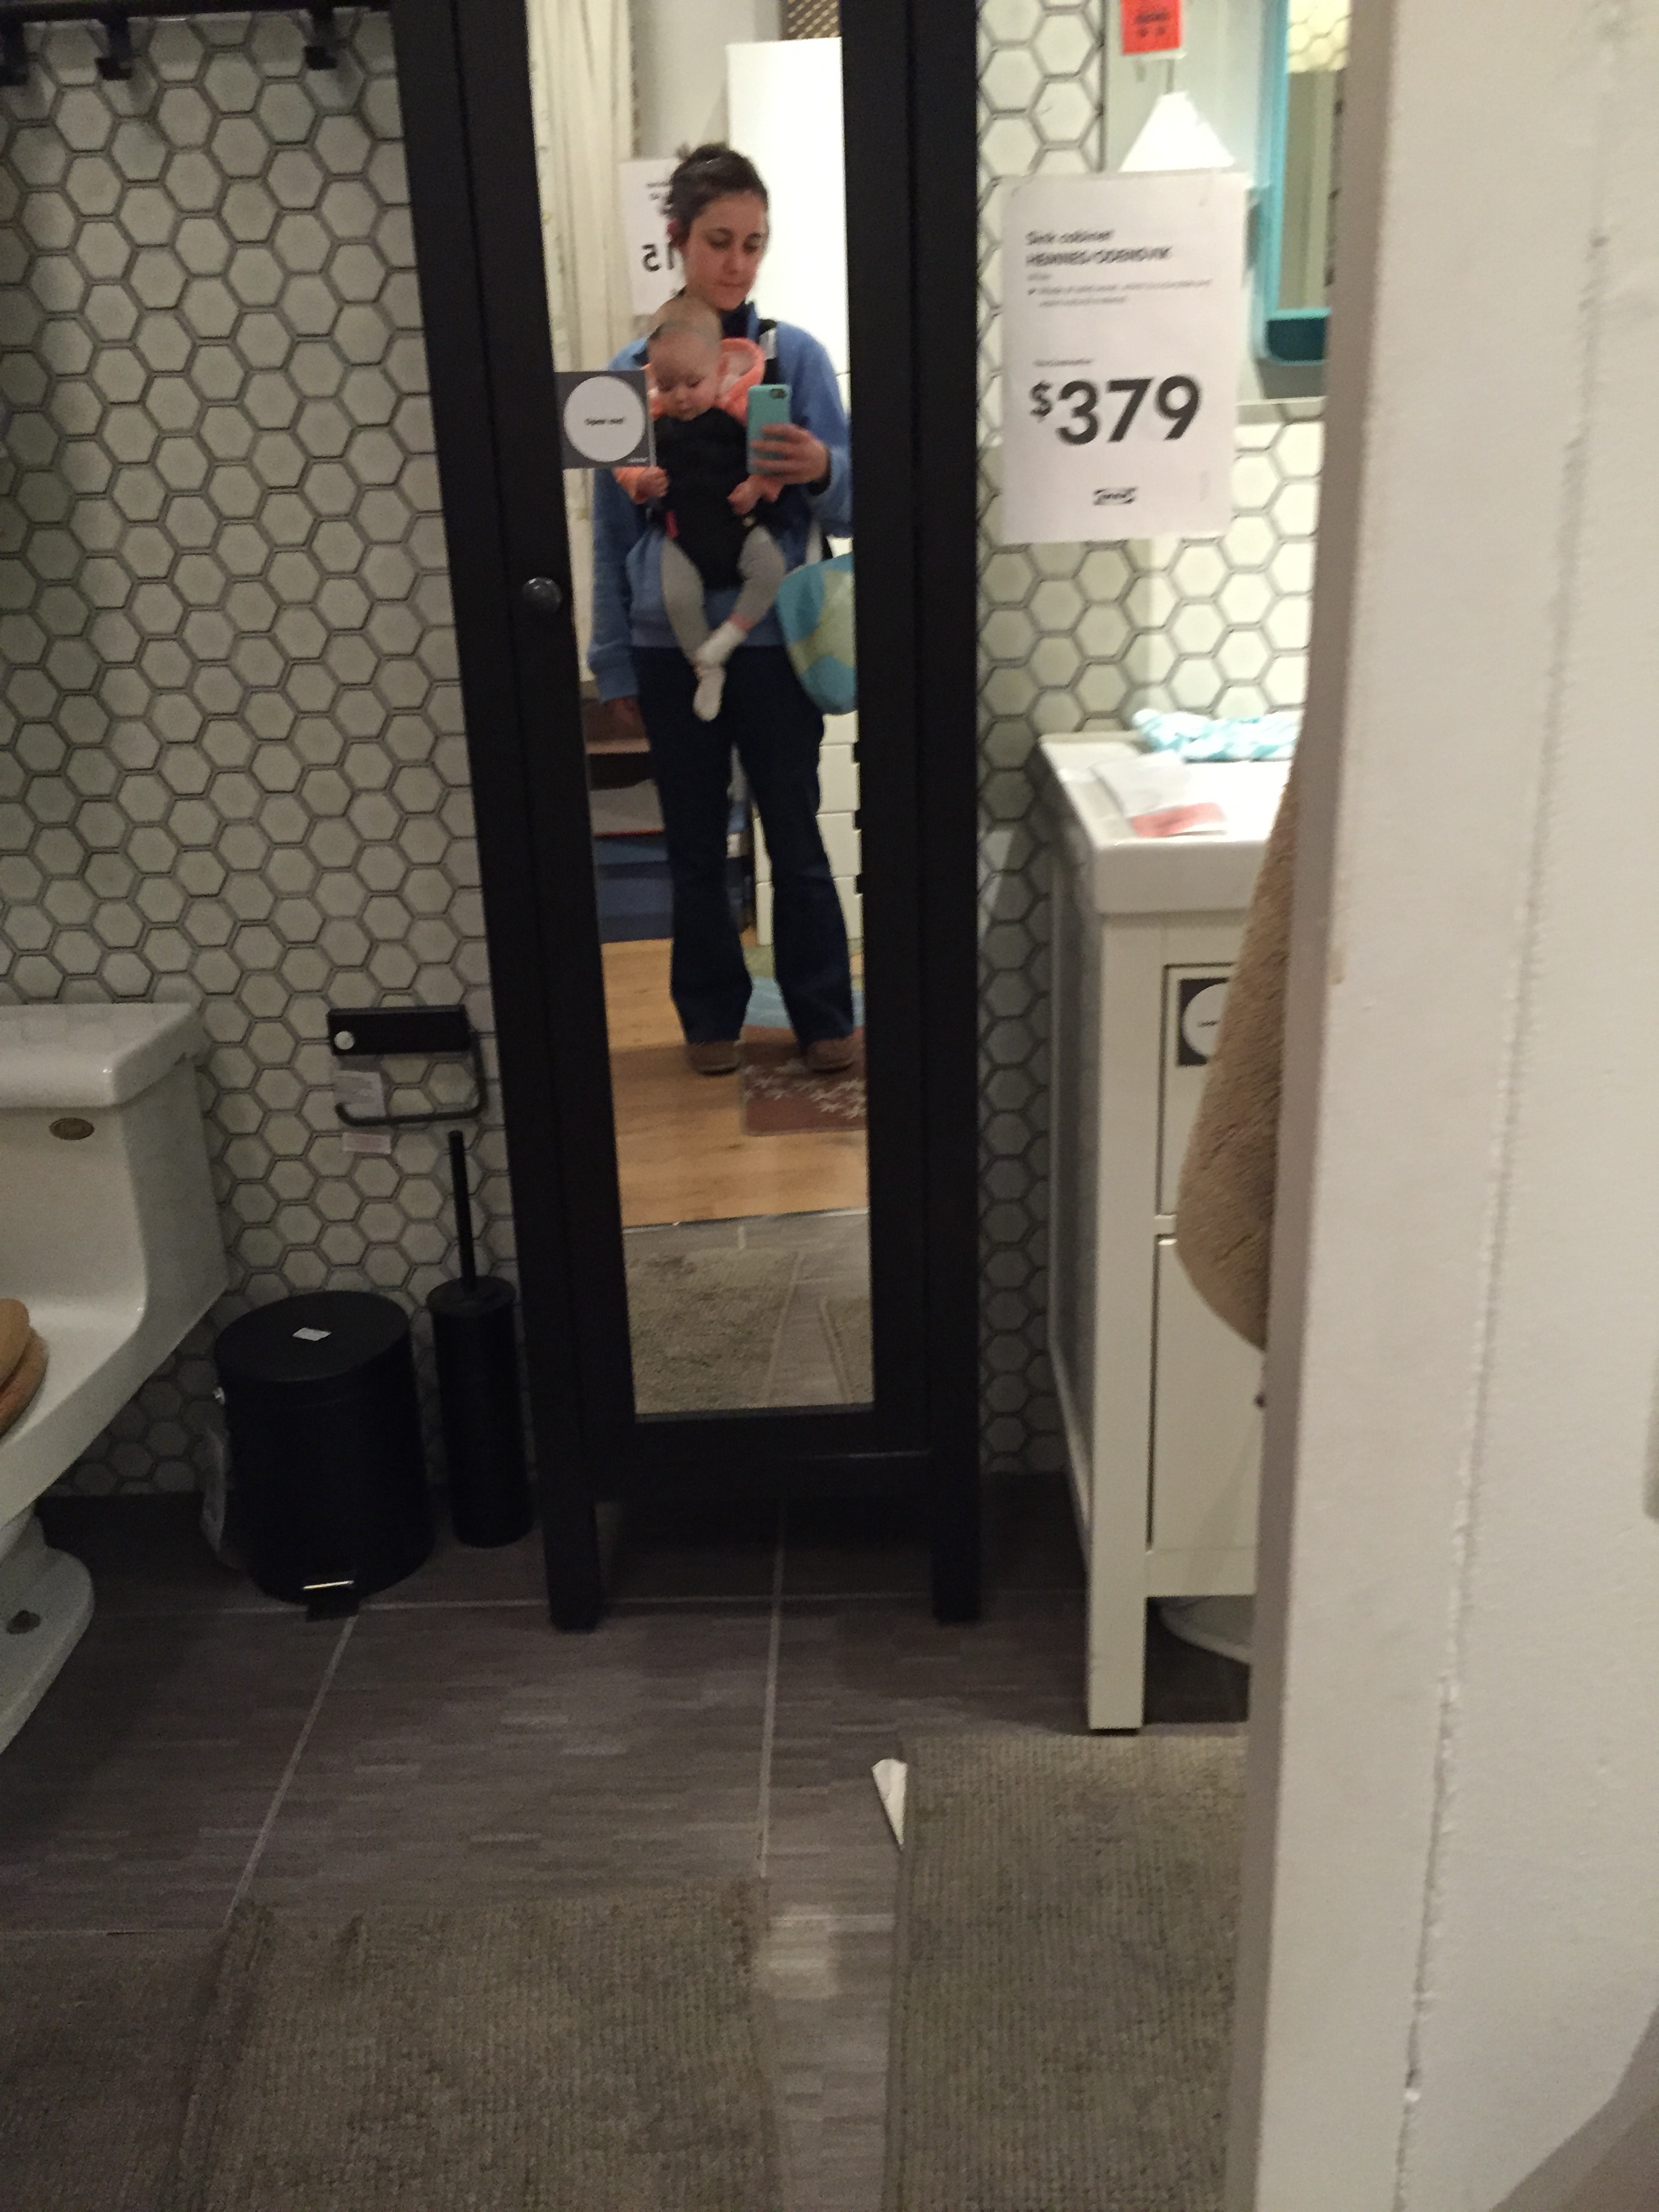
(with a lunch box as a purse, in Davey’s sweatshirt, and sporting jeans circa 1999 because that’s how I party)

April 21, Grandma left, and Seton cried. I cried inside because omghowamigoingtofixthehousewithaninemonthold.

IMG_4844

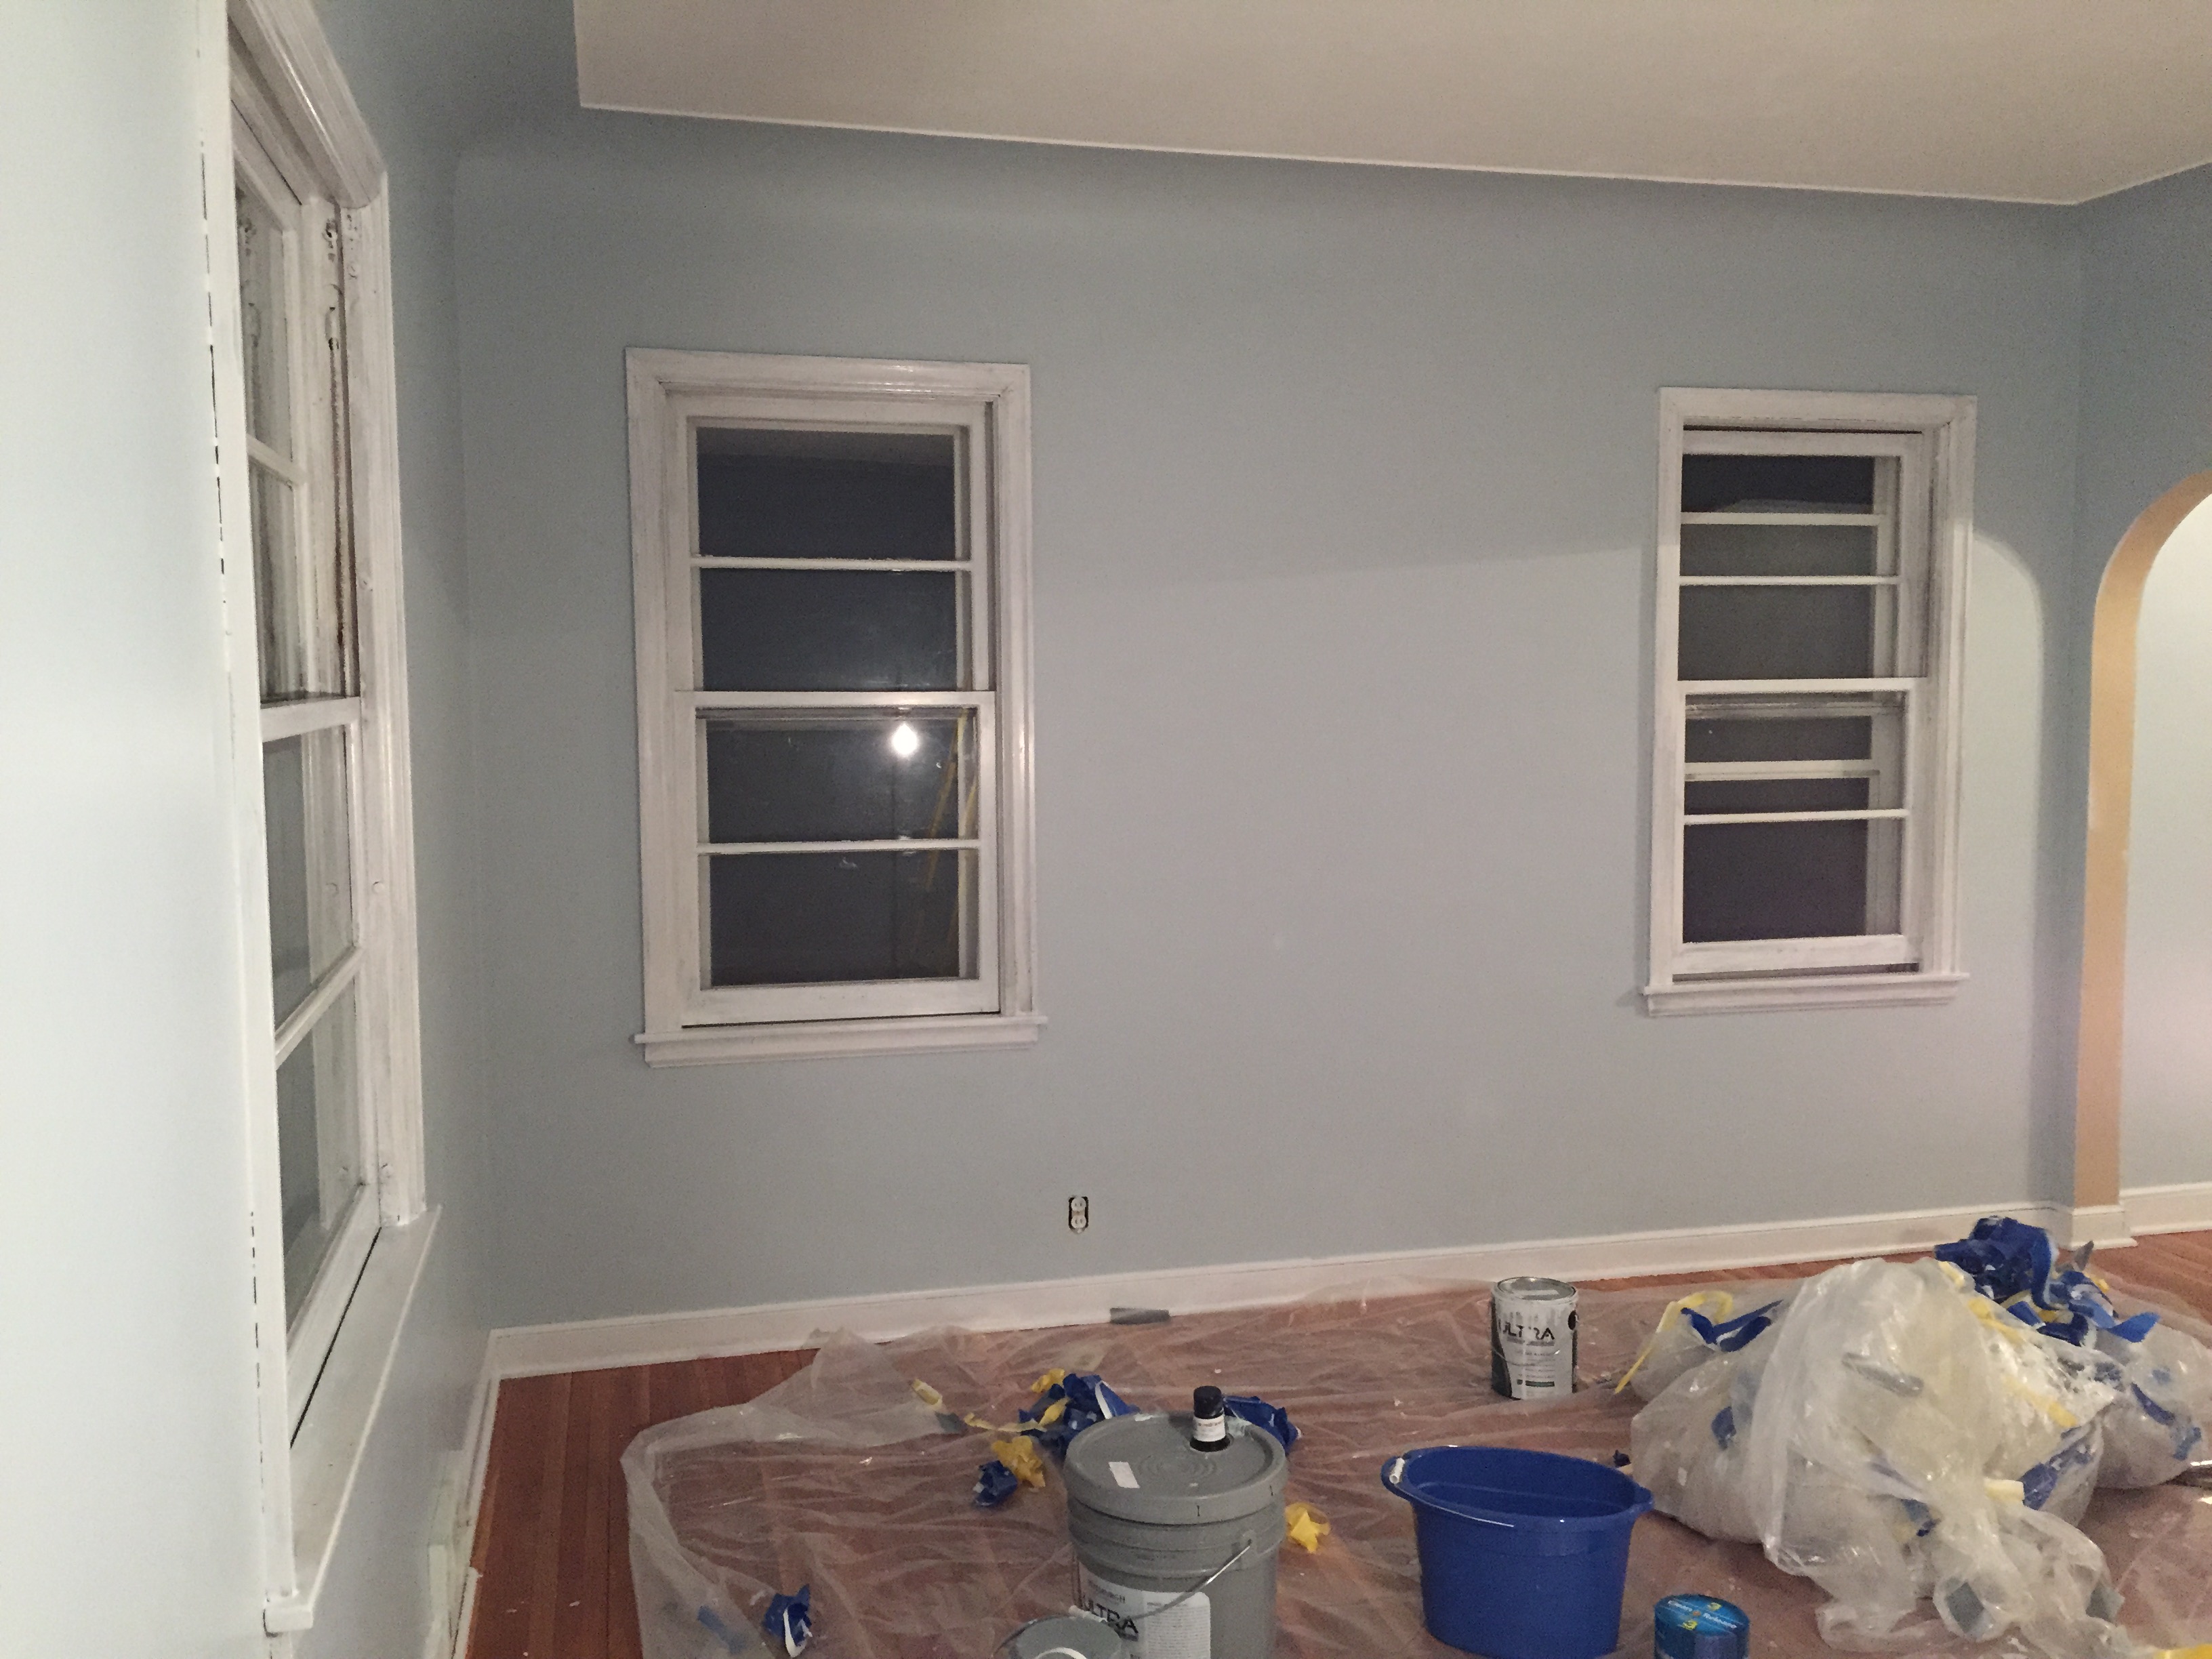
But it was starting to come together…

IMG_4847

IMG_4858

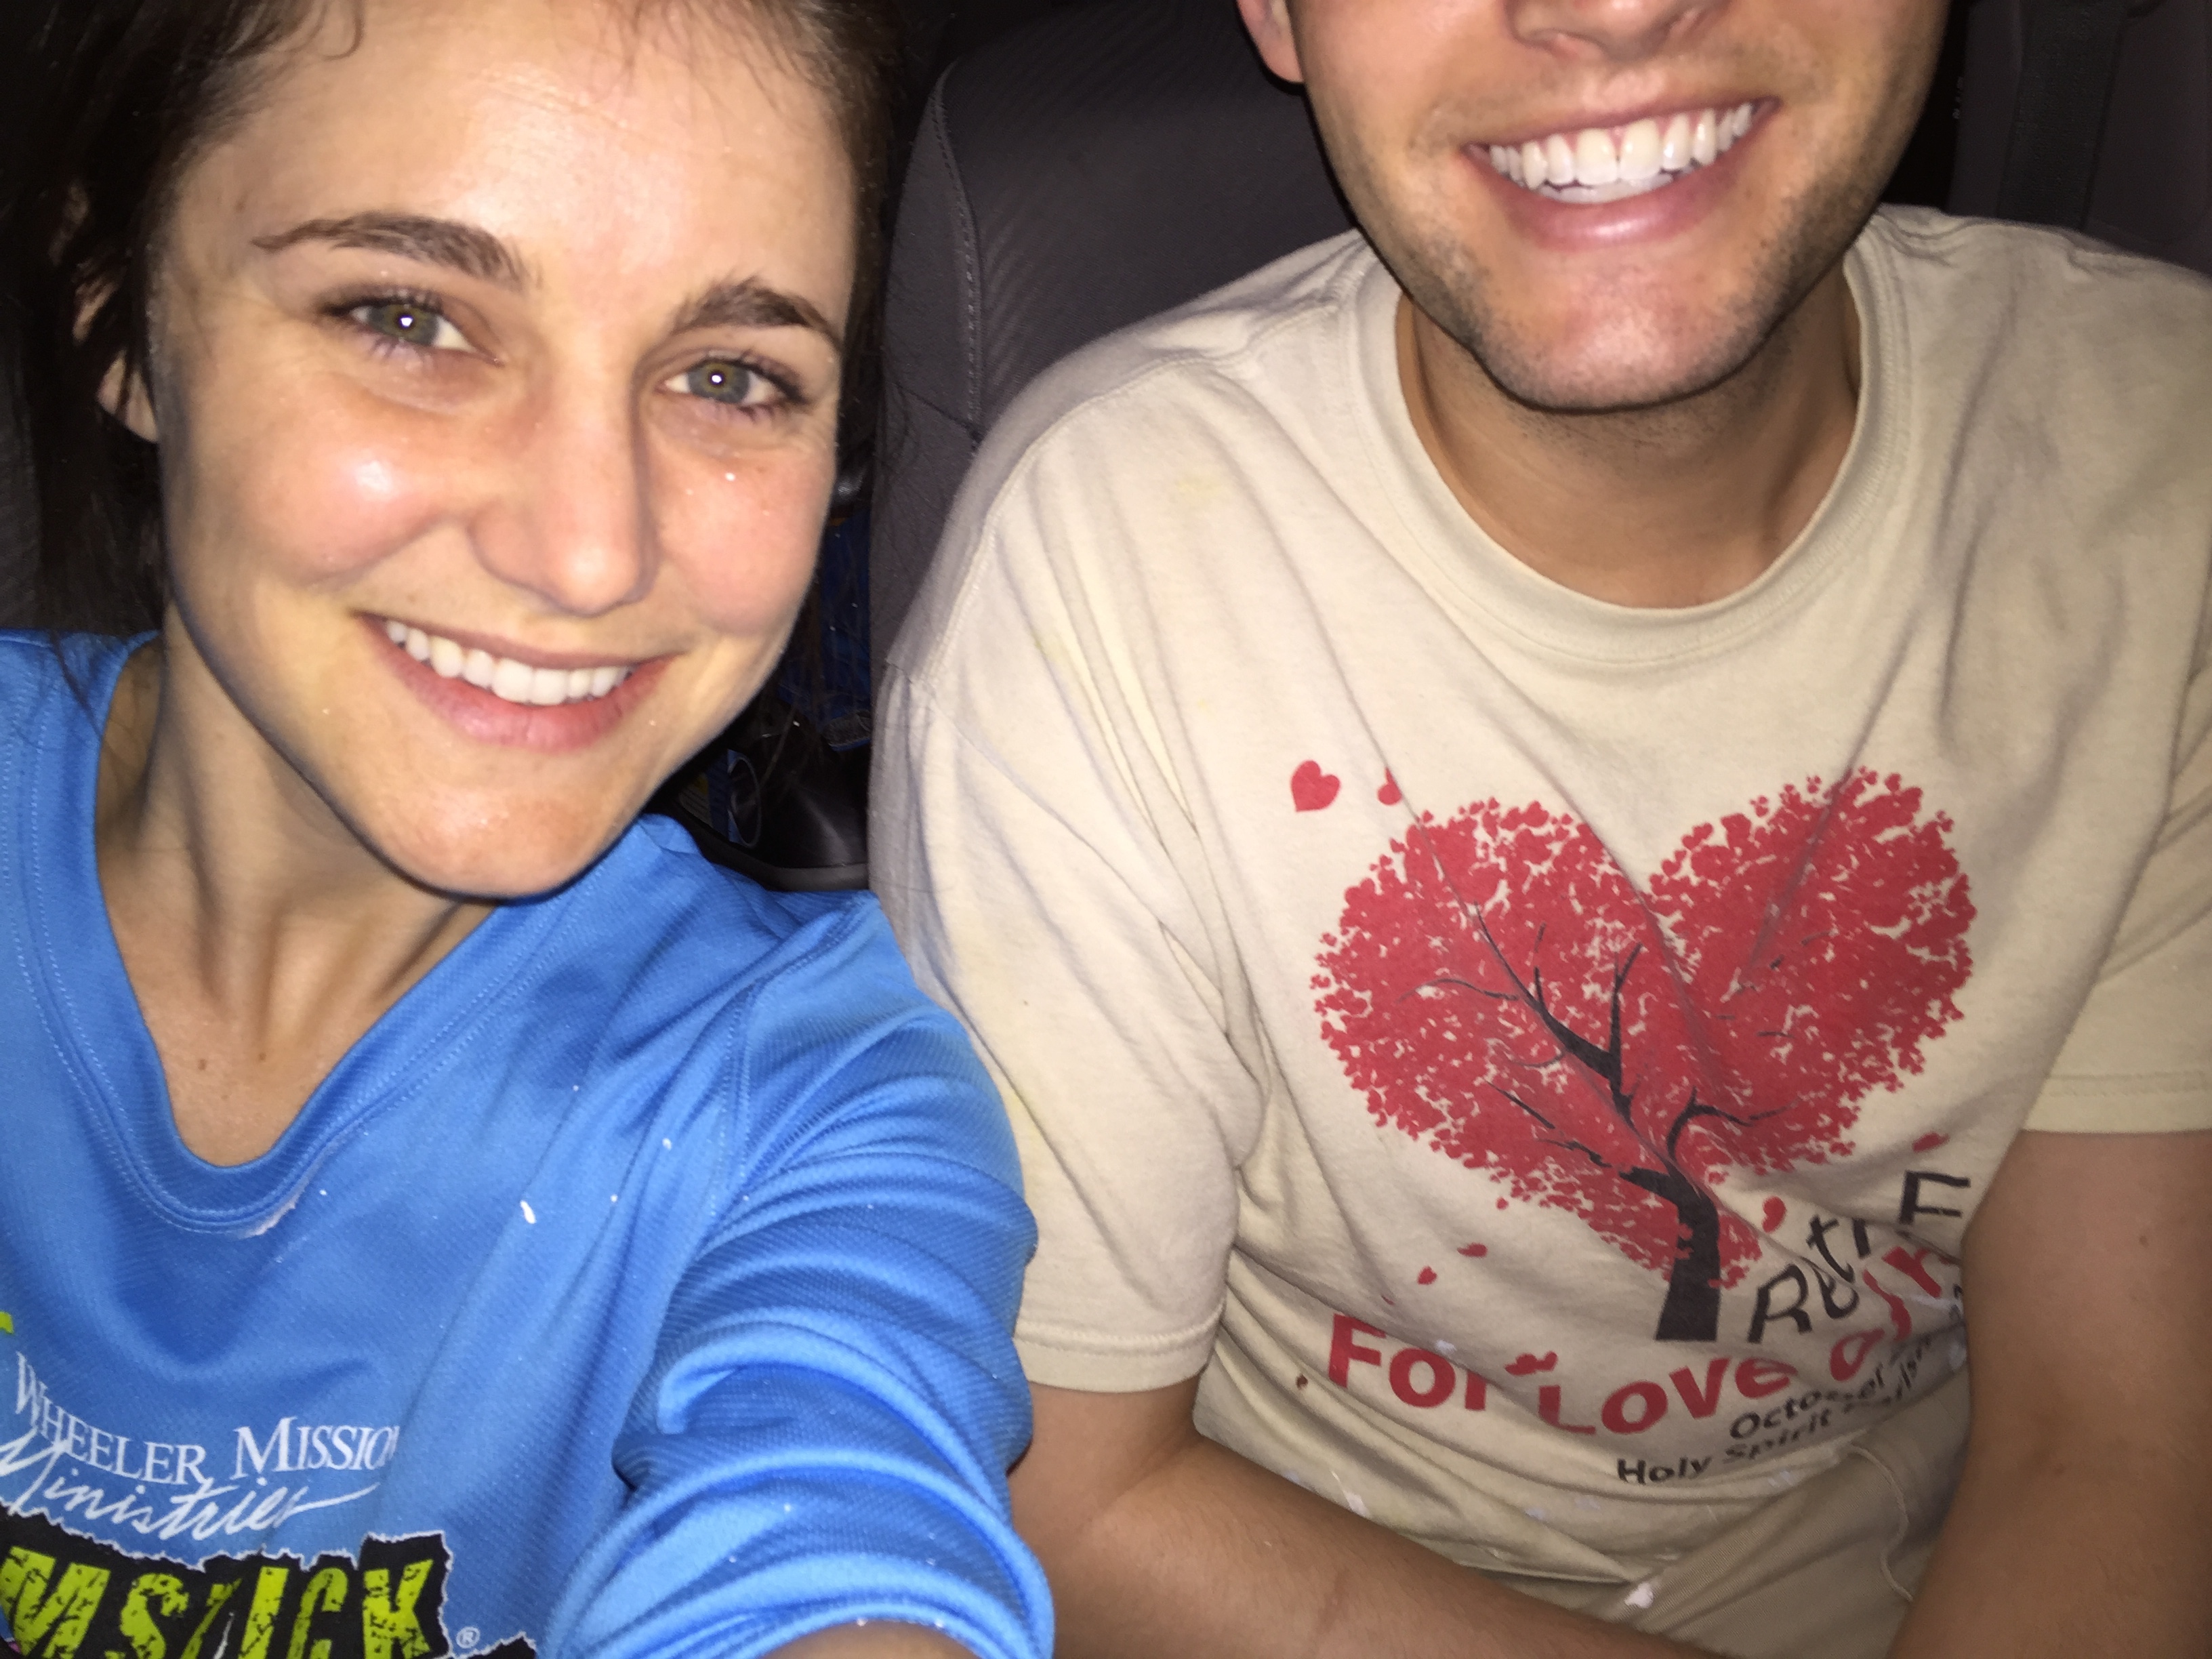
On April 24, Davey and I decided to not stress for 2 hours and watch a movie together because we wanted to enjoy the last night in our rental house. Nostalgia kicked in and it kicked hard. We regretted that immediately the next day when nothing was really packed. (but not really–I wouldn’t change that night for anything)

IMG_4864

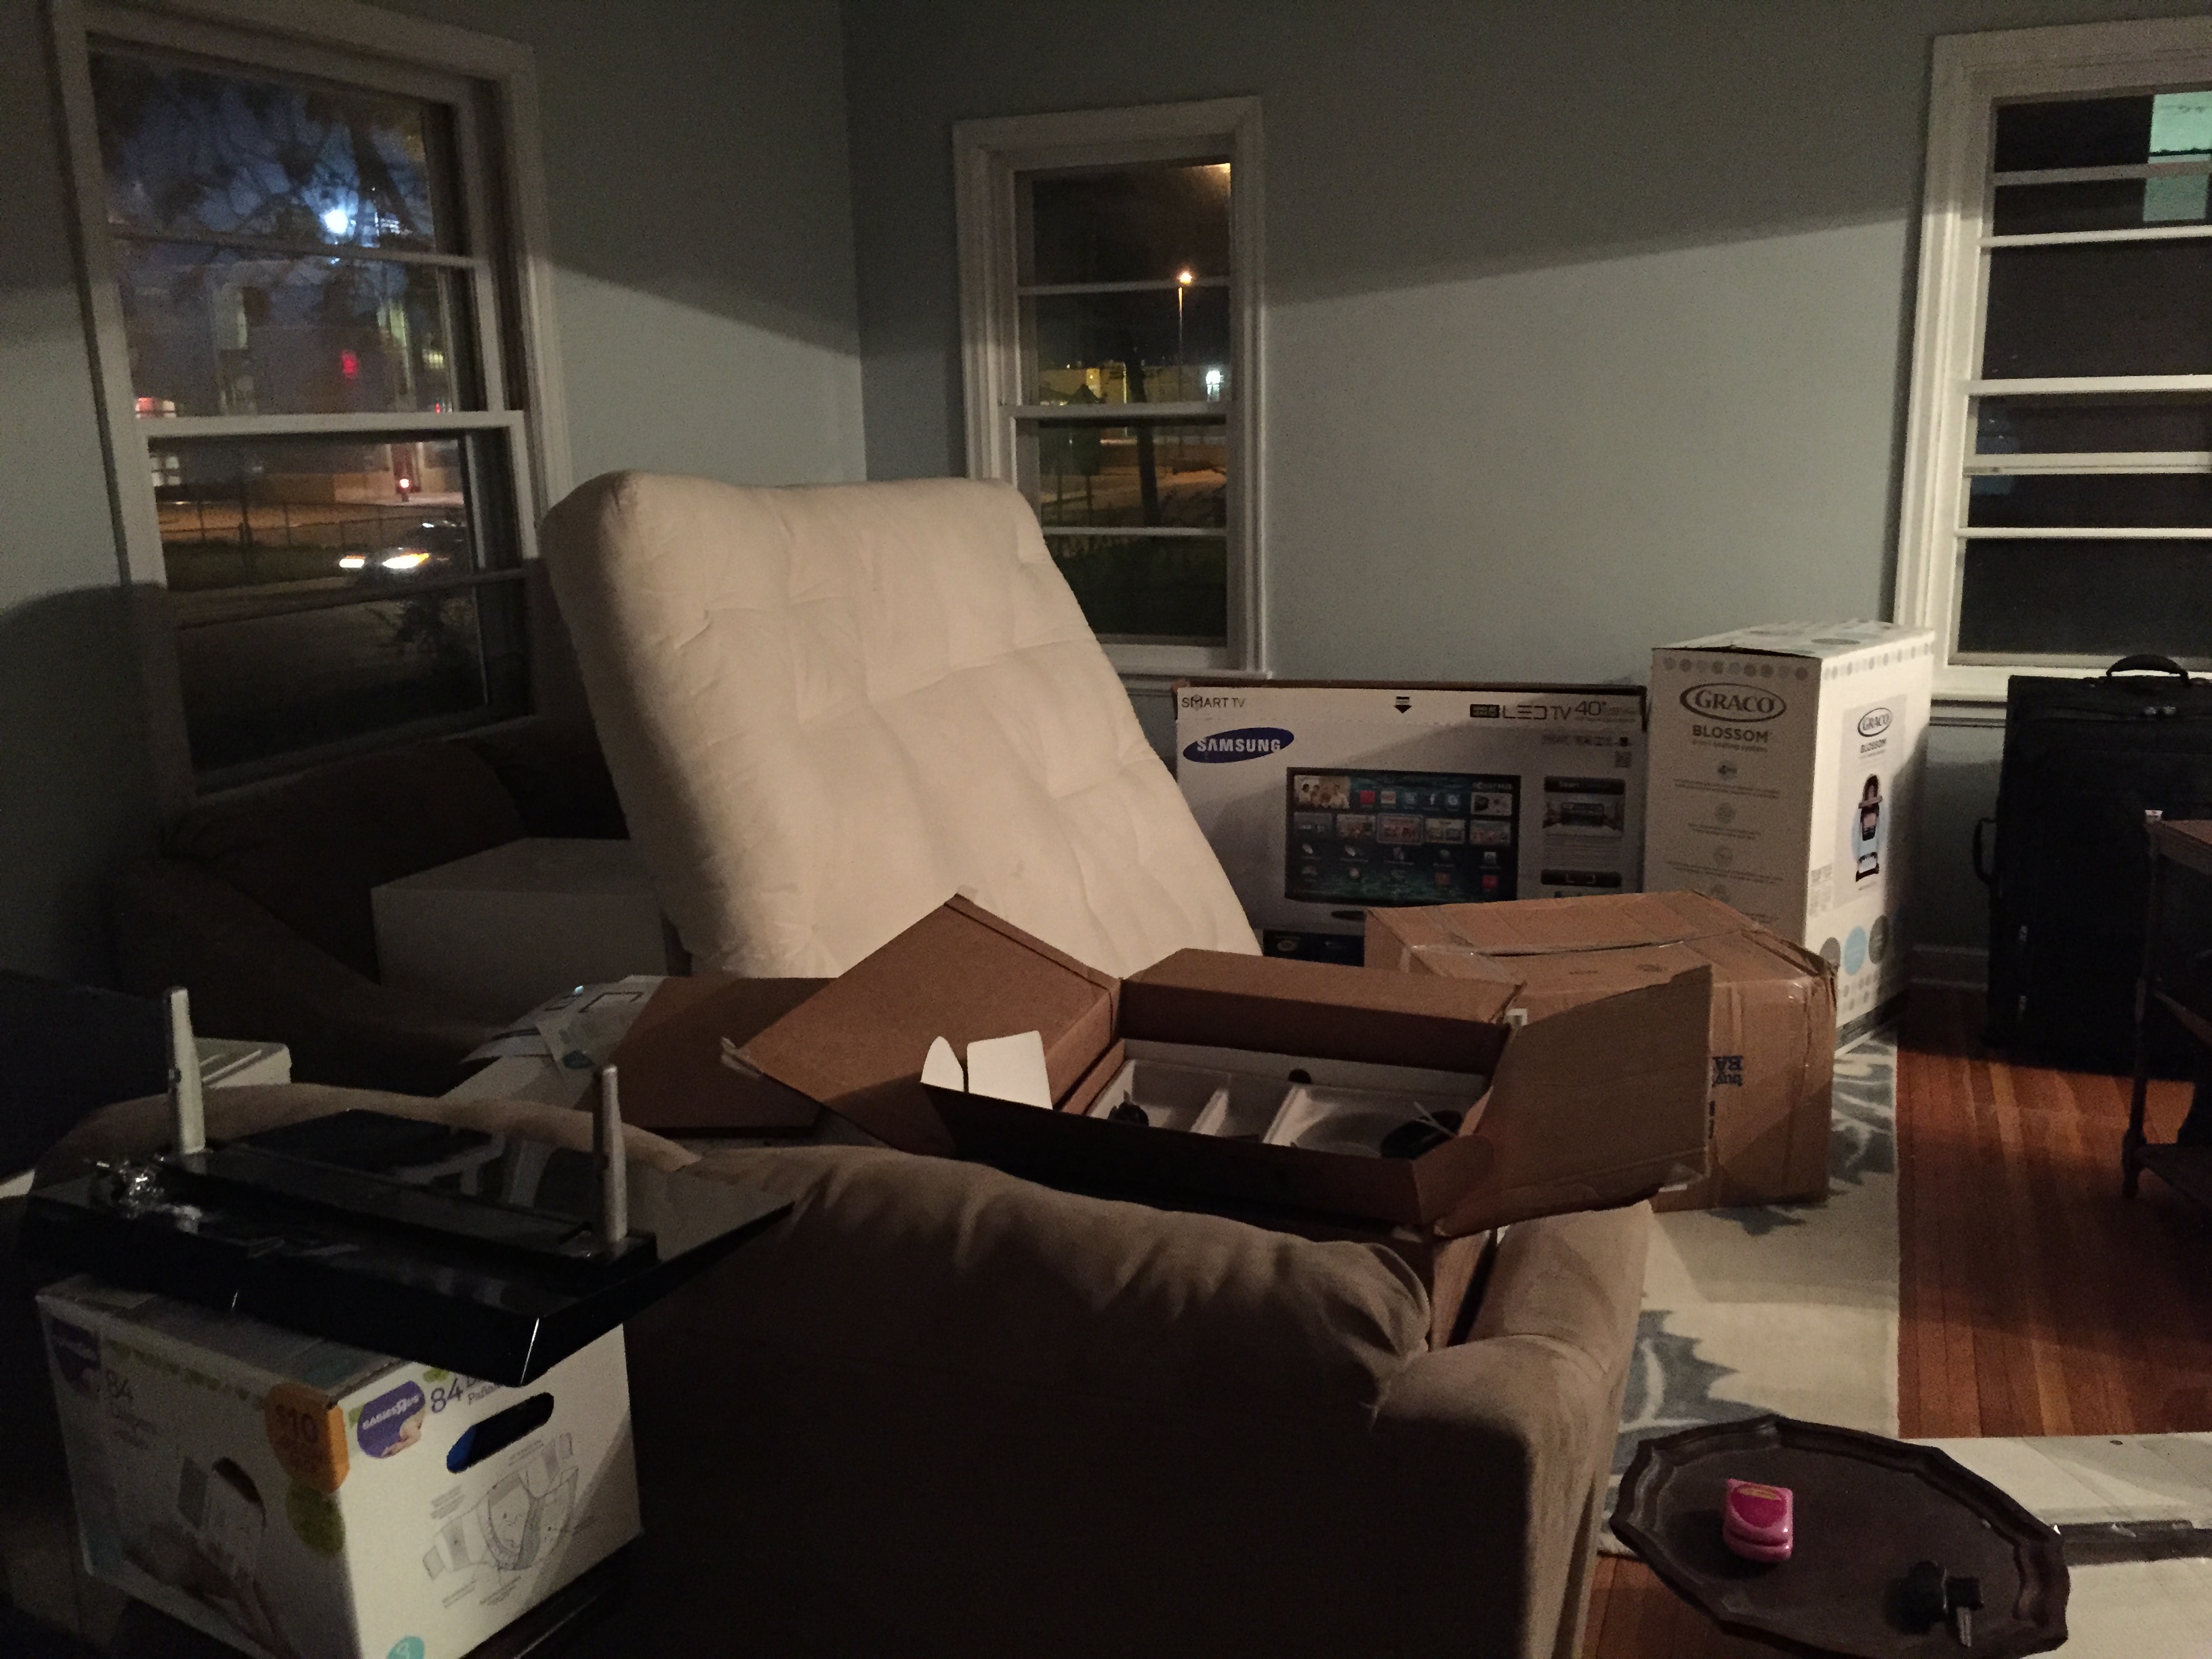
April 25, we moved into the house (I also worked that day per dumb life decisions).

IMG_4865

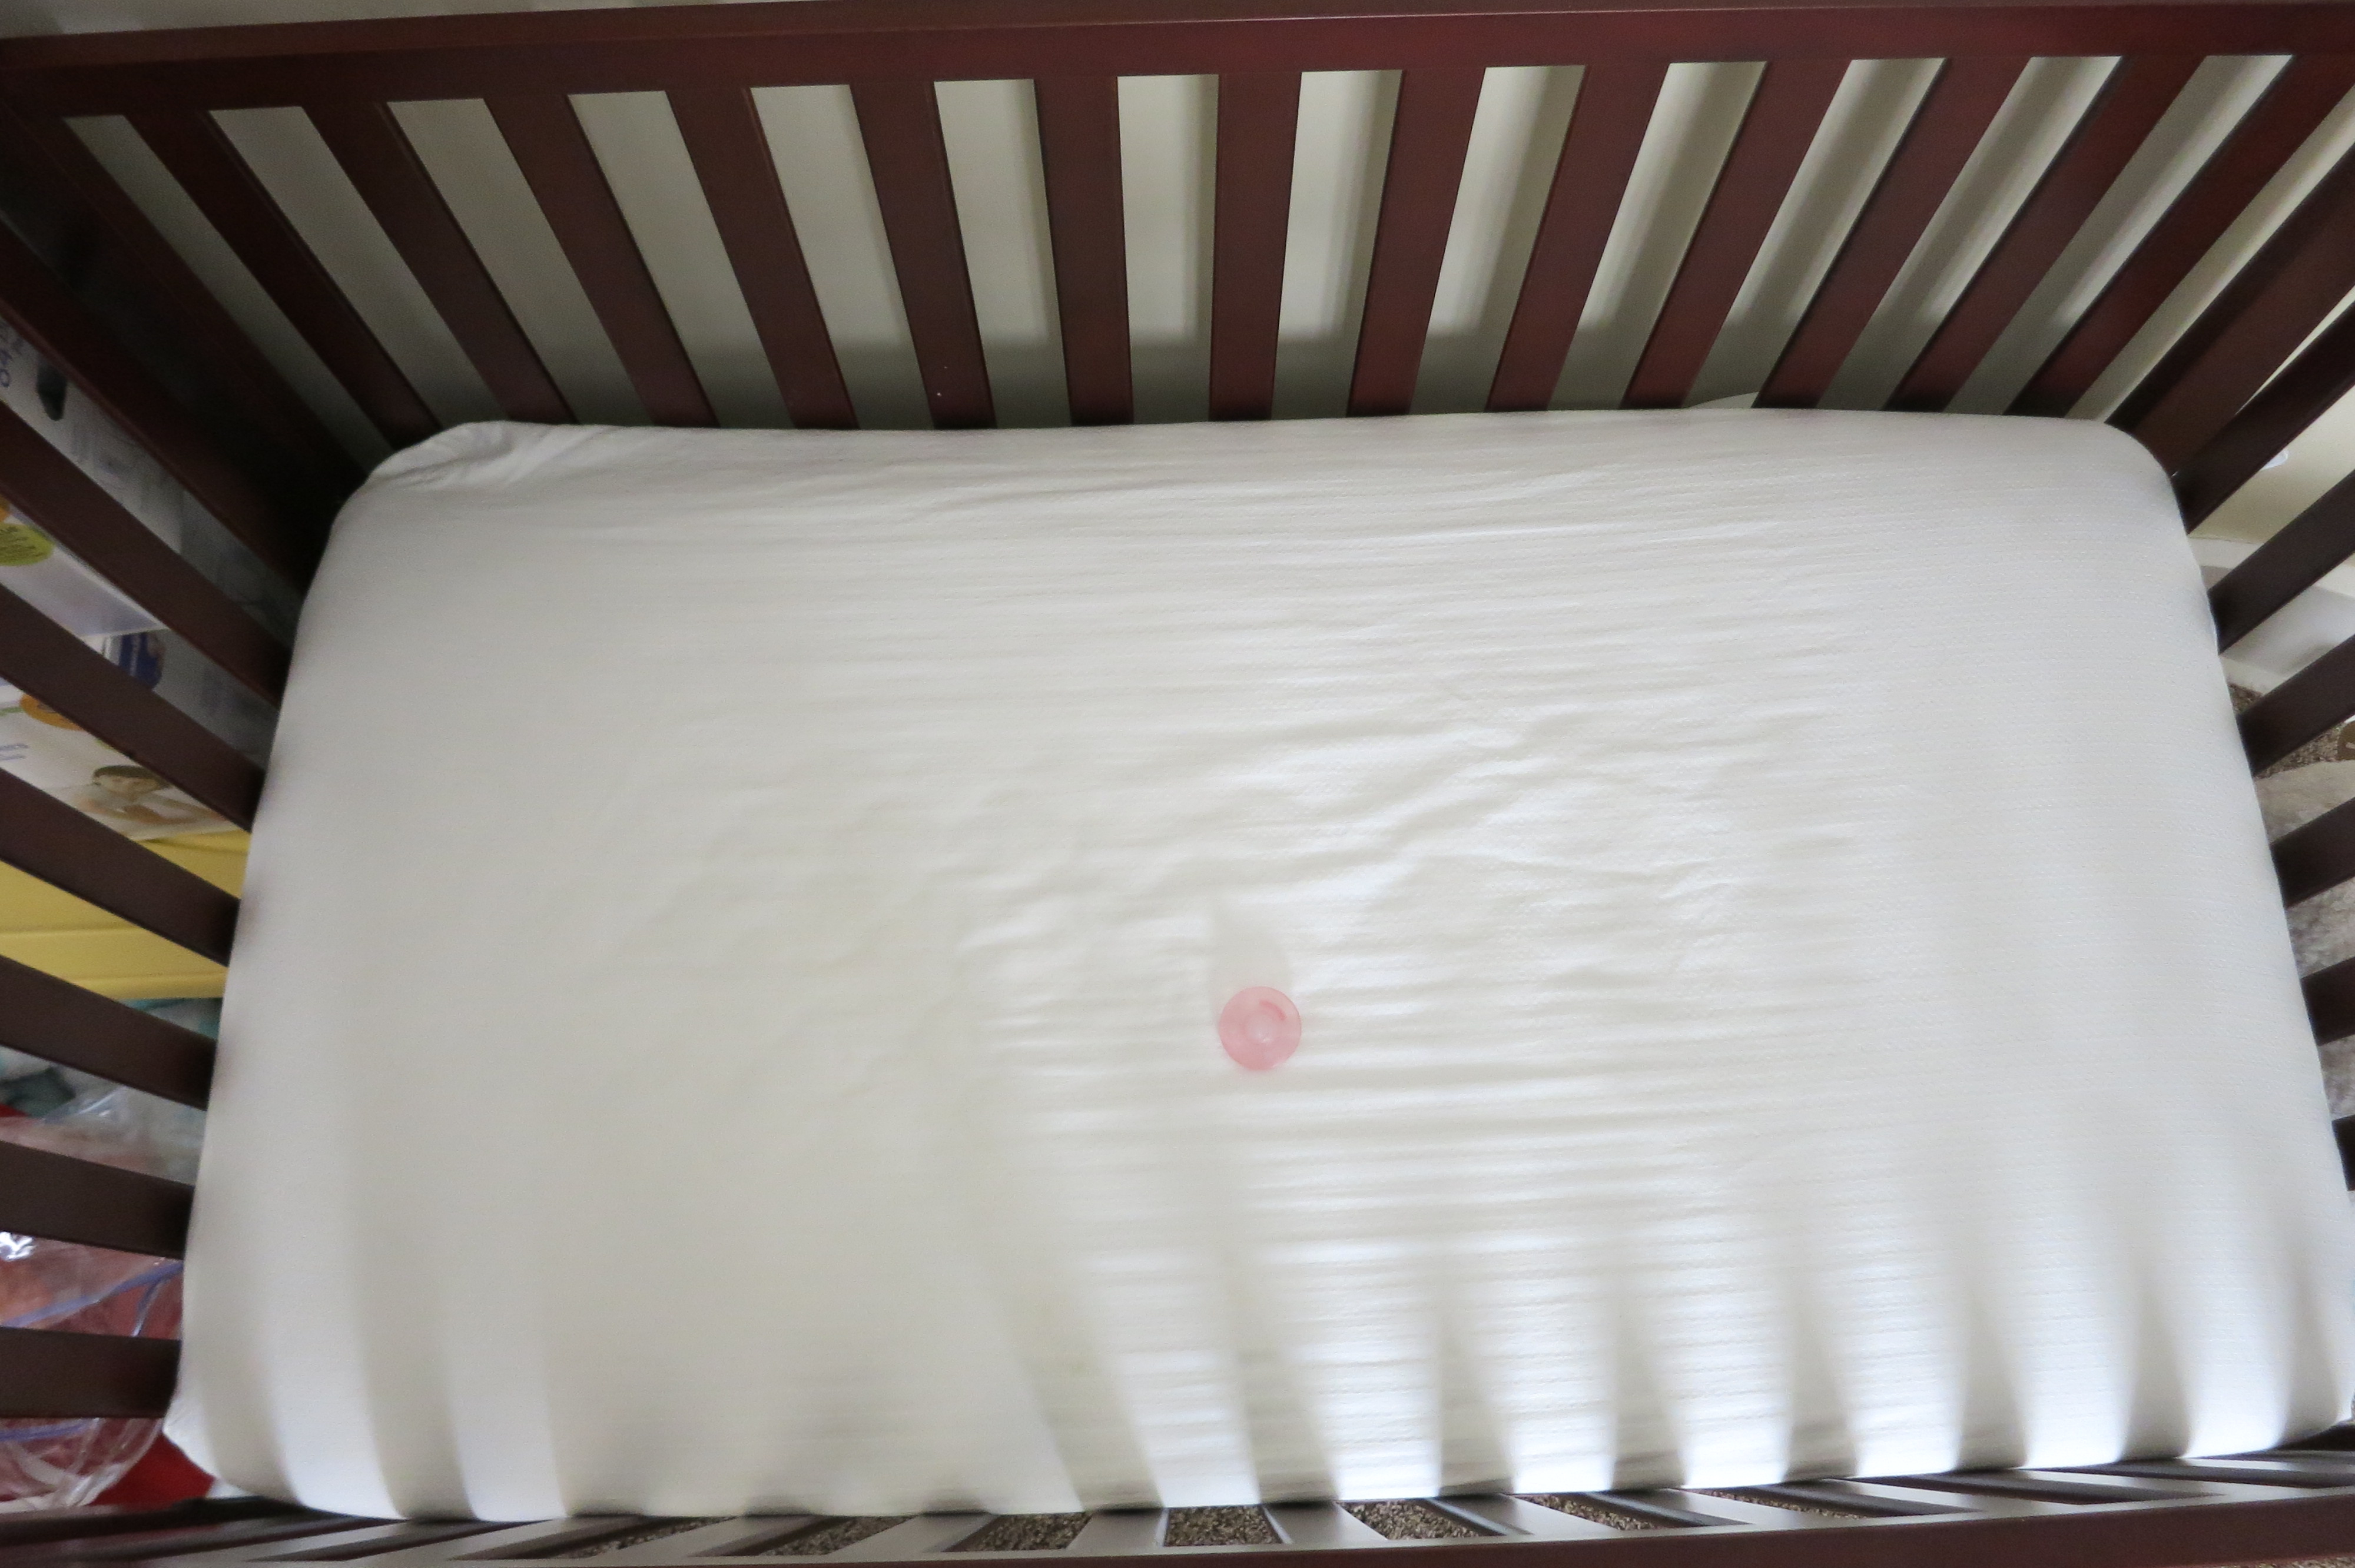
April 28, Seton started at a new daycare!

IMG_4894

…and started wearing shoes
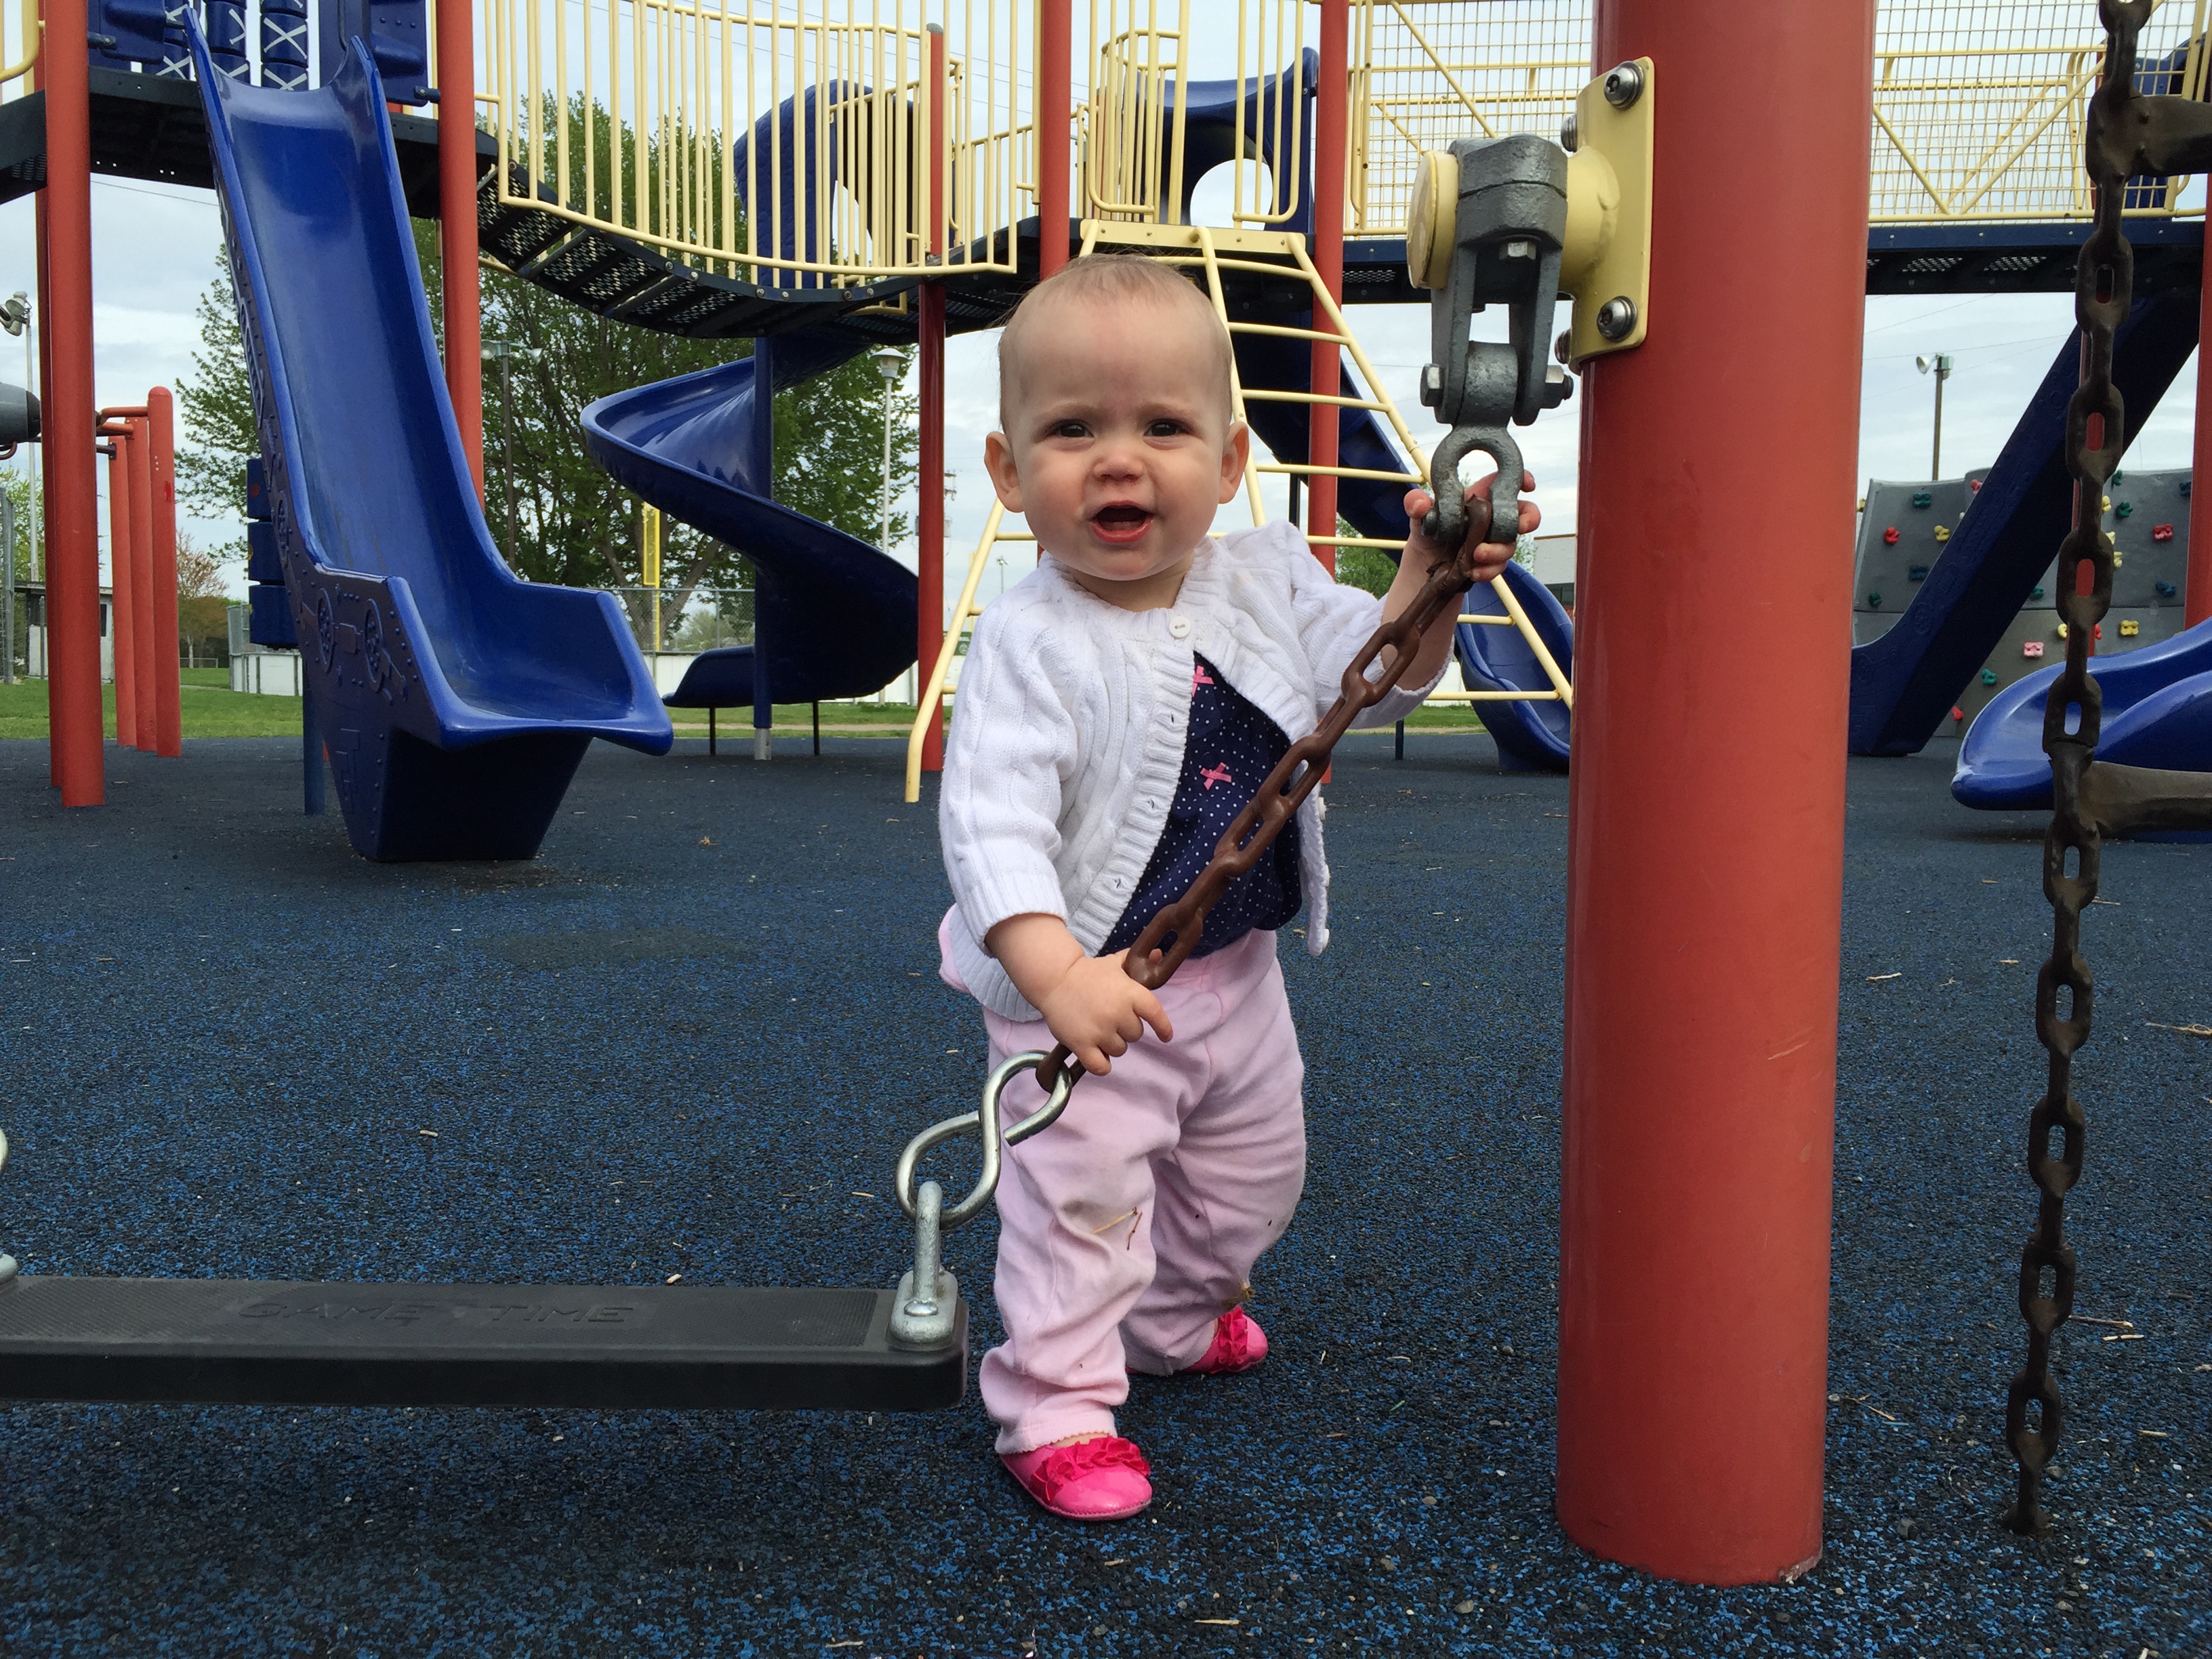
IMG_4967

…and taking steps

May 2, Seton and I took had an adventure to St. Louis.

IMG_4927

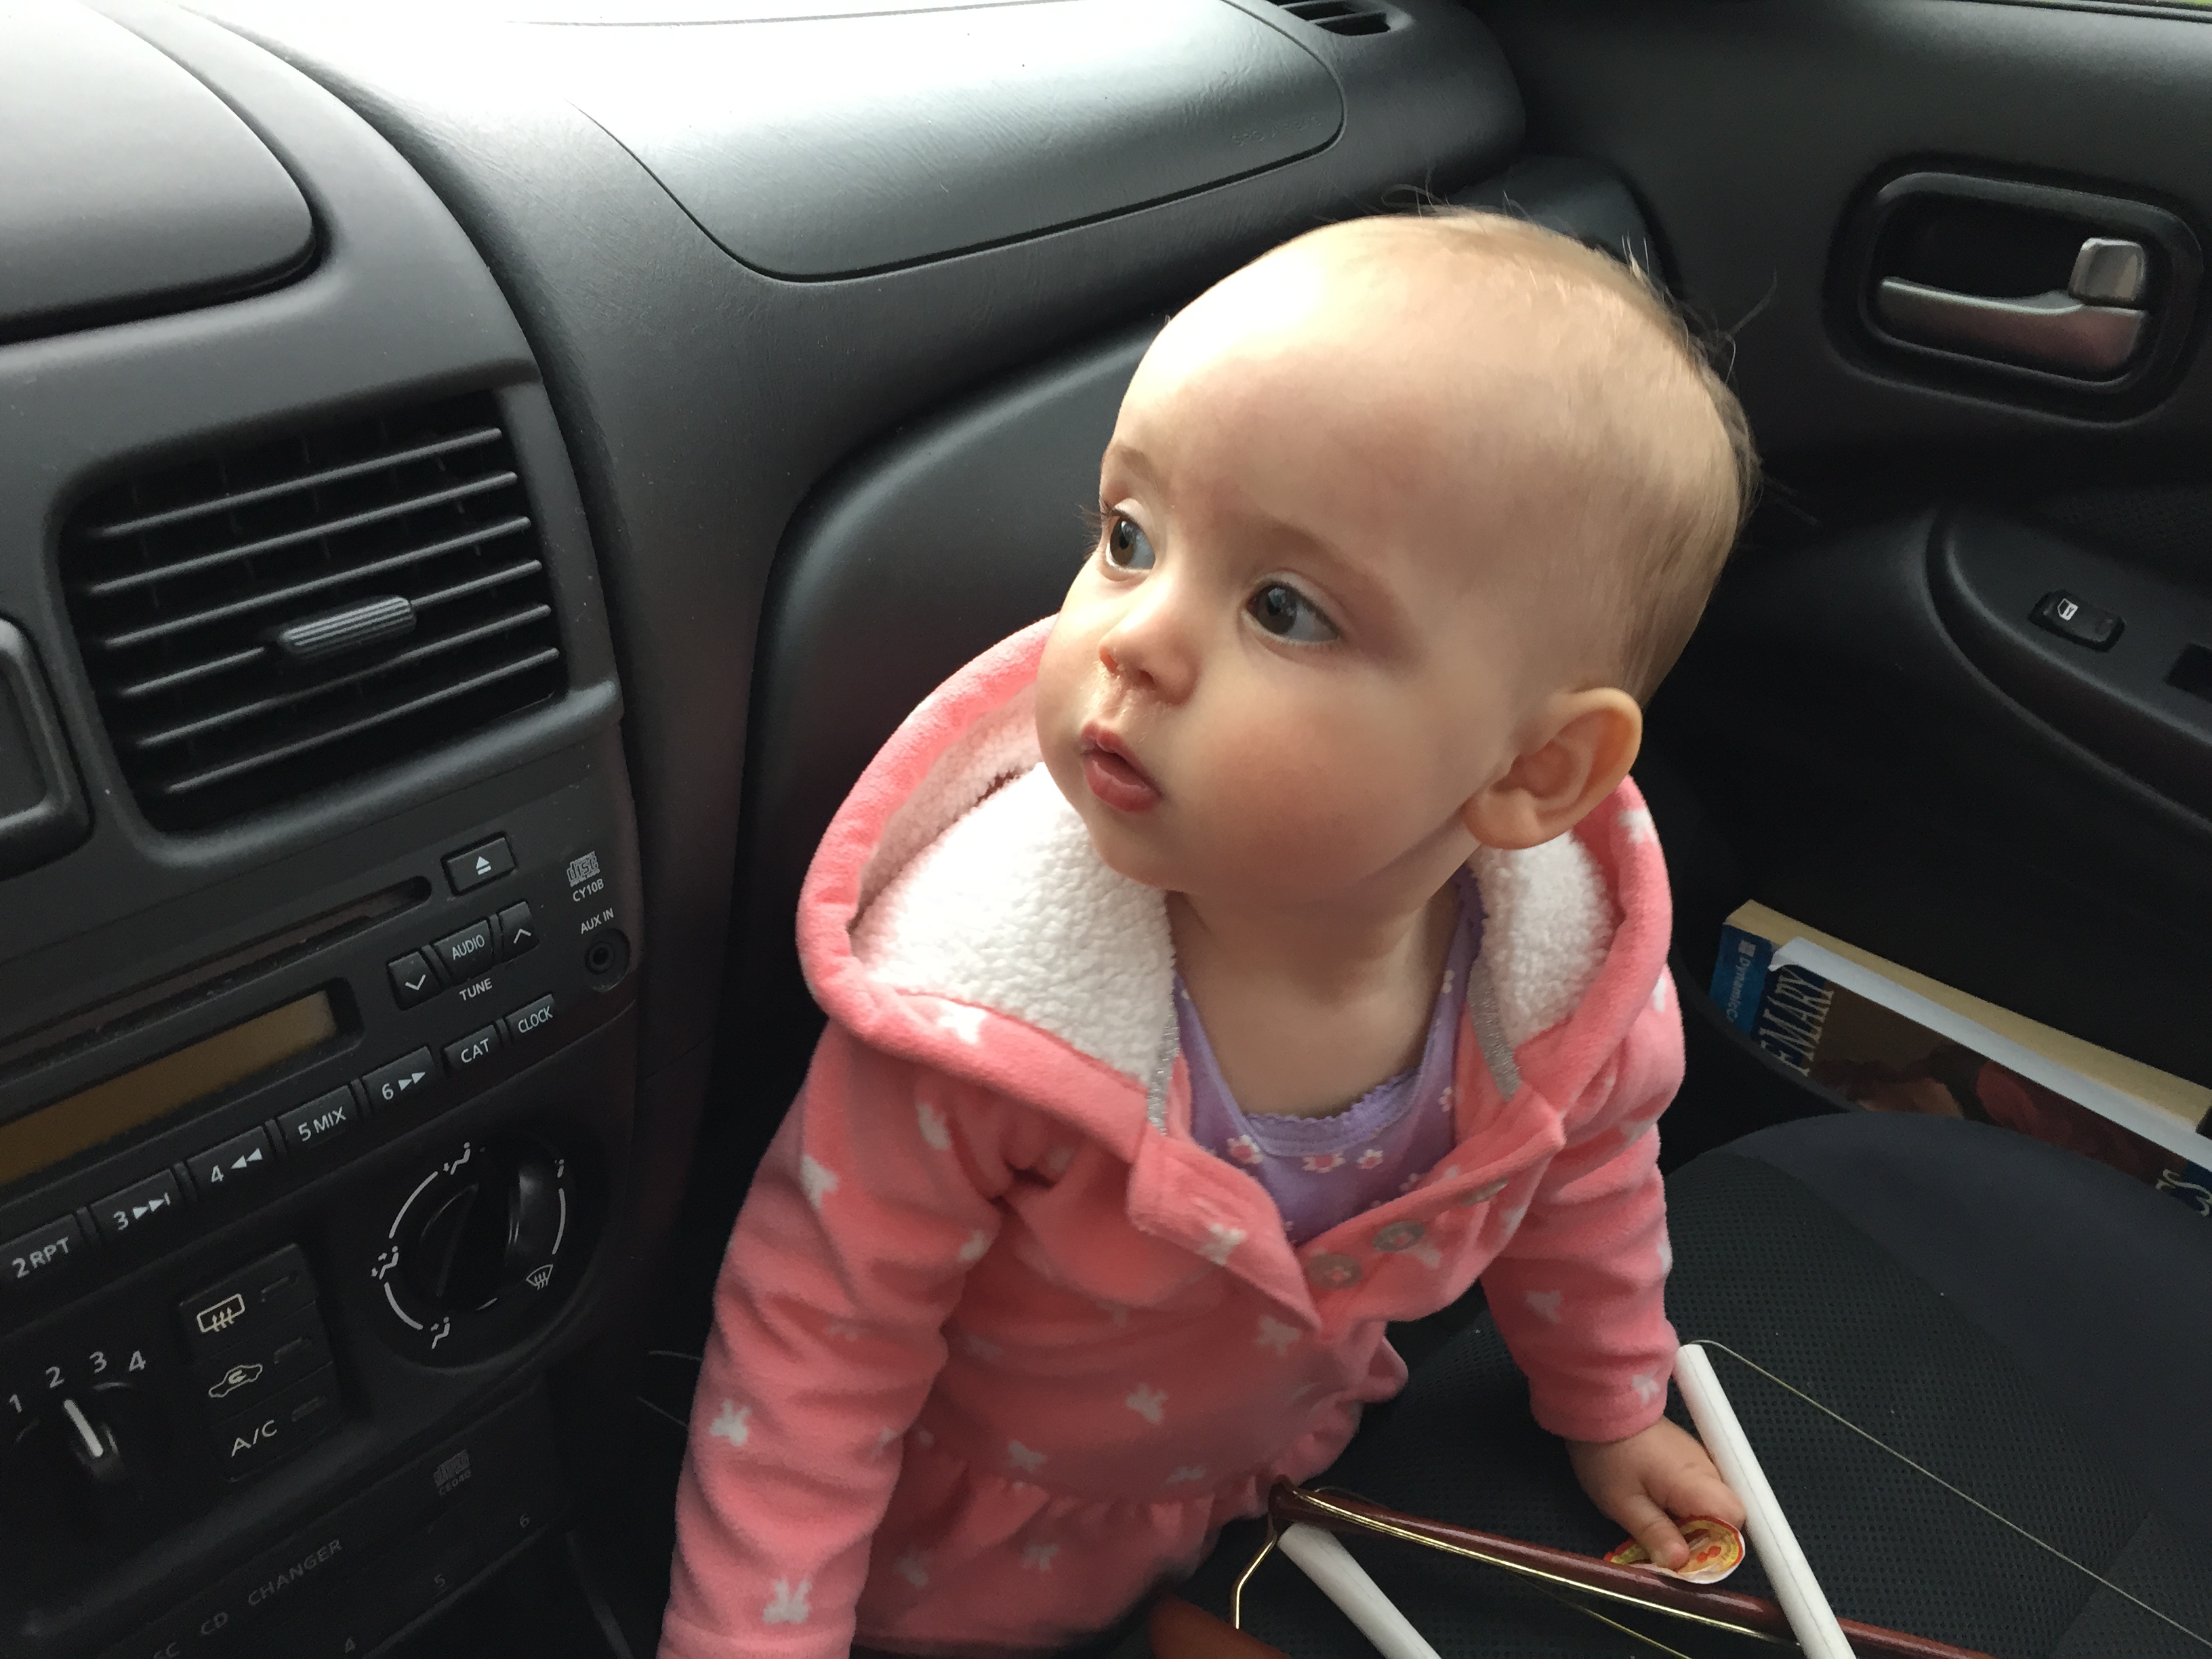
We also took a few/many/a million trips to Menards where Seton was mistaken for a boy day after day despite me adding more and more pink to her wardrobe each visit.

IMG_4978

On May 7, our front door *broke* (aka Davey played around with the locks and got them stuck), so Seton and I were locked out at the convenient hour of hunger, nap time, diaper change time, and a thunderstorm.

IMG_4993

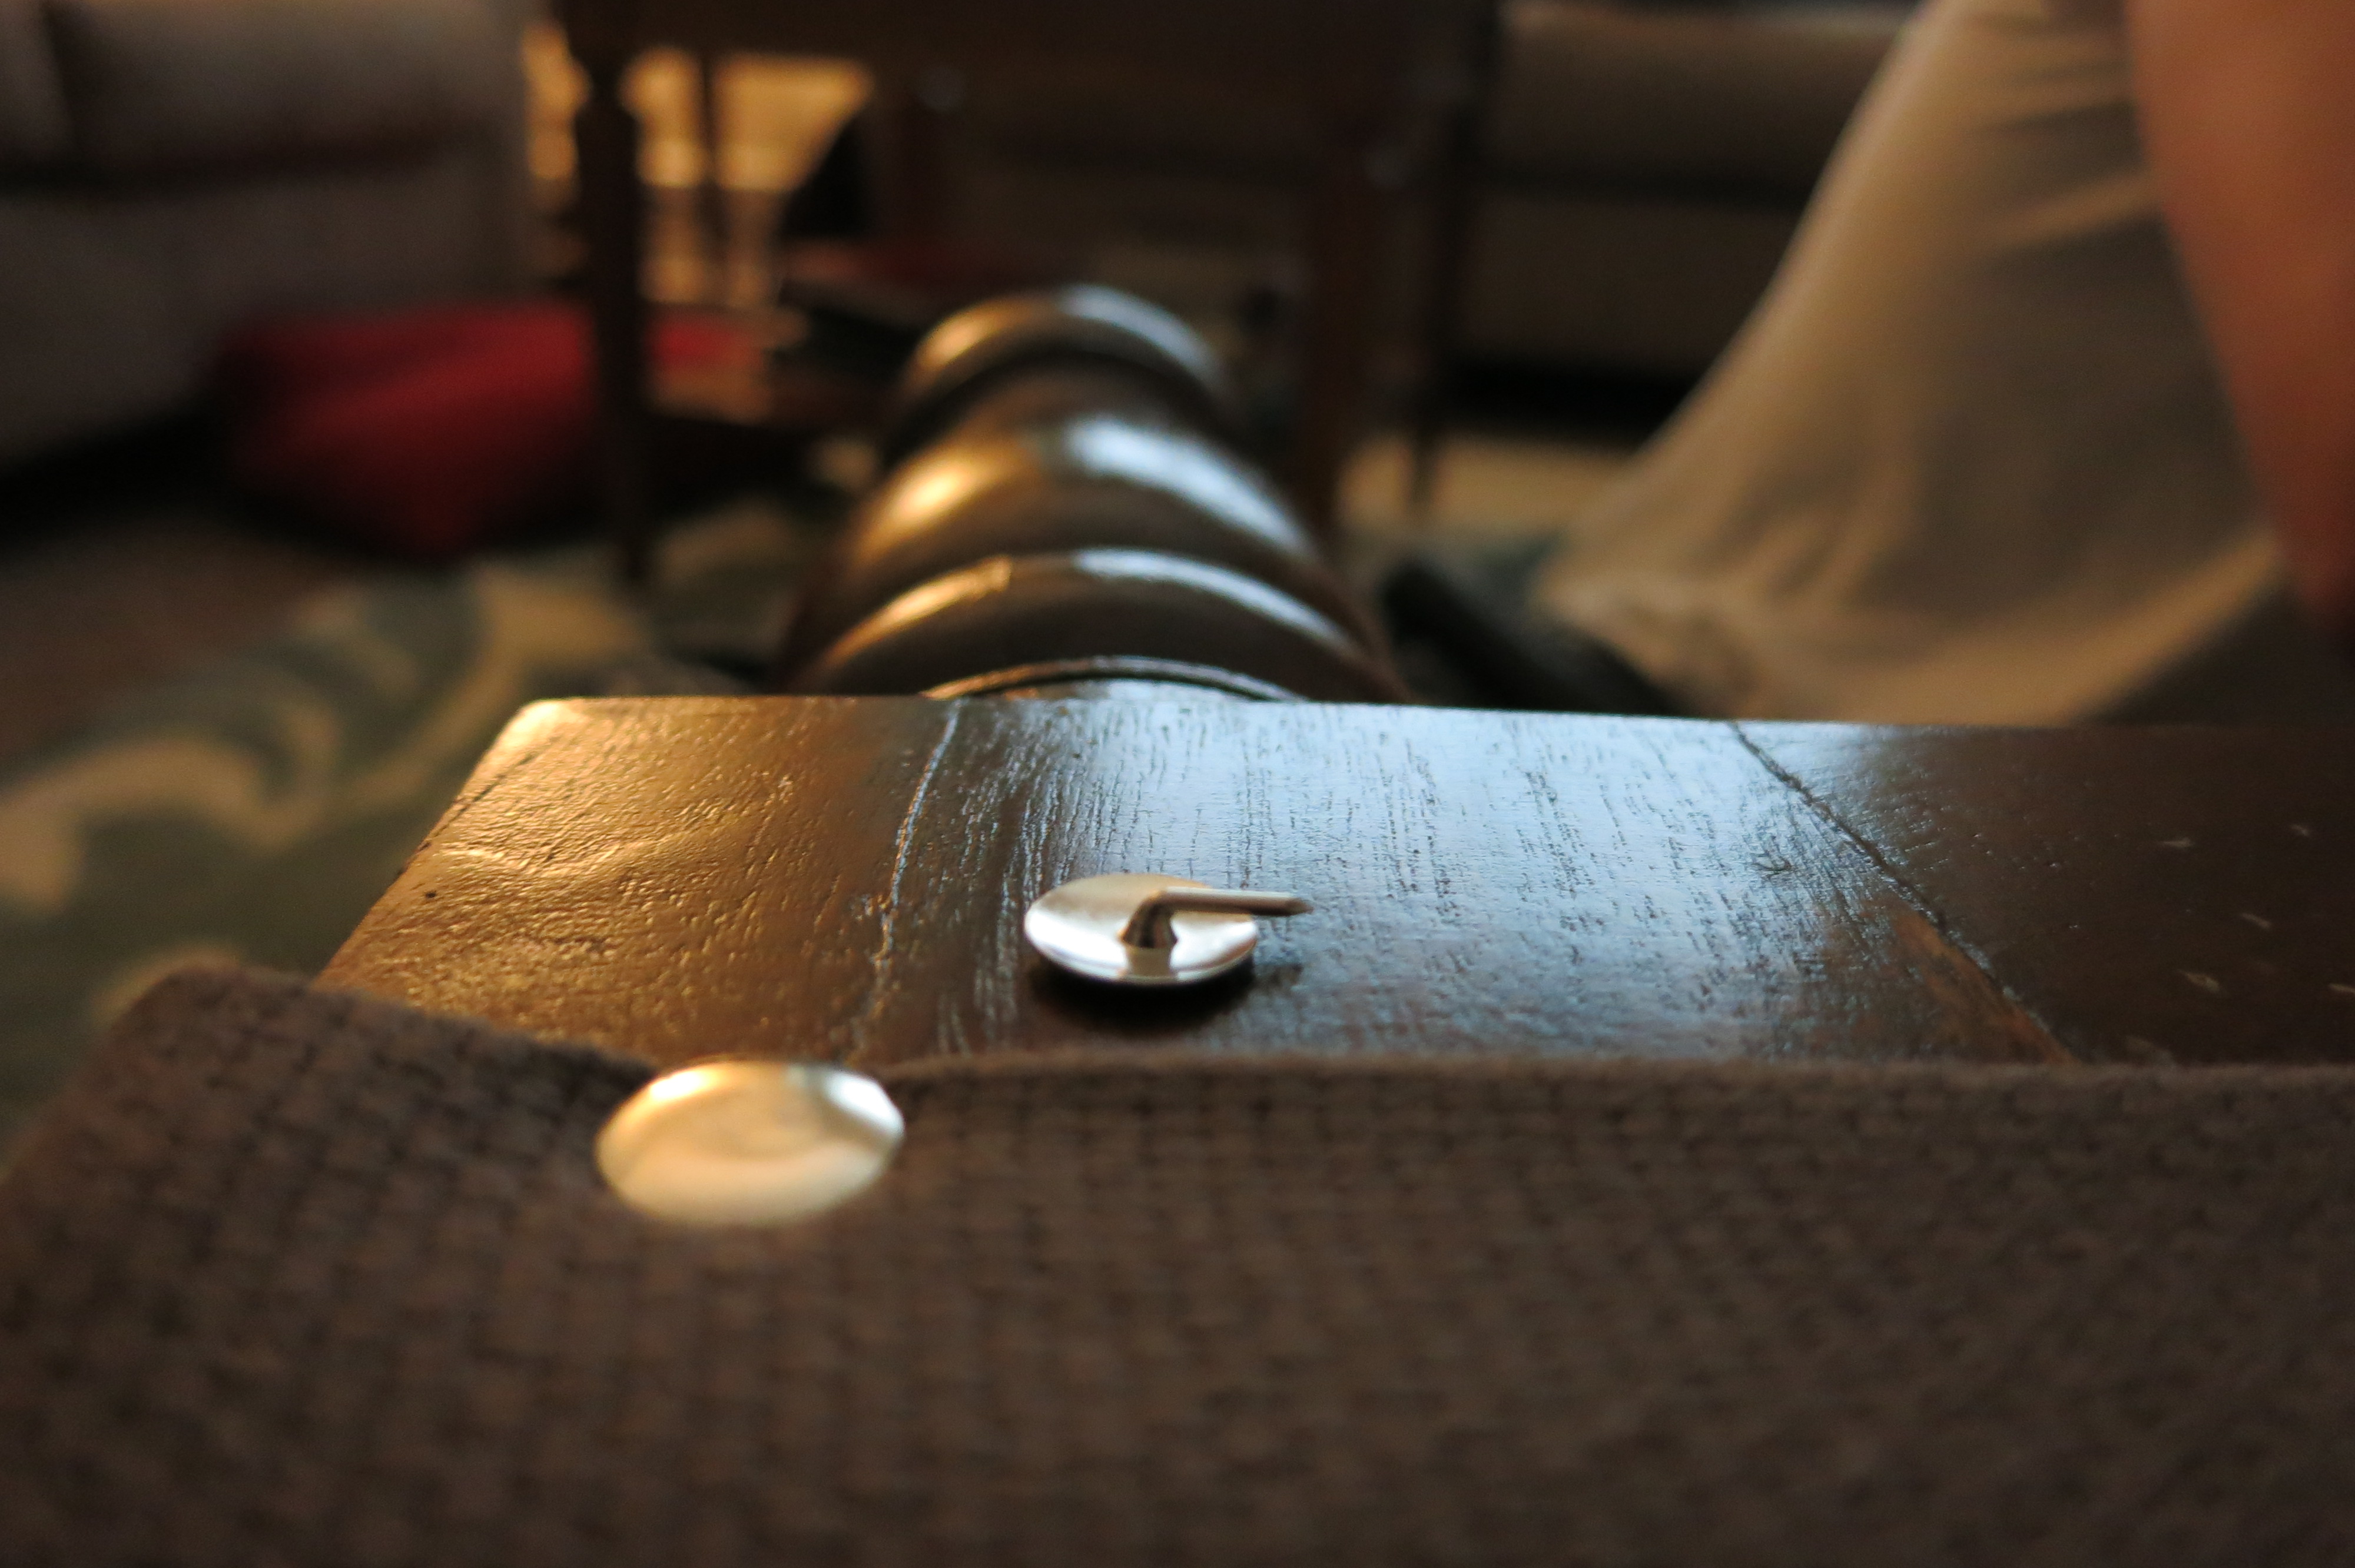
On May 8, Davey went bowling with the fellas so I had a night to walk around the house and finish all the random projects he started.

IMG_5013

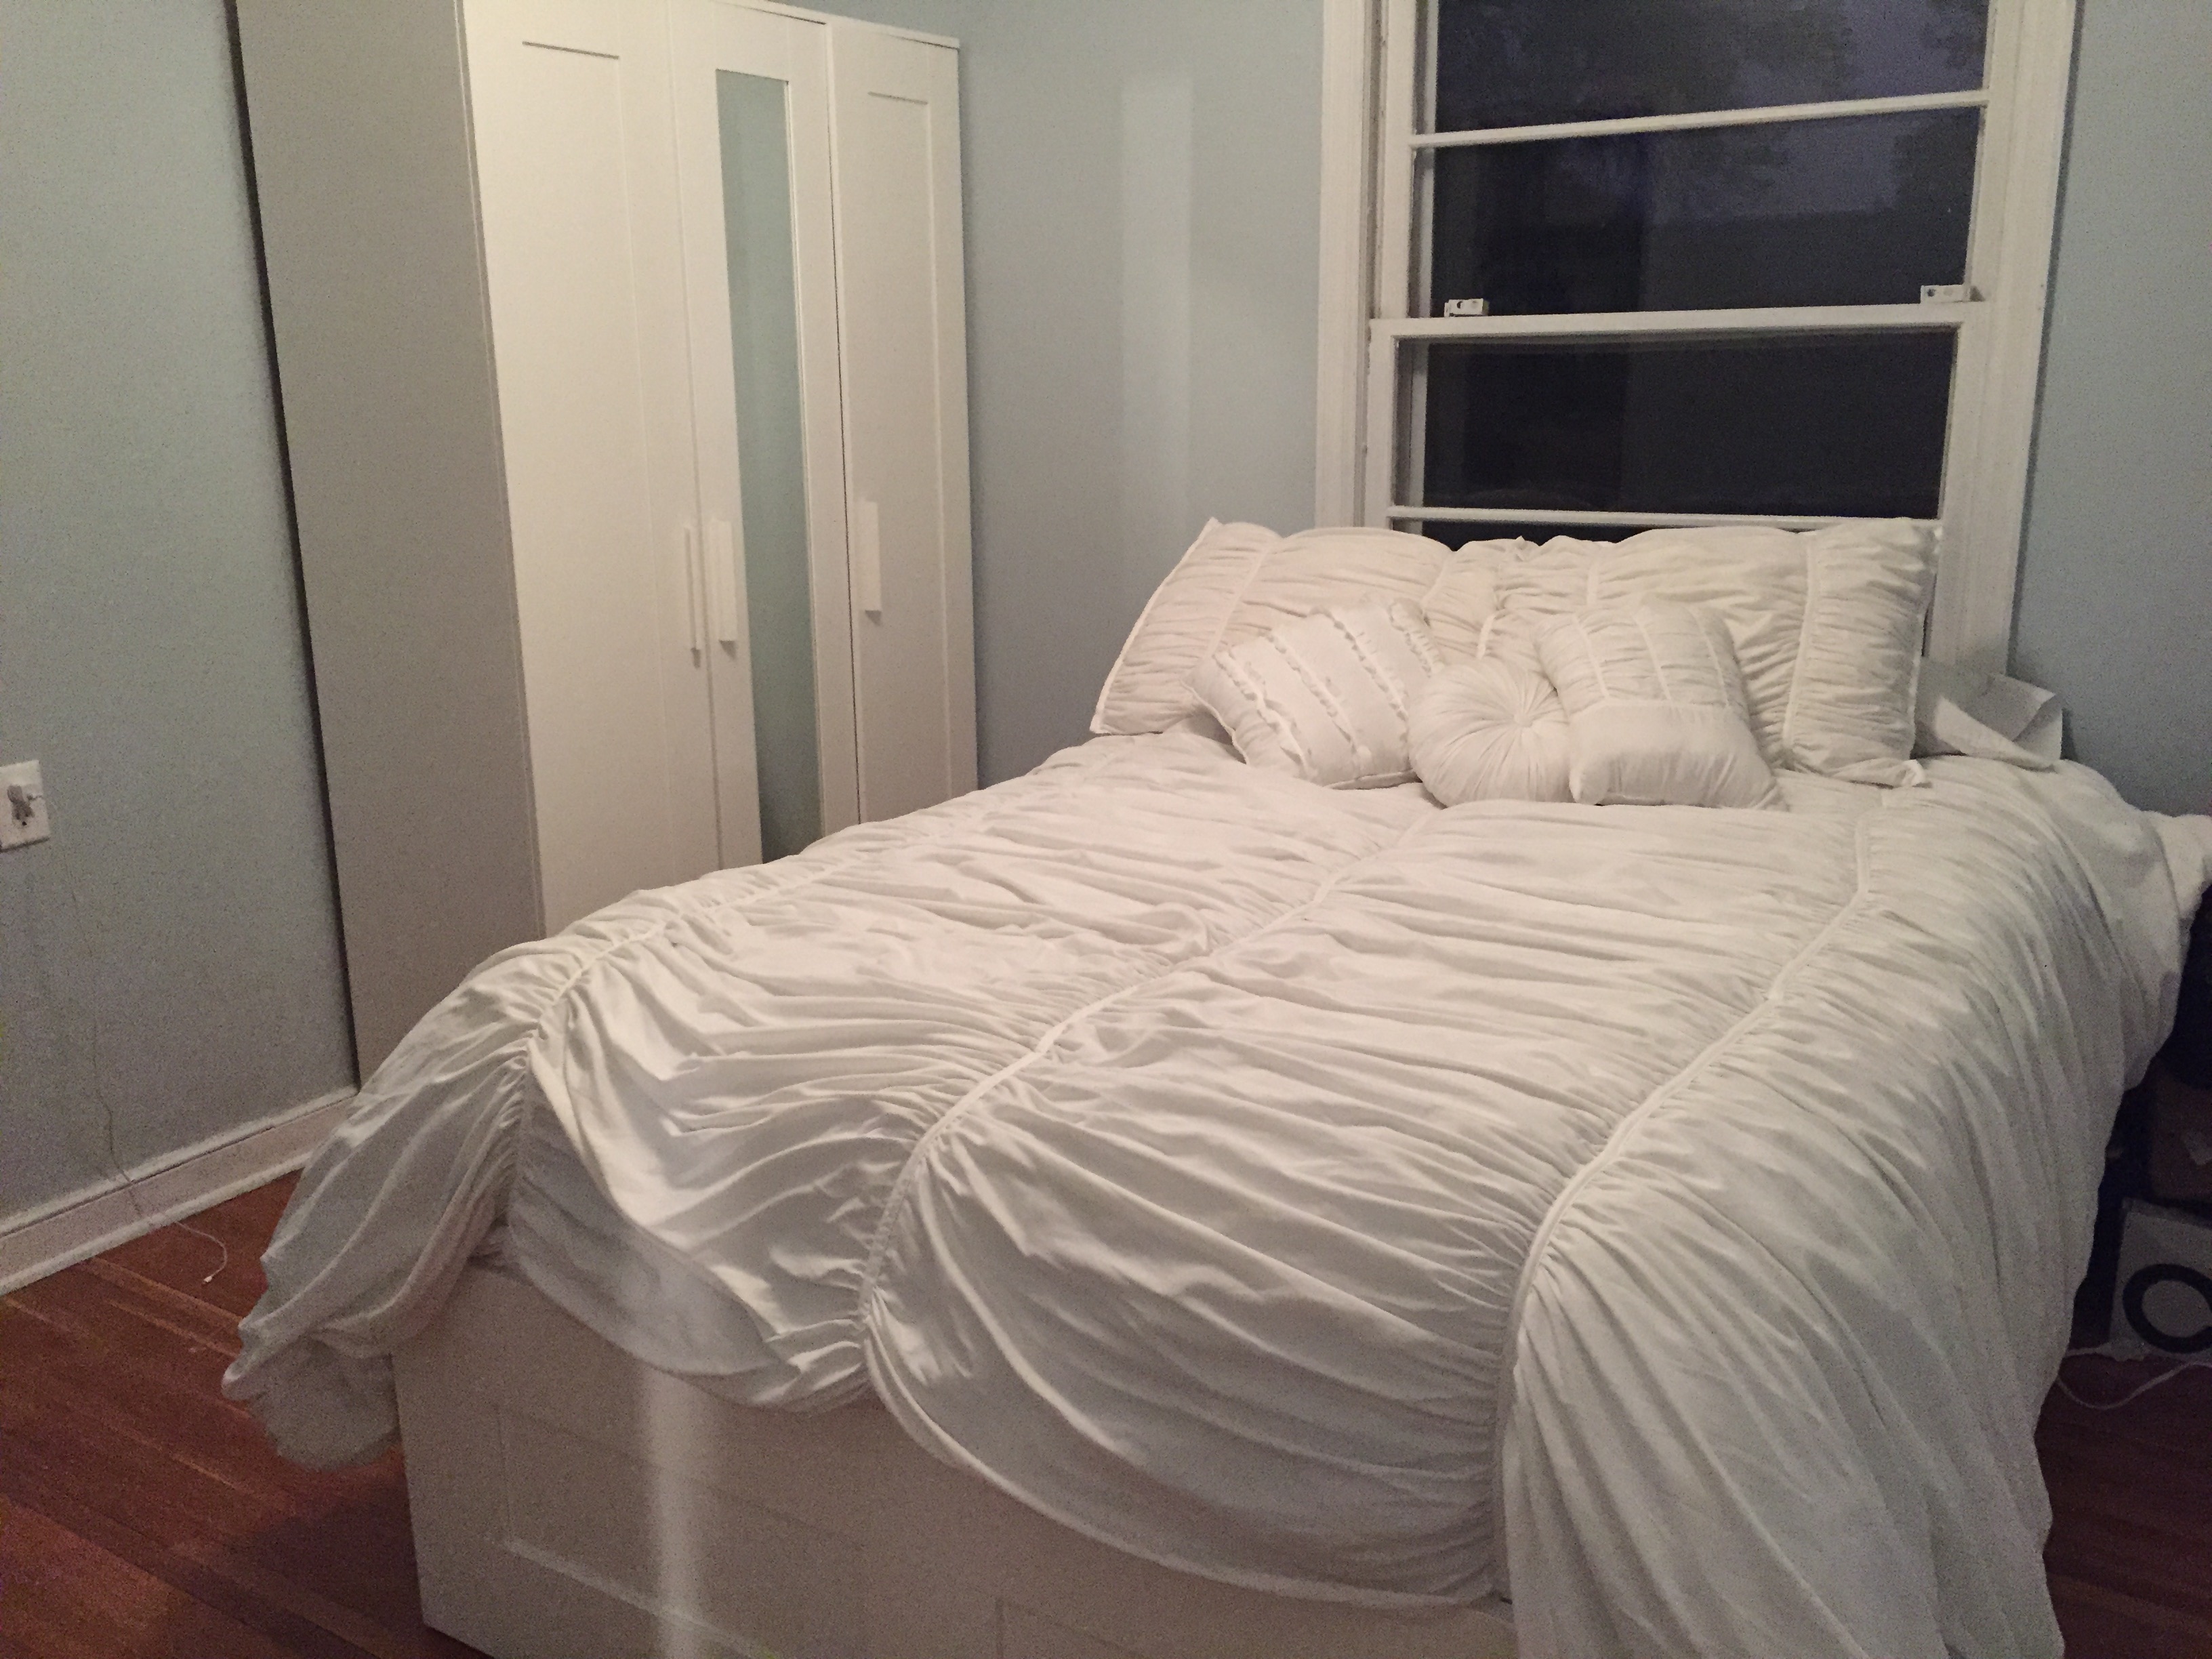
Last night, after living here 2 weeks, I unpacked our bedroom.

IMG_5016

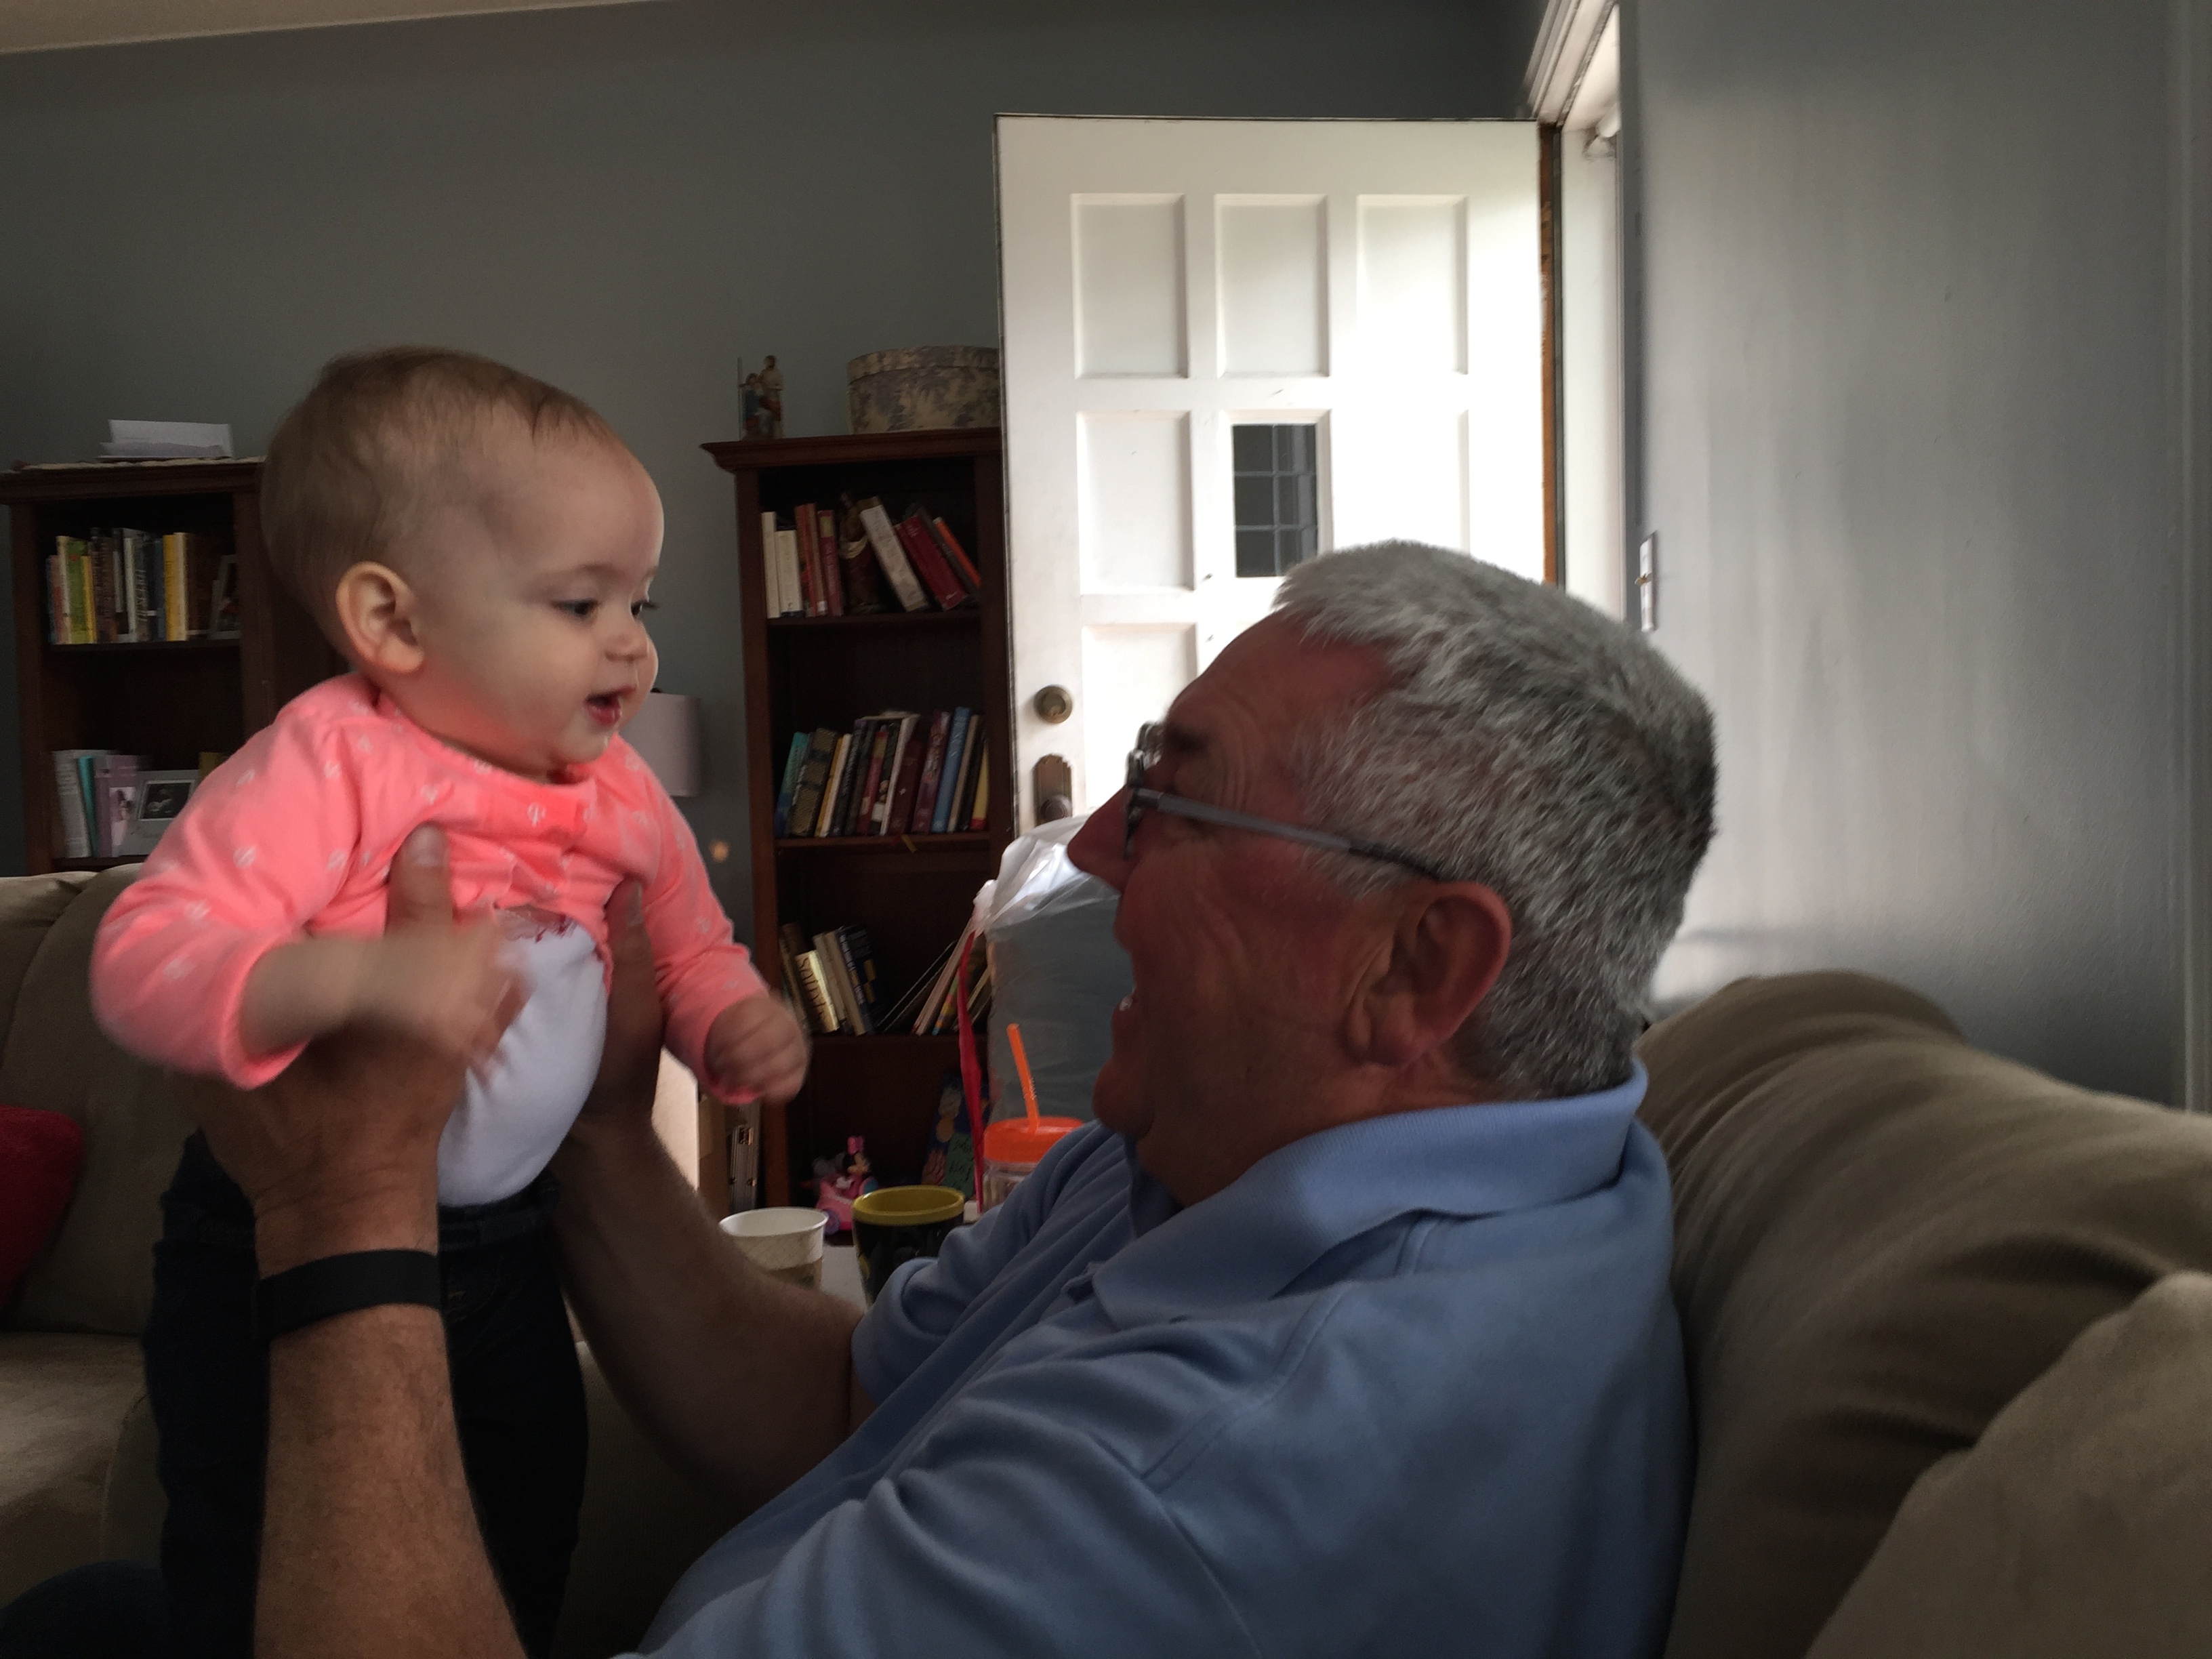
And this morning, Grandpa stopped by the house during his layover!

IMG_5028

And here I am today. Sitting.

I’ve decided that I won’t ever respond to someone with a quick, “busy!” when asked how I am doing. Life is busy, and in our busy-ness, there is peace. The monotony of painting poured prayers on my heart of hope in the future. The lifting/carrying of boxes showed me how blessed I am for my physical abilities. The unpacking of things that have been packed for three weeks reminded me that what I really need cannot be packed in a box. It’s been an amazing month of personal growth and familial growth as Davey and I worked toward the common good of creating a home.

Seton’s Nursery

I never really understood what people meant when they asked me, “What’s the theme of your wedding?”

Um, marriage.

Or, “What’s the theme of your nursery?”

Um, baby.

Maybe it’s my dominant left hemisphere, but I am not one to put a lot of time into decorations and themes. And much to my dismay, I did not go through that nesting phase everyone talks about. I was hoping to accomplish a lot during that time.

So Seton’s nursery is really just bits and pieces of baby things. I wasn’t going to document it because it’s really nothing special. But as we get closer to buying a house, I realized I wanted to remember Seton’s first room and where I spent so much time nursing her, changing her, cuddling her.

So here is Seton’s baby themed nursery!

We went to Goodwill and picked up a copy of Goldilocks and the Three Bears. We put the pages in $1 frames and voila. A decoration!

IMG_2067

IMG_2068

I found her hamper on sale at a fabric store, and the diaper genie was a gift (thanks coworkers). Maaaaybe my favorite thing about her room is that fan that comes in handy when Davey lets out yelps or sings loudly from the kitchen (he does it a lot). That fan has saved Davey from some of my motherly rage.

IMG_2072

We found her dressers at Le Good de Will as well for the low price of $10. I took off the ugly orange knobs they came with and replaced them with new knobs from Ace. I wanted a short dresser that could double as a changing table.

IMG_2071

Seton’s piggy bank was a gift (thanks Chad and Keriann), and such a cute one. It says her name on the side.

IMG_2069

IMG_2070

Her rocking chair that houses her furry friends was also a gift (thanks Nora!)–I can’t wait until she is older and sits on it to read!

IMG_2073

Her book basket is a sewing basket that was used by my great grandmother. The majority of her books were from my cousin (thanks Kara) who is a teacher! Such an awesome gift.

IMG_2074

Another amazing gift (thanks Joe and Kathi!) is this rocking bear (it’s a bear, right? I’m not good with animals). For a long time Seton would giggle from her changing station, and I couldn’t figure out what she was laughing at. She was looking at this bear! She gets a kick out of it every day.

IMG_2080

Her night light (thanks Megan!) has saved me from many stubbed toes in the wee hours of the morning. I love that it’s so cute and personalized!

IMG_2079

I was counting on the nesting phase for motivation to make a mobile for Seton, but since that never happened she stares at a blank wall and a crucifix which was a wedding gift (thanks Caris and Rob!). I love walking in after her naps and see her staring at our Lord.

IMG_2082

IMG_2083

And since I am Mother Paranoia about SIDs, we never put cute bumper pads or pillows in the crib. Feel free to pin that to Pinterest.

IMG_2084

I also ignored everyone who told me a rocking chair was a must-have and kept Davey’s futon (that somehow managed to make it on the moving truck) for a nursing spot and guest bed. I can’t believe I am saying this, but…Davey, you were right. I am glad we kept it. It’s a great nursing spot. So great in fact, I have fallen asleep there myself.

IMG_2093

And the view that I have stared at countless times over the past 6 months…

IMG_2092

Maybe not Pinterest-worthy, but I love her room and will miss it when we move.

IMG_2077

DIY | Upholstered Ottoman

upholstered ottoman, diy

This post is really no biggie. I can hardly call it DIY. Like I mentioned previously, I am not a DIYer so I have to give myself credit when I make some look like something else. So this is me congratulating myself for re-doing something. However…you may notice in the photos, Davey is the one actually doing the work. I just had the vision.

We found this ottoman by a trashcan:

upholstered ottoman, diy

Ew, I know, right? I strongly encouraged Davey to throw it in the trunk emphasizing that one man’s trash is another man’s treasure. I thought we could just change out the fabric and use it in the baby’s room or our living room.

So off to work we went. I took out all the tacks, removed the fabric that reminded me of John Wayne for some strange reason, and removed the padding. I bought new silver tacks, new padding, and a neutral grey piece of fabric.

I ruined about half the new tacks by hammering them in wrong, which is when Davey stepped in:

upholstered ottoman; diy
upholstered ottoman, diy upholstered ottoman, diy
upholstered ottoman, diy

And here is the finished product:

upholstered ottoman, diy

It’ll eventually go in the baby’s room so I can use it while nursing, but for now it is a life-saver to use for putting up my sore feet after work.

Congratulations, me…er… and Davey, for making something.

DIY Wedding Favors | Sharpie Coffee Mugs

Although I dream about having as much energy as all my DIY idols, I rarely muster up enough time and effort to do a DIY project.

But when Davey and I were engaged to be married, we wanted to make our wedding favors for our guests to show them how much we appreciated their support. I wanted something personalized for them so they knew we took time to make something just for them considering how much time and money they were all putting into just coming to our wedding.

The first two things I love in life are my family and friends. The third is coffee. Making personalized coffee mugs was the natural choice for our wedding favors.

coffee mugs, sharpie coffee mugs

We contacted a friend who sells coffee mugs in bulk (everyone has a friend who sells coffee mugs, right?) and made the initial purchase. We then researched and researched and researched the best “sharpie mug DIY” project we could find that had the best reviews with the longest lasting and clearest results. Naturally, we were afraid that we would spend so much time writing our guests’ names on mugs, then they would go home and wash off immediately. Tacky.

Here is how we did our DIY sharpie mugs:

1. We purchased:
–Ceramic mugs in bulk. I am talking the classic, traditional, coffee mug you find at a local diner (my personal favorite type of coffee mug).
–A set of black Sharpie oil based paint pens/markers
–Rubbing alcohol
–Cotton balls

2. Each mug was then hand washed and stripped using the rubbing alcohol and cotton balls. This step removed all the oils on the mug, therefore allowing the paint to adhere.

3. Once the rubbing alcohol was dry, we (err…I…Davey has the handwriting of a small child) hand wrote each guests’ name on a mug.

DIY sharpie mug

4. The mugs sat for 24 hours…la dee da…

DIY sharpie mug

DIY sharpie mug

5. 10 mugs at a time were placed on a baking sheet and set in the oven. The oven was then turned on to 425 deg F and the timer was set for 35 minutes. When the timer went off, we left the mugs in the oven to cool down with the oven (so the mugs didn’t crack).

6. When the mugs were completely cooled, we sprayed each mug with acrylic spray finish to set the ink.

DIY sharpie mug

DIY sharpie mug

And voila!

Photo credit Honey and Salt

If you plan on doing all your guests’ mugs in a day…well, you’re a fool. We did a batch every time we received 10 RSVPs. Then we sprayed them all with the finish on the same day. This made it manageable for our 200 guests.

We also used our mugs to organize our table placements on our living room floor:

DIY sharpie mug

We have had some feedback from our guests and it is positive! Our guests who hand wash their mugs have noticed that the ink does not wear away. The dishwasher is a little harsher on the ink. I think no matter how you do “DIY sharpie mugs”, it’s always best to plan on hand washing for the longest lasting results.

My favorite part of the whole process has been getting picture texts of our family and friends enjoying coffee, cocoa, or hot toddies from their mugs and remembering how much we appreciate them!