Category: Pregnancy

Kegel Muscles: You’ve got questions. I’ve got answers.

Thanks so much for reading through my series on the Kegel muscles (aka pelvic floor). I hope that I was able to help you in some way. Here are some questions people emailed, texted, or asked me personally after reading through my posts.

I am a mom of 5 children who were each delivered via C-section. Why are my vaginal muscles weakening? What are the best exercises and best diet plan (if that is a factor)?

Even though your children were delivered via C-section, the weight of carrying around a child (or 5) was enough pressure on your pelvic floor to stretch it out. Other factors, like your posture and sleeping position, can weaken your pelvic floor. The good news is that you can strengthen it! I recommend reading through my posts and adjust your posture and incorporate a daily routine of strengthening your Kegels. If you feel like you need more help, see a physical therapist.

I sometimes get a sudden urge to pee and have to run to the bathroom. If I don’t make it in time, I leak urine. Will strengthening my Kegels help prevent this?

This is a good time for me to bring up the different types of incontinence: urge, stress, overflow, and functional.

Urge incontinence is what is described in this question and occurs when there is an urgent need to rush to the bathroom. There can be many reasons for this, so I recommend discussing it with your doctor before attempting to strengthen your Kegels.

Stress incontinence occurs due to an increase in abdominal pressure like coughing, sneezing, or laughing. Pelvic floor strengthening is usually helpful for this type of incontinence. I also recommend that when you are coughing, laughing, or sneezing you contract your Kegels and your abdominals. You would benefit immensely from seeing a physical therapist.

Overflow incontinence occurs when you are not able to completely empty your bladder, so when it fills up again, you leak. This may occur because of a number of medical reasons, so I recommend speaking to your doctor if you feel this is the case.

Functional inctontinence occurs when a physical problem prevents you from getting to the bathroom on time.

Take ownership of your health! You CAN change your incontinence problems, so don’t sit around in silence due to embarrassment. Seek help so you can change your life for the better! If you seek professional help and are only put on a medication, I encourage you to ask more questions. Ask your practitioner which type of incontinence describes your condition and if physical therapy may help–whether you are male or female!

I leak urine when I cough and sneeze. It all started when I was about 15 weeks pregnant. I told my ob-gyn at one of my prenatal appointments, and she told me to cross my legs when I cough or sneeze. Is this what I should be doing?

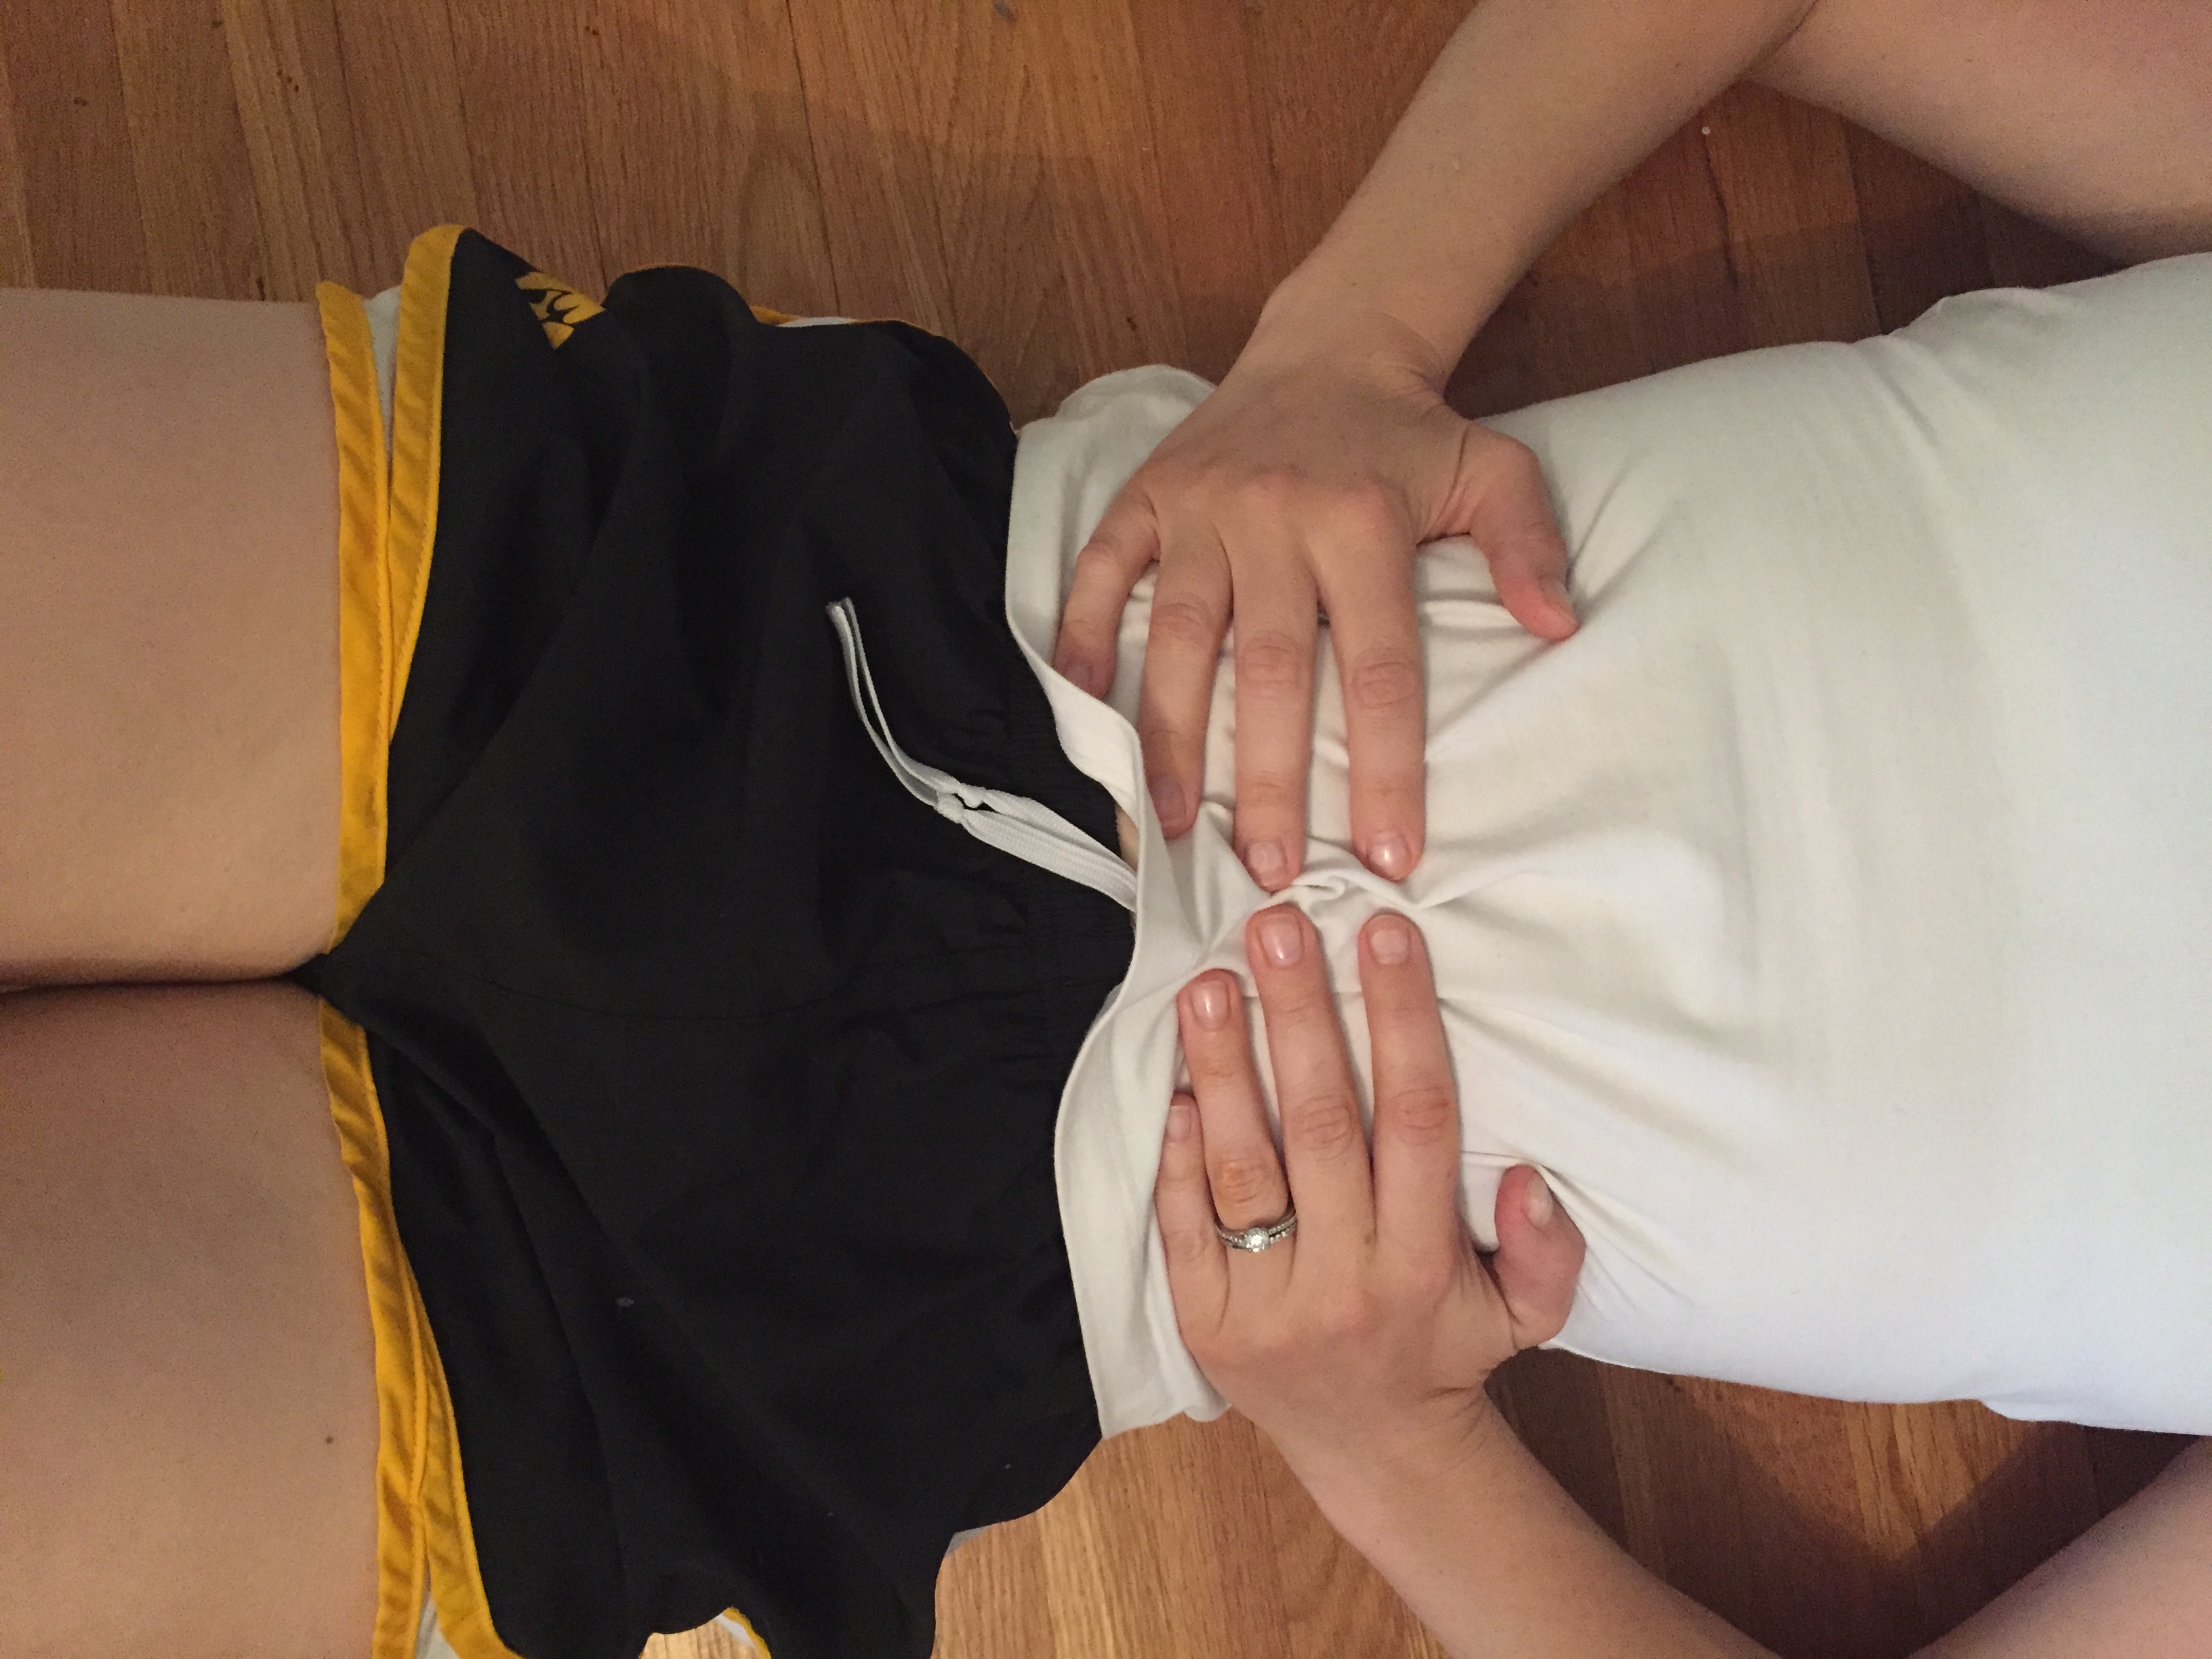
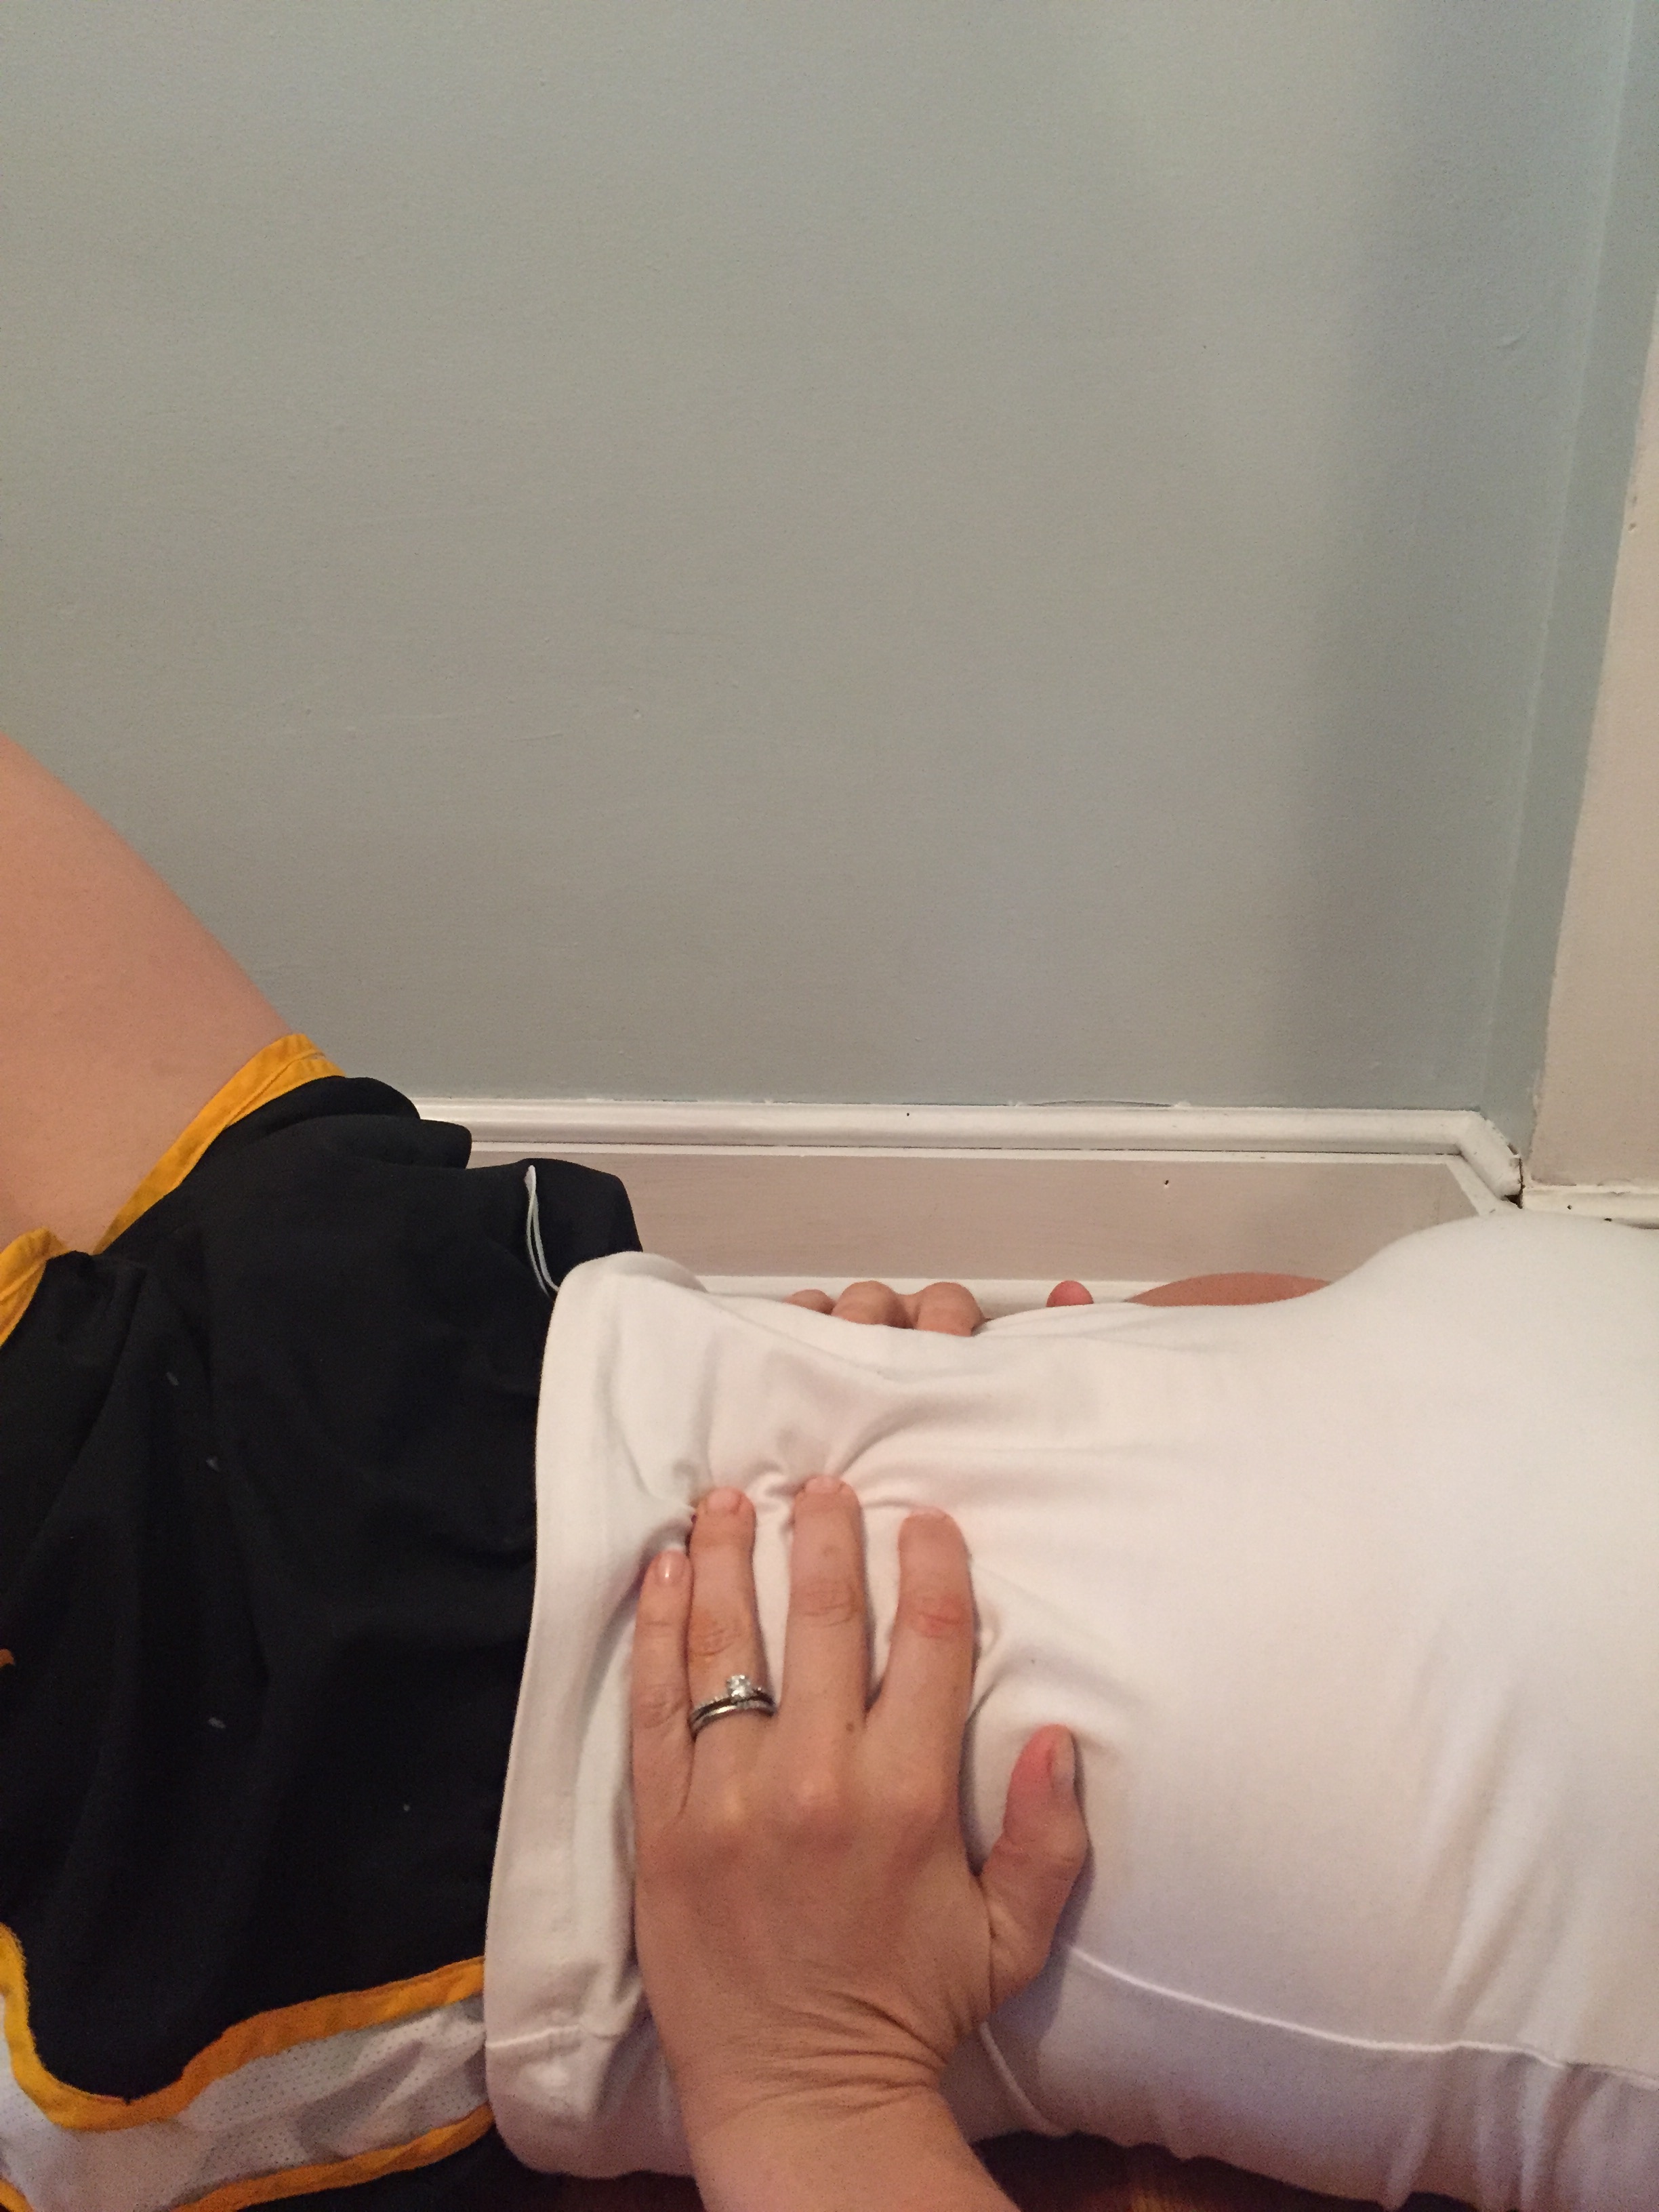
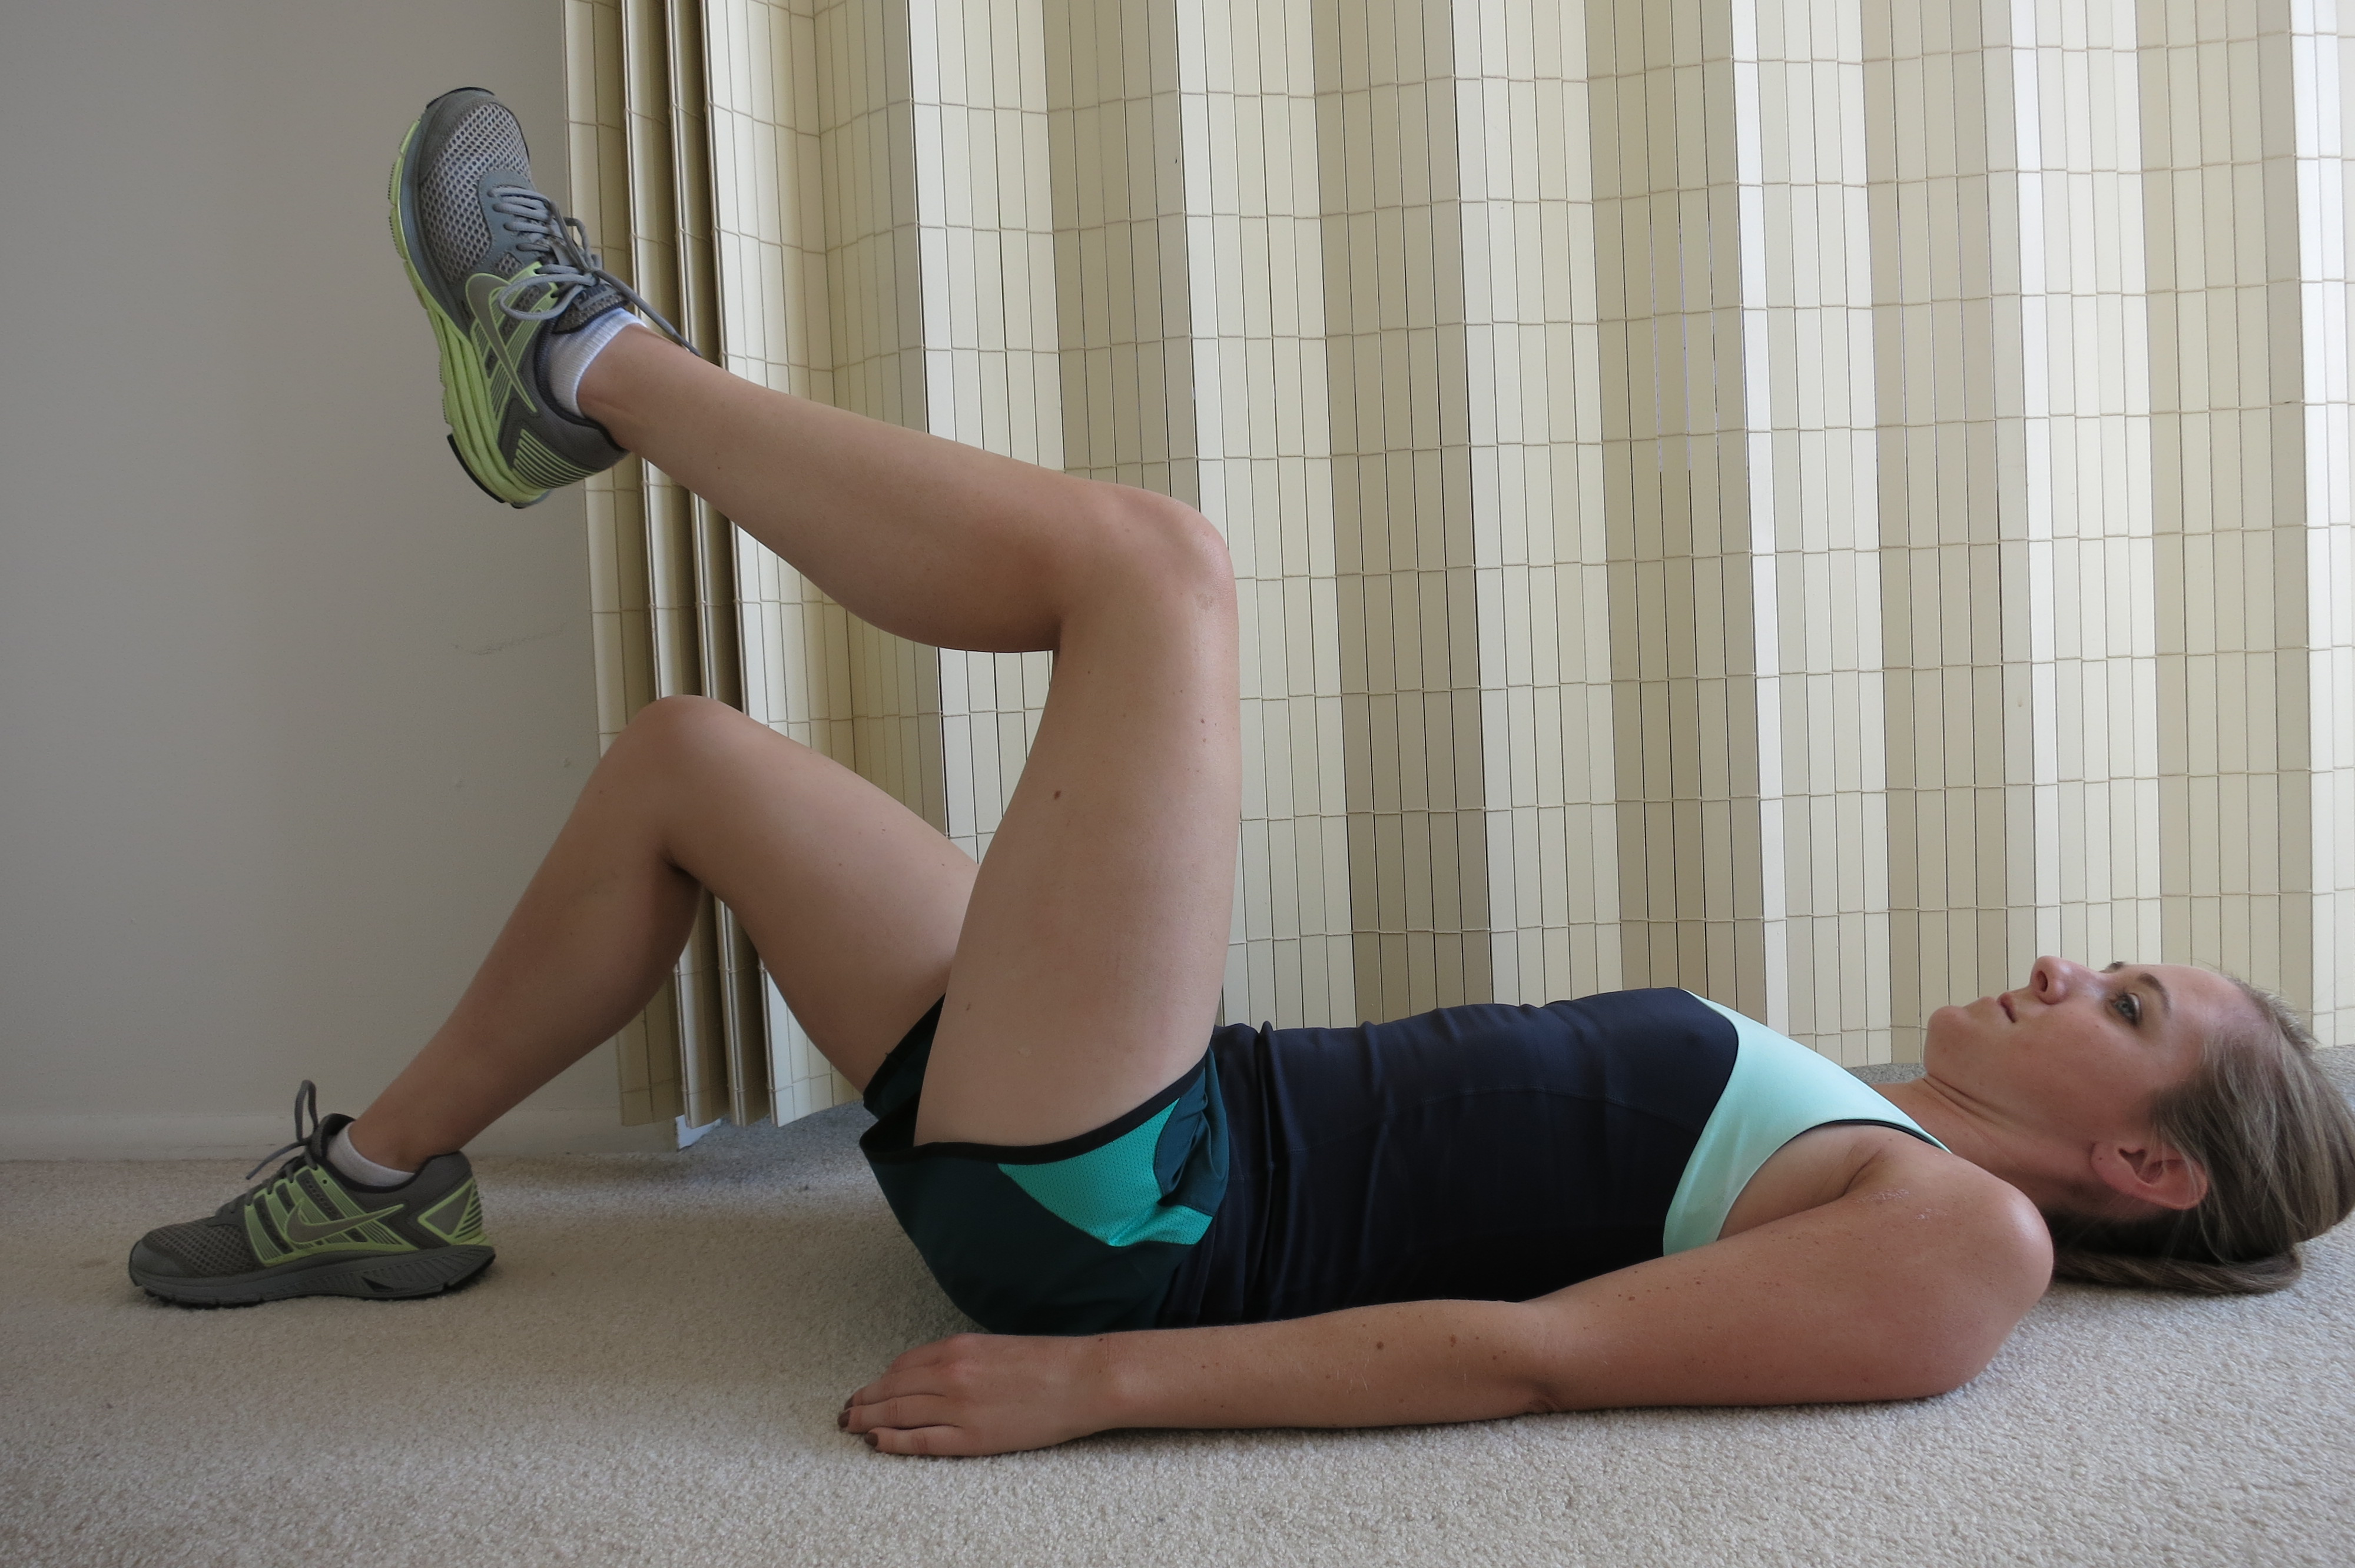
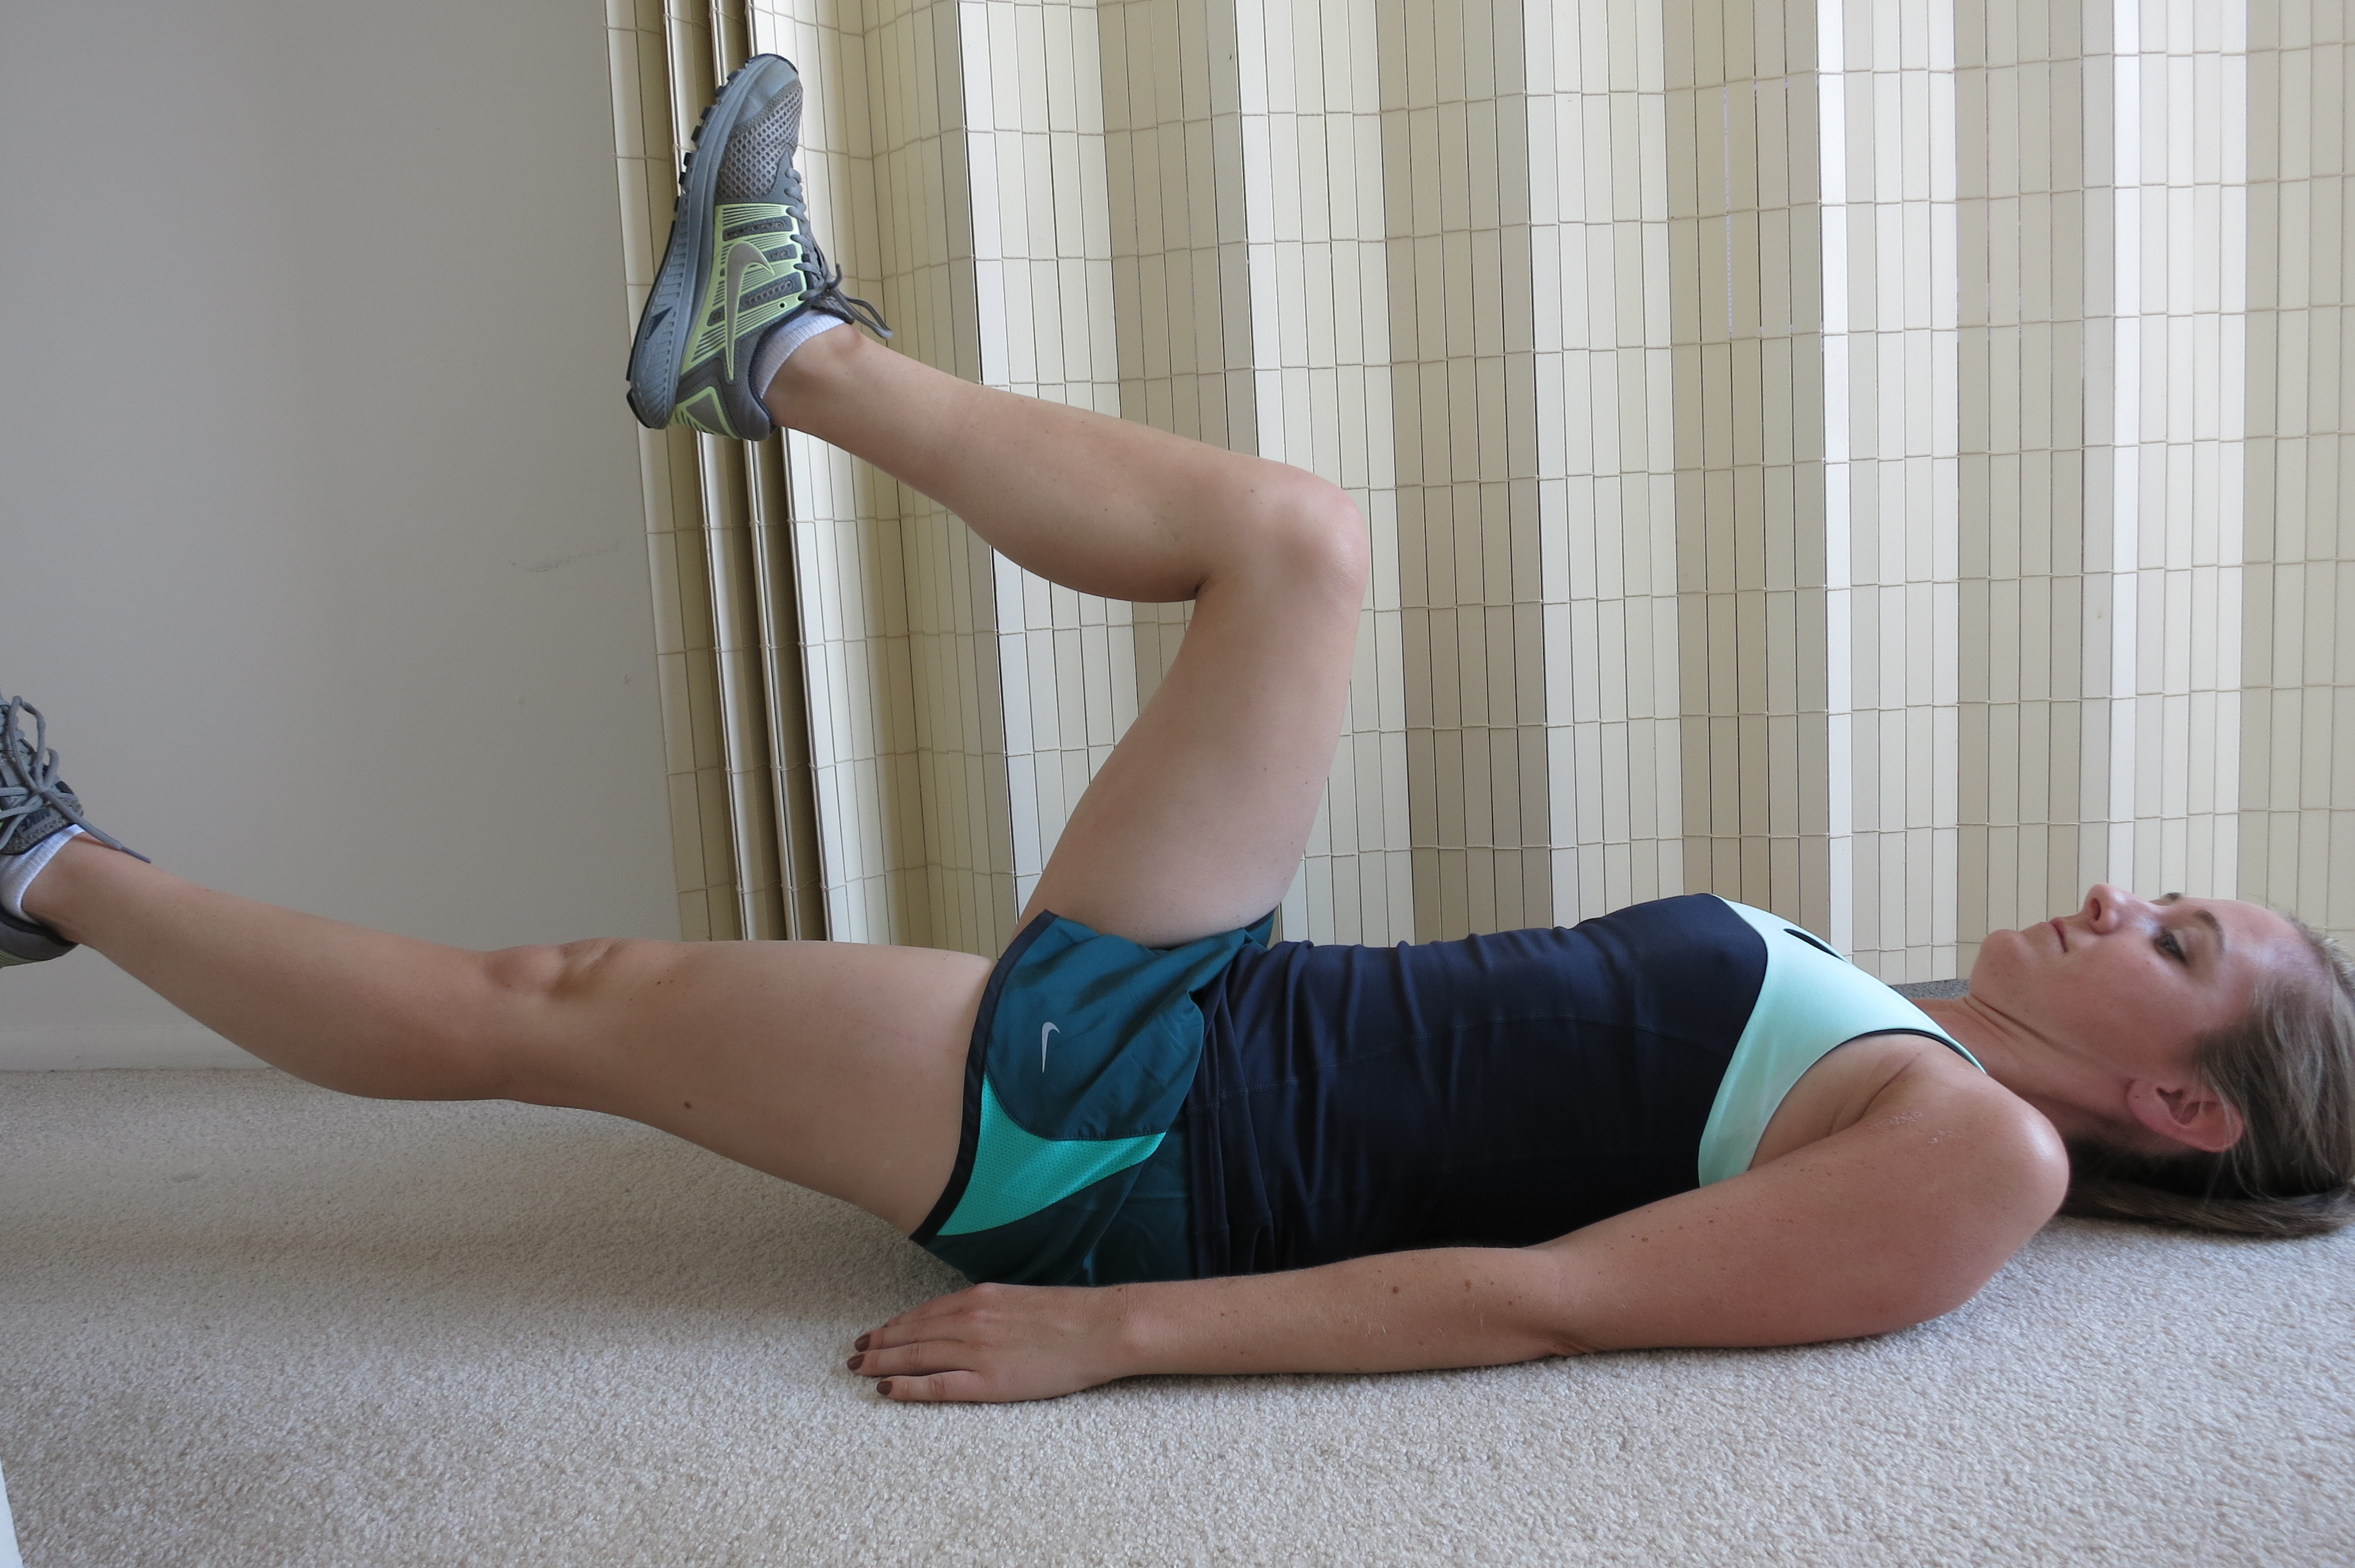
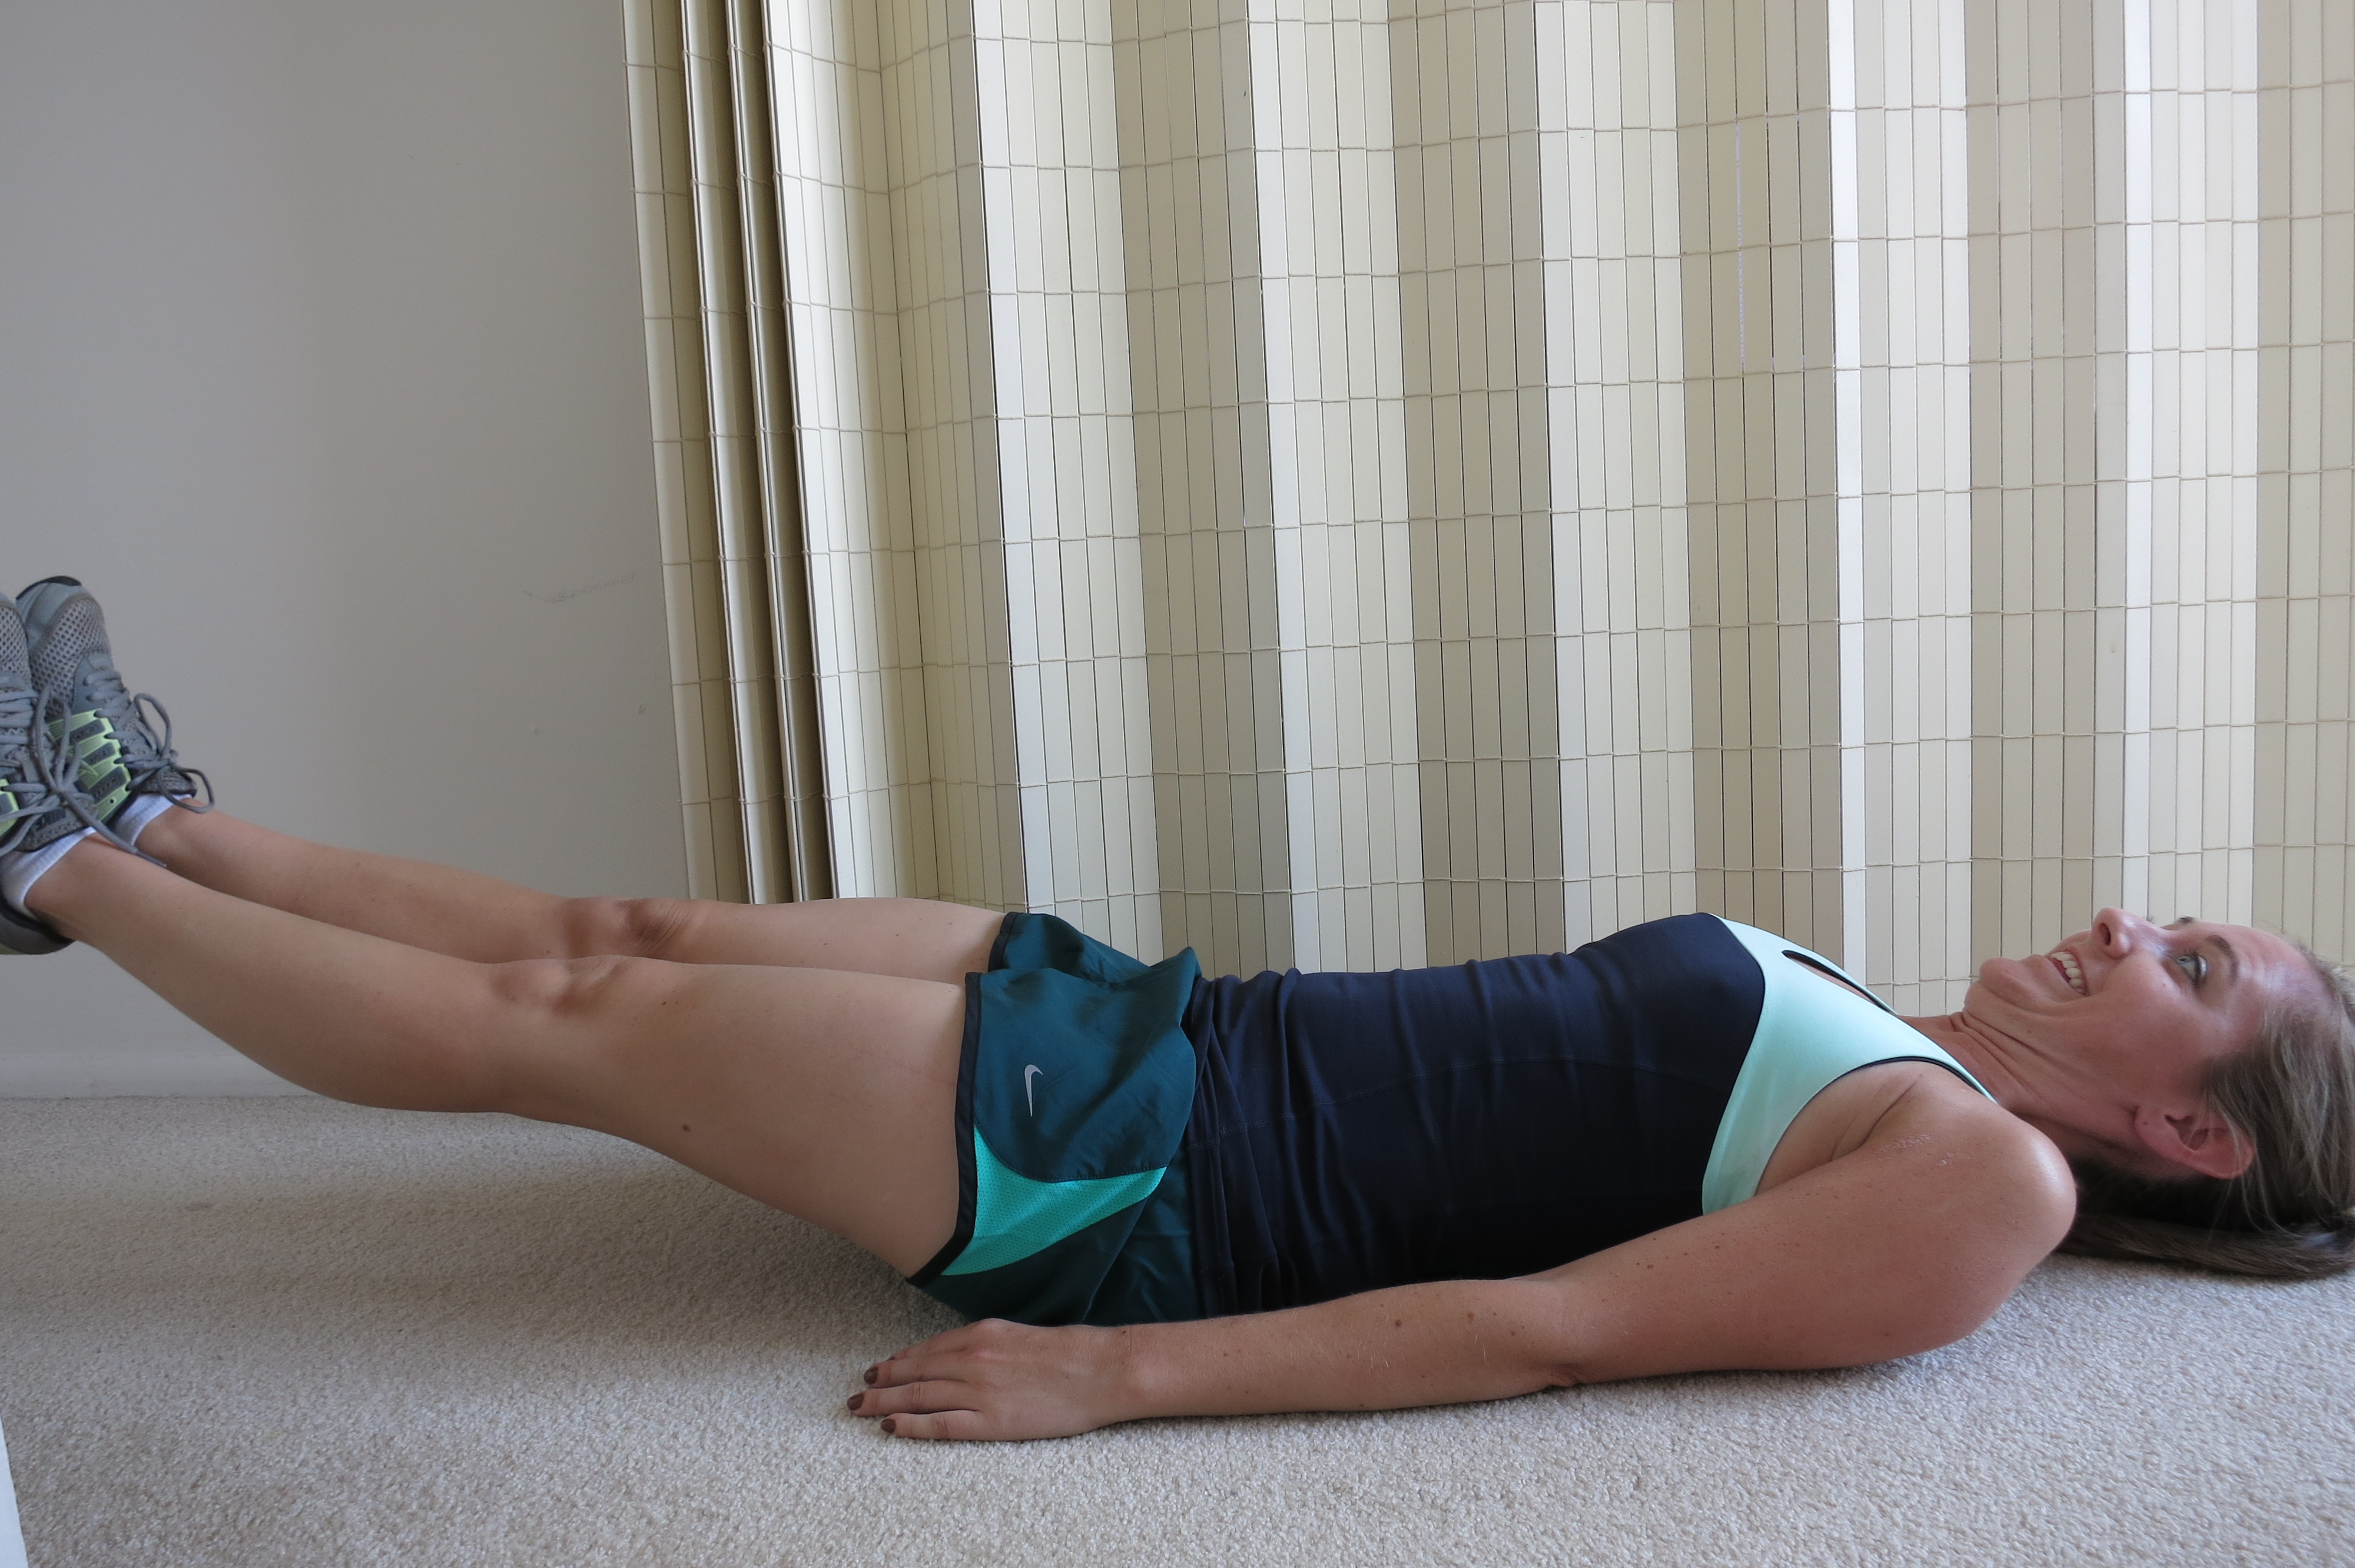
Um, with all due respect to your ob-gyn, NO. Crossing your legs when you sneeze to prevent the leakage of urine might be a quick fix because it literally pulls the pelvic floor muscles taut. Pulling the muscles taut overtime STRETCHES them. A muscles that is overly stretched out is much harder to contract. Therefore, crossing your legs can weaken the muscles overtime and perpetuate the problem. I recommend contracting your Kegels and your abdominals (as instructed here) when you cough/sneeze/laugh rather than crossing your legs. Also, take yourself through the exercise progression.

I was told to strengthen my Kegels, I should contract the muscles on and off when I am peeing to make them strong. Is this a good exercise?

I have a lot of patients who tell me they do Kegel exercises when they are peeing, and I die a little bit inside every time I hear it because of the sacral micturition reflex. (the who-sa-what-a?!?!?!) Ever since our potty-training days, the act of sitting on the toilet signals our brain to tell our pelvic floor muscles, “okay, relax now” and tells our bladder “okay, contract now” so pee comes out. When we change that up by doing the OPPOSITE—that is, a kegel exercise–we screw up all that work our parents did to potty-train us. And what did we do before they potty trained us?

We peed our pants.

Don’t mess with the potty-training reflex.

Do your exercises away from the porcelain throne.

I am having pain during intercourse. How is this related to my pelvic floor?

First of all, you are not alone. It’s estimated that 20-50% of women have pain with intercourse. This means that possibly half of your friends may be experiencing the same problem! I am not going to offer much advice about this aside from saying there is a good chance it can be fixed with physical therapy. Talk to your ob-gyn and see what he/she thinks. Ask if you can have an order for physical therapy. You won’t be disappointed, and you may start having a little more fun in the sack. 😉 You can thank me later.

***The content of http://www.kayleemay.com is for informational purposes only. The information presented is not to be taken as professional medical advice, diagnosis, or treatment. If you are having pain, or seeking medical advice, talk to your health care provider. Do not delay in seeking treatment because of information you have read on http://www.kayleemay.com. Taking recommendations presented on http://www.kayleemay.com is solely at your own risk***

Pelvic floor exercise progression: How to strengthen your Kegels

First, make sure you know how to take care of you Kegel muscles daily!! If you feel ready to strengthen your Kegels at home, read below!

kegels, kegel muscles, pelvic floor muscles, physical therapy, postpartum, pregnancy

Kegel muscles, or pelvic floor muscles, are just like any other muscle in your body in a sense that contracting them against gravity is a greater chore than using gravity to your advantage. This is important to remember when you decide how to go about strengthening your kegels.

SIDELYING

kegels, kegel exercises, sleeping position, women's health, pelvic floor, pregnancy, postpartum

The position that is most helpful in contracting your Kegels is the sidelying position. Lie on your side with your top leg supported on pillows so that your hip is in a neutral position. Tighten your Kegel muscles as though you are stopping the flow of urine. I often cue people to imagine the pelvic floor is an elevator. Imagine ropes attached to your ribs. As you contract, the ropes are pulling the elevator (pelvic floor) toward your rib cage. Exhale as you are contracting.

If you are holding your breath, the opposite will happen–your pelvic floor will expand toward your feet (eek!) just like a parachute expands when it meets air resistance. This stretches the pelvic floor, making it hard to contract and can weaken it over time. Hold each contraction 5-10 seconds. Repeat 10-20 times.

(side note: If you feel like you can’t contract your pelvic floor in this position, please see a physical therapist! To see one, ask your doctor–possibly your obgyn–for an order to see a physical therapist who specializes in women’s health….even if you are male! They are the gurus of the pelvic floor. You can also see a PT through direct access.)

QUADRUPED

kegels, kegel muscles, pelvic floor muscles, physical therapy, postpartum, pregnancy

Another position that is “gravity-lessened” for the Kegel muscles is the quadruped position. On your hands and knees with your knees directly below your hips and your hands below your shoulders, contract your pelvic floor as described above while exhaling. Make sure your back is flat.

In this position, I also encourage you to contract your abdominal muscles as you contract your kegels. Do this by pulling your belly button toward your spine. Again, if you are holding your breath and/or bearing down, your stomach expands, and the increased volume actually stretches your pelvic floor and abdominals like a parachute stretches when it meets air resistance (aka don’t do that). Hold 5-10 seconds and repeat 10-20 times.

SITTING

kegels, kegel muscles, pelvic floor muscles, physical therapy, postpartum, pregnancy

It may take a few weeks, but once you are able to complete the above positions correctly, you can move to a sitting position for your Kegel work out. 😉 In this position, you are lifting your Kegels against gravity, so it is much more challenging. Contract your pelvic floor muscles by thinking of lifting them up toward your rib cage as described above. Hold 5-10 seconds and repeat 10-20 times.

STANDING

IMG_5971

Next, try to contract your Kegels in standing. Think of raising your pelvic floor up toward your ribs with the elevator ropes as described above as you exhale.

The most challenging way to contract and exercise your Kegels is to perform contractions during your normal movements, such as arising from a chair. Start by contracting the muscles in sitting and keeping them contracted as you move to stand.

If you are active in fitness and exercise, keep these tips in mind as you lift weights and move through your exercise routine. Remember, if you hold your breath, you are expanding your pelvic floor (like when a parachute meets air resistance) and stretching them out which can weaken the muscles over time.

(Feel free to leave a comment below (you can leave one anonymously!) or send an email to kayleemayblog at gmail dot com with any questions. If I get enough questions throughout this series, I will post a Q&A post to conclude it)

***The content of http://www.kayleemay.com is for informational purposes only. The information presented is not to be taken as professional medical advice, diagnosis, or treatment. If you are having pain, or seeking medical advice, talk to your health care provider. Do not delay in seeking treatment because of information you have read on http://www.kayleemay.com. Taking recommendations presented on http://www.kayleemay.com is solely at your own risk***

How to take care of your Kegels daily

Kegel muscles are functionally and medically important for everyone (men and women!), so if you’re wondering if you should take care of your Kegels, the answer is YES.

Kegel muscles are associated with incontinence, back pain, pelvic organ prolapse, hip pain, and even your sexual performance.

When I am treating a patient in the clinic, I make sure to talk about daily positions and movements that affect their condition before educating them on exercises. The reason is that the positions and movements we perform repetitively each day will affect our bodies more than spending 15-30 minutes a day exercising. It’s incredibly important to treat our bodies well by first integrating good posture and movements into our daily habits.

kegels, kegel muscles, pelvic floor muscles, physical therapy, postpartum, pregnancy, women's health

First, I will address sleeping position because it’s one of the most important positions our bodies assumes that determines which muscles are stiff and which ones are too flexible. A sleeping position is like holding a stretch for hours at a time. It might seem like Kegels wouldn’t be impacted by our sleeping position, but if our hips are internally rotated and/or adducted (knee rolled inward and past midline), the pelvic floor muscles are stretched out because they actually attach to the hip bone itself (by way of the fascia of the obturator internus). So when the hip moves “inward” it pulls on the pelvic floor muscles. This happens when we lay on our side without the top leg supported. If you are a side sleeper, I recommend putting one to two pillows between your knees and feet to support your top leg in neutral.

kegels, kegel exercises, sleeping position, women's health,  pelvic floor, pregnancy, postpartum

(I promise I don’t sleep on tile floors)

Second, I will address our sitting position. I don’t care who you are–you sit a lot. If you sit in bad positions like this

kegels, kegel exercises, pelvic floor, women's health, pregnancy, postpartum

or this

kegels, kegel exercises, pelvic floor, women's health, pregnancy, postpartum

or this

kegels, kegel exercises, pelvic floor, women's health, pregnancy, postpartum

..let me just go ahead and buy you some of these.

Okay, bad joke.

Again, if our legs assume an “inward” position, our Kegel muscles are pulled taut, therefore stretched. You know how little kids look when they have to pee? They pull their knees in. That’s because that pulls the muscles taut. Over time, that position stretches the muscles, making them harder to contract. It is best to sit in a neutral position. I encourage you to modify your desk set up to make sure you are treating your Kegels well when at work!

kegels, kegel muscles, pelvic floor muscles, physical therapy, postpartum, pregnancy

Lastly, our standing position can impact our Kegel muscles. Standing with your hip hiked and legs crossed puts your muscles in an asymmetrical position (ahem MOMS who let a kid sit on one hip all the time). Not only will it lead to back pain, hip and back muscle asymmetries, but can weaken the pelvic floor over time.

Another bad position for your pelvic floor muscles in standing your “tail” curled under too much. Yoga and pilates classes stress tucking your tail bone (which can be a good cue to get those abs and gluts to contract) BUT this places the pelvic floor directly under the torso nice and flat so that ALL the pressure from your internal organs rests on it, weakening it over time when it’s a habit. (yes, I know you don’t FEEL heavy pressure just standing there…but there is a such thing as gravity, folks)

So don’t stand like this

kegels, kegel muscles, sway back, postpartum, pregnancy, pelvic floor, physical therapy

or this

kegels, kegel muscles, pelvic floor muscles, physical therapy, postpartum, pregnancy

or this

kegels, kegel muscles, pelvic floor muscles, physical therapy, postpartum, pregnancy

or this

kegels, kegel muscles, pelvic floor muscles, physical therapy, postpartum, pregnancy

Stand in a neutral position like this:

IMG_5971

This may seem like nit-picky advice and may even seem unreasonable to do (especially ALL THE TIME), but try to start incorporating good posture and movements into your daily routine to take care of your body.

(Feel free to leave a comment below (you can leave one anonymously!) or send an email to kayleemayblog at gmail dot com with any questions. If I get enough questions throughout this series, I will post a Q&A post to conclude it)

***The content of http://www.kayleemay.com is for informational purposes only. The information presented is not to be taken as professional medical advice, diagnosis, or treatment. If you are having pain, or seeking medical advice, talk to your health care provider. Do not delay in seeking treatment because of information you have read on http://www.kayleemay.com. Taking recommendations presented on http://www.kayleemay.com is solely at your own risk***

The lowdown on Kegel muscles

I first heard about Kegel muscles in college. My roommate with a deep southern accented read us an article about Kegel muscles out loud from a magazine. Due to her strong accent, we all thought she was saying “giggle” muscles. Based on what she was reading, that seemed like an appropriate name for those particular muscles. 😉

kegels, kegel muscles, pelvic floor, pregnancy, postpartum, women's health

Fast forward about four years to physical therapy school, and I ended up learning a lot more about Kegel muscles than what could be read in a magazine. For example, did you know…

Kegel muscles are the pelvic floor muscles, or the base/foundation of our torsos that support our uterus, rectum, small intestine, and bladder.

Kegel muscles are relaxed when we urinate or defecate and are contracted when we are not urinating or defecating.

Kegel muscles can be stressed if we are obese, pregnant, coughing, sneezing, or move in faulty patterns that overstretch the muscles.

Kegel muscles are associated with incontinence, or leaking urine or fecal matter.

Kegel muscles are muscles that EVERY PERSON has, men and women. (i.e. men can leak urine as well! They just don’t talk about it as much)

Kegel muscles can be strengthened to prevent problems with incontinence…or even help achieve orgasm.

Kegel muscles work with synergistically with abdominal muscles.

Since these small muscles hold up our organs, function as the base and foundation of our bodies, and are so closely associated with frustrating medical conditions like incontinence, I thought it would be a good idea to do a series on the Kegel muscles.

Stay tuned to learn if you need to strengthen your Kegel muscles and how to go about doing that!

(Feel free to leave a comment below (you can leave one anonymously if you want!) or send an email to kayleemayblog at gmail dot com with any questions. If I get enough questions throughout this series, I will post a Q&A post to conclude it)

***The content of http://www.kayleemay.com is for informational purposes only. The information presented is not to be taken as professional medical advice, diagnosis, or treatment. If you are having pain, or seeking medical advice, talk to your health care provider. Do not delay in seeking treatment because of information you have read on http://www.kayleemay.com. Taking recommendations presented on http://www.kayleemay.com is solely at your own risk***

Diastasis Recti | Dealing with a common postpartum condition

diastasis recti, pregnancy, pregnancy abs,

Diastasis recti, a separation of your abdominal muscles, is a common condition during and after pregnancy.

The linea alba is a line of fibrous tissue between two sides of the rectus abdominis that runs vertically. When this muscle is stretched throughout pregnancy, there can be a physical separation or widening between the two sides of the abdominal muscle.

rectus abdomis, diastasis recti, linea alba, postpartum, pregnancy,

As outlined in previous posts, the abdominals act as a natural back brace for us. If there is weakness or separation in our natural back brace, a number of pain conditions arise. Unfortunately, diastasis recti is not always recognized early, and I see mothers of all ages in the clinic for hip pain, back pain, knee pain (etc, etc, etc) that arose from weak abdominals. (side note: Obgyns should just start referring women to physical therapists after any type of birth, right?)

I searched the web to find a quick video of how to tell if a diastasis recti is present. I found this video you can use to assess for the presence of this condition:

Let’s all freak out for a minute because we all just realized we have diastasis recti…

ok, I’m still freaking out…

still freaking out…

ok, now I am desperate to fix this!

How convenient there is a post right here about postpartum abdominal strengthening!

There is one thing to add to this strengthening program if you find that you have diastasis recti. Use your hands (or a brace, etc) to physically pull your abdominals together as you perform the exercises. In other words, push your abs together.

diastasis recti, pregnancy, pregnancy abs,

diastasis recti, pregnancy, pregnancy abs,

I want to note a few things you should most definitely NOT do if diastasis recti is present:

1. SIT UPS. Like, never. Never, ever do sit ups.

2. PILATES before you do this program.

3. YOGA positions where you are pushing your stomach out (aka abdominal breathing, dead bug, to name a few), yoga positions that STRETCH the abs (cobra), or anything on your hands and knees with poor abdominal control (cat, cow, sunbird).

4. LIFTING without engaging your abdominal muscles. This includes lifting your dear little (or big) baby.

5. Did I already say don’t do sit ups? Just don’t. If you want strong abs, do this.

diastasis recti, postpartum, pregnancy, abdominals, rectus abdominis

I strongly encourage you to seek help from a physical therapist if you have a significant diastasis recti. There is nothing like having an expert treat you one on one to prevent and treat pain. I am not speaking of a personal trainer or fitness guru, although they are helpful for many things. A physical therapist is a movement system expert with a physical therapy degree (7 years of post high school education for a doctorate degree) and has been up close and personal with the rectus abdominis and line alba a la cadaver labs. TMI?! I just want to be clear that seeing a personal trainer is NOT the equivalent.

Your health insurance may help you out with the cost of physical therapy. If you don’t want to see a doctor first to get an order for physical therapy, call your local PT clinic and see if they have direct access. If you don’t know what direct access is, please read my explanation here.

Happy abdominal strengthening, ladies!

If you are interested in more pregnancy and postpartum health tips, read my previous posts!

The Do’s and Don’ts of Breastfeeding: How to prevent musculoskeletal pain

Postpartum Abdominal Strengthening

Pregnancy and Back Pain

Top 3 Exercises Every Pregnant Woman Should Do

Return to Running After Pregnancy

***The content of http://www.kayleemay.com is for informational purposes only. The information presented is not to be taken as professional medical advice, diagnosis, or treatment. If you are having pain, or seeking medical advice, talk to your health care provider. Do not delay in seeking treatment because of information you have read on http://www.kayleemay.com. Taking recommendations presented on http://www.kayleemay.com is solely at your own risk***

The Dos and Don’ts of Breastfeeding | How to prevent musculoskeletal pain

Sometimes it seems like breastfeeding is a sport. It requires concentration, endurance, a balanced diet, practice, patience, and sheer determination.

The more you do it, the more weight you lose. (insert thumbs up emoji)

The more you do it, the more you are prone to injury. (insert thumbs down emoji)

Breastfeeding can cause back pain, neck pain, shoulder pain, and wrist pain. Each pain condition is directly related to posturing while nursing. The good news is, posture can be easily adjusted to reduce the risk of pain associated with breastfeeding.

In this post, I will discuss the most common breastfeeding positions and talk about how they can cause pain and what you can do to prevent the pain.

The key to good breastfeeding posture is taking the time to prepare for the nursing session. Your baby might be screaming his precious little head off, but take 5 extra seconds to think through your position and set up before latching on the starving little babe.

CRADLE HOLD

Source: BabyCenter.com | Positions and tips for making breastfeeding work

I’ve never personally done this position because…ouch. Seton was born at a whopping 8 pounds, 10 ounces and (obviously) has only been getting bigger. I was NOT ABOUT to hold that weight in the crook of my elbow for 15+ minutes at a time. In the picture above, one can see the weight of the baby will pull the entire right shoulder blade forward which subsequently rounds out the upper back.

This picture also shows the mother tenderly looking down at her child. Let’s all let out a group sigh…”awwww”… and then let’s never do that. Looking down at your infant for the duration of the feeding causes the muscles on the back of your neck to work really hard for a really long time in a really elongated position. Really. And that’s a workout those muscles just don’t need. (did I say “really” enough to make my point?)

A better option is to place the infant on a stack of pillows (and/or a boppy) to take the pressure off the supporting arm and shoulder. Once the baby is latched, keep your neck tall and look forward. Alright, you can peak at the cutie pie once in a while.

To prevent lower back pain, make sure your feet are supported and not just dangling from the couch or rocking chair. Sit evenly on your buttocks. If you have one foot tucked under your hips, your back is in a bent and rotated position that can cause pain.

THE CROSS OVER HOLD

Source: BabyCenter.com | Positions and tips for making breastfeeding work

This is similar to the cradle hold, but the position of the arms are switched. For this position, I suggest to make all the changes recommended above.

These two positions put an enormous amount of pressure on the arms and pull your upper back forward. Unless you’re going for the hunchback look, USE PILLOWS to support the baby!

Also make sure your back is fully supported. In some chairs your feet may not reach the floor if your back is supported on the back of the chair. In this case, you may need to use pillows behind your back to support your back and allow your feet to touch the floor.

THE CLUTCH OR FOOTBALL HOLD

Source: BabyCenter.com | Positions and tips for making breastfeeding work

This position is great for so many mothers including those with large breasts, those with twins, and those who have had a Cesarean section.

As you may have guessed, I recommend placing the infant on pillows so you take out the work your arm would have to do. Sit with your back supported so that the arm that is guiding the infant’s head does not have the tendency to pull your shoulder girdle forward and cause your back to round out. As always, once the infant is latched, keep your head up and look forward. Your feet should be supported.

THE RECLINING POSITION

Source: BabyCenter.com | Positions and tips for making breastfeeding work

Great was the day that I mastered this position because it meant I did not have to sit on my postpartum bum. (TMI?) This is also a great position if you have low back pain. Just remember to support your head with pillows so your neck is in a neutral position. I’ll take this moment to refer to my post on the Ergonomics of Sleep where I mention the importance of keeping your neck in a neutral position while laying down. Don’t prop your head up with your hand like the ever-so-informative cartoon shows above.

To summarize the dos and don’ts of breastfeeding:

DON’T support the weight of the baby with your arms.

DO rest the infant on pillows and/or a boppy (I use a boppy and pillows galore and have remained pain free).

DON’T look down at your baby for the duration of the feeding…(or your Kindle, Nook, or iPad…)

DO keep your neck in a neutral position.

DON’T allow legs to dangle or be crossed under your booty.

DO make sure feet are flat on ground or stool to take pressure off the low back.

Happy nursing and feel free to message me with any questions!

Postpartum Abdominal Strengthening

abdominal strengthening

*These exercises are based off the Sahrmann Low Abdominal Progression.*

I swore to myself I wouldn’t get that certain post pregnancy “pooch” that stays with me the rest of my life…we all know what I am talking about. Yeah, good for Kate Middleton for going out in public right after giving birth with a pregnancy pooch, but let’s be honest… that kind of thing sticks around a whole lifetime for us normal folk. I thought I would share my postpartum abdominal strengthening program for those in the same position as me.

This post will look very familiar to those of you who read my series on tips for runners. Postpartum abdominal strengthening is very similar to how I recommend my runners strengthen their abdominals with a few key differences.

One difference is that it is important to take it slow and remember that your abs have been stretched to their limits over the course of 9 months. The initial goal of postpartum abdominal exercises is to first be able to contract the muscles. The subsequent goal is to strengthen the abdominals to support your low back, pelvis, and hips. After all, you will be carrying extra weight around (aka the babe and that extremely heavy carseat…grr), and you need your abdominal brace to support your back and hips! Many of my patients’ musculoskeletal problems can be traced back to poor movement patterns due to weak abdominals that they never strengthened after being pregnant. The final goal, for vanity’s sake, is to reduce the chance of the friendly pooch being with us the rest of our life.

One other difference of postpartum abdominal strengthening is that it is necessary to contract your pelvic floor muscles (you’ve heard of Kegels) when you contract your abs. I tell this to my runners as well, but it is especially important after giving birth.

Lastly, and most importantly, ask your doctor and physical therapist before initiating any abdominal strengthening postpartum. It didn’t take me long after giving birth to realize we all have different birth stories (it seemed like everyone else got an epidural because they worked #lies #imnotbitter #yesiam), therefore different rates and amounts of healing required. This goes for any type of birth– Cesarean, water, natural, epidural, in a rain forest like that crazy lady on Youtube (don’t Google it, I warned you)…anything! Your doctor will likely want you to wait a certain amount of time before initiating exercise.

postpartumabs2

The postpartum abdominal strengthening progression takes you through five abdominal exercises, each progressively more difficult. You will notice that the low back does not move at any point in the exercises. Rather, the abs work to stabilize as the limb movement becomes progressively more challenging. To work through the exercises, you must first successfully perform up to 20 repetitions correctly before progressing to the next exercise. Therefore, you may be on one level for up to 2 weeks before you feel you are ready for the next. If you can not perform an exercise without compensations (arching it away from the floor, pushing into the floor, or allowing your abdominal muscles to “pooch” up toward the ceiling), you must go back down to the previous level.

Level 1

abdominal strengthening
Level I Abdominal Strengthening

Step 1: Lay on back with knees bent and feet flat on floor.
Step 2: Contract abdominals buy pulling navel toward your spine as you exhale. Contract pelvic floor muscles (the muscles you use to stop the flow of urine).
Step 3: Hold 5-10 seconds.
Step 4: Repeat 10-20 times.

Watch out! Do not push your back into the floor or arch it away from the floor. Your stomach should be sinking DOWN, not pushing UP toward the ceiling.

Perform exercise daily until you feel you are able to do 20 repetitions correctly.

Level 2

abdominal strengthening
Level 2 Abdominal Strengthening

Step 1: Perform abdominal and pelvic floor contraction as in Level 1.
Step 2: Raise one leg so hip is bent 90 degrees while maintaining abdominal contraction.
Step 3: Place leg back to starting position as in Step 1.
Step 4: Raise contralateral leg so hip is bent 90 degrees while maintaining abdominal contraction.
Step 5: Place leg back to starting position as in Step 1.
Step 6: Repeat 10-20 times.

Watch out! Do not push your back into the floor or arch it away from the floor. Your stomach should be sinking DOWN, not pushing UP toward the ceiling.

Perform exercise daily until you feel you are able to do 20 repetitions correctly.

Level 3

abdominal strengthening
Level 3 Abdominal Strengthening

Step 1: Perform abdominal and pelvic floor contraction as in Level 1.
Step 2: Raise one leg so hip is bent 90 degrees while maintaining an abdominal contraction.
Step 3: Maintain position of Step 2 and raise opposite leg so hip is bent 90 degrees.
Step 4: Place one foot back to starting position (keep those abs contracted!)
Step 5: Place the other foot back to the starting position (keep those abs contracted!)
Step 6: Repeat 10-20 times.

Watch out! Do not push your back into the floor or arch it away from the floor. Your stomach should be sinking DOWN, not pushing UP toward the ceiling.

Perform exercise daily until you feel you are able to do 20 repetitions correctly.

Level 4

abdominal strengthening
Level 4 Abdominal Strengthening

Step 1: Perform abdominal and pelvic floor contraction as in Level 1.
Step 2: Raise one leg so hip is bent 90 degrees.
Step 3: Raise opposite leg so hip is bent 90 degrees.
Step 4: Straighten out one leg, keeping heel close to the floor.
Step 5: Bring leg back to position in Step 3 (bent 90 degrees).
Step 6: Straighten opposite leg, keeping heel close to the floor.
Step 7: Bring leg back to position in Step 3 (bent 90 degrees).
Step 8: Continue alternating extending each leg (as if running!) while keeping abdominals contracted for 10 -20 repetitions.

Watch out! Do not push your back into the floor or arch it away from the floor. Your stomach should be sinking DOWN, not pushing UP toward the ceiling. If you cannot straighten your leg without moving your back, try sliding your heel on the floor. Progress to being able to straighten your leg with your heel just above the floor.

Perform exercise daily until you feel you are able to do 20 repetitions correctly.

Level 5

abdominal strengthening
Level 5 Abdominal Strengthening

Step 1: Perform abdominal contraction as in Level 1.
Step 2: Lift one leg so hip is bent 90 degrees.
Step 3: Lift other leg so hip is bent 90 degrees.
Step 4: While maintaining your abdominal contraction, straighten BOTH legs so heels are just above floor.
Step 5: Bring both legs back up to being bent 90 degrees.
Step 6: Repeat straightening both legs at the same time for 10-20 repetitions.

Watch out! Do not push your back into the floor or arch it away from the floor. Your stomach should be sinking DOWN, not pushing UP toward the ceiling. If you cannot straighten your leg without moving your back, try sliding your heel on the floor. Progress to being able to straighten your leg with your heel just above the floor.

Perform exercise daily.

You also want to integrate the program into your daily life. Be sure to contract your abs when walking, getting up from a chair, carrying your baby (and that carseat…grrr), etc.

For humor, here is what family gatherings look like when you are related to a physical therapist and someone asks how to strengthen their abs:

IMG_1057

***The content of www.kayleemay.com is for informational purposes only. The information presented is not to be taken as professional medical advice, diagnosis, or treatment. If you are having pain, or seeking medical advice, talk to your health care provider. Do not delay in seeking treatment because of information you have read on www.kayleemay.com. Taking recommendations presented on www.kayleemay.com is solely at your own risk***

Timeline

programs

{Health and Body} Pregnancy and Back Pain

back pain, pregnancy

Lately I have been eating, sleeping, and dreaming pregnancy. So when I thought about what I want my readers to know about {health and body} this week, backaches during pregnancy seemed to be an appropriate topic.

Does anyone else’s husband break out into this song when you say to him, “My back aches…”?

No? Just my husband? Figures.

What is it about pregnancy that makes our backs hurt, sometimes to the point of sending shooting pain down our legs?

There are a million-ca-trillion things going on in our bodies during pregnancy that contribute to backaches.

One of the main reasons for back pain is our changing hormones. Yes, you read it right, those little buggers not only bring us into an emotional roller coaster and make us think cruel thoughts. The hormone relaxin also makes our ligaments looser, causing instability in our spine and pelvic area. Instability can lead to pain.

Weight gain, especially rapid weight gain, puts strain on our body by increasing pressure through all our joints. We are supposed to be gaining 25-35 pounds in pregnancy–sheesh! Think about how that weight can pull down on our backs, reducing the space between our vertebrae and causing compression of various nerves and blood vessels.

As pregnancy progresses, our cute bumps start to pull our backs forward leading to an extension force (as described here) The force that pulls our low backs forward also leads to pain.

Additionally we have lost our “natural back brace“, that is, our abdominals. Our abdominals are being stretched to the max, so no matter how hard we try, it’s nearly impossible to use our abdominals to support our backs during daily activities like walking, washing dishes, bending over to pick things up from the floor, and going up and down stairs.

So what’s a pregnant woman to do (besides listening to her husband’s version of Ciara ‘Got Me Good’ daily)? Refer to my previous post on the Top 3 Exercises Every Pregnant Woman Should Do. Each exercise can help relieve back pain and promote stability in our pelvic girdle and spine

back pain, pregnancy, pregnant .

***The content of www.kayleemay.com is for informational purposes only. The information presented is not to be taken as professional medical advice, diagnosis, or treatment. If you are having pain, or seeking medical advice, talk to your health care provider. Do not delay in seeking treatment because of information you have read on www.kayleemay.com. Taking recommendations presented on www.kayleemay.com is solely at your own risk***

{Life Lately} | Mom comes to Minnesota!

This week brought the warmest temperatures we have felt since last fall and our first visitor to Minnesota! Mom made her way to Minnesota on Monday and was able to stay until Thursday. As usual, I am left wishing I took more photos to capture our time together. It was so much fun to show Mom around our new town!

mom

mom

IMG_3129

My mom is awesomely thoughtful! We came home from work to find Easter treats. 🙂 We also found a new box of Kleenex in our Kleenex dispenser that had been empty since January, extra food in a our refrigerator, Easter cookies…etc!! Mom things. 🙂

IMG_0388

Davey and I have been getting outside every chance we get in this warm weather. We keep thinking it’s going to snow again, so we better get outside when we can. We took a long walk around one of Minneapolis’ many lakes!

IMG_0384

And Baby Hiatt has started to collect handmade baby blankets from my sweet, thoughtful patients!

IMG_3108

We have 14 more weeks until we get to meet Baby Hiatt…I can’t stop thinking about what the baby will be like!

IMG_3152