Although I dream about having as much energy as all my DIY idols, I rarely muster up enough time and effort to do a DIY project.
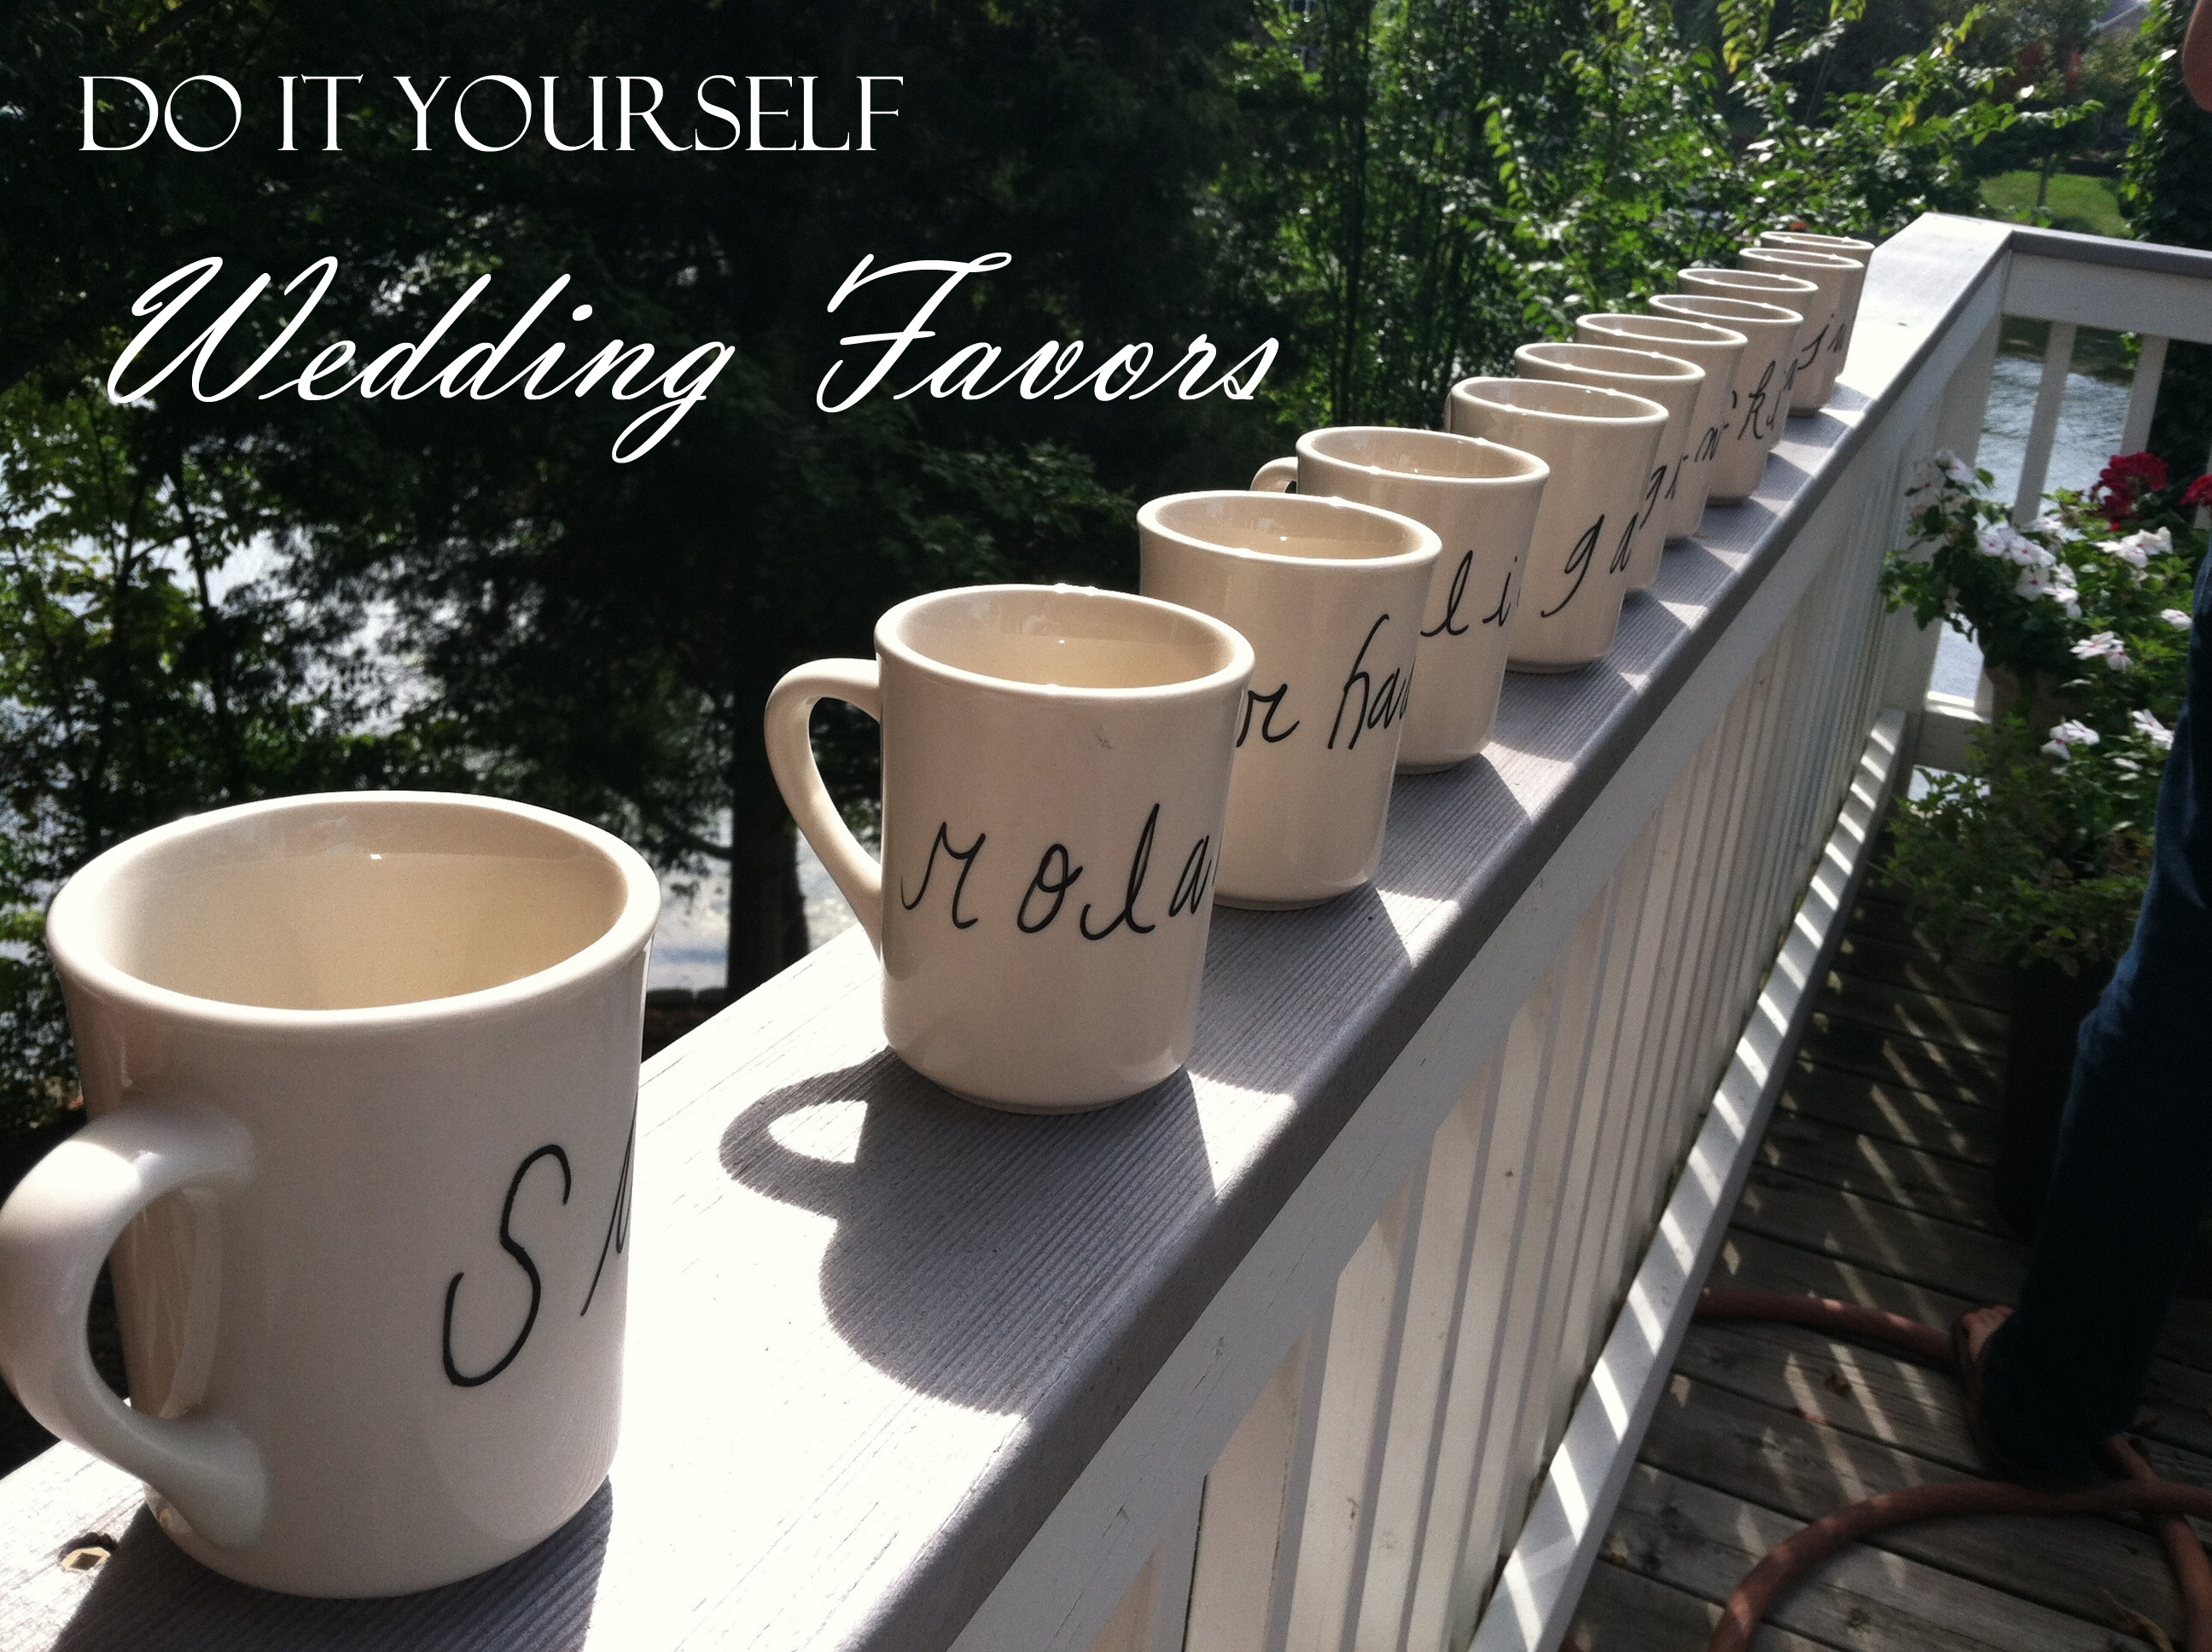
But when Davey and I were engaged to be married, we wanted to make our wedding favors for our guests to show them how much we appreciated their support. I wanted something personalized for them so they knew we took time to make something just for them considering how much time and money they were all putting into just coming to our wedding.
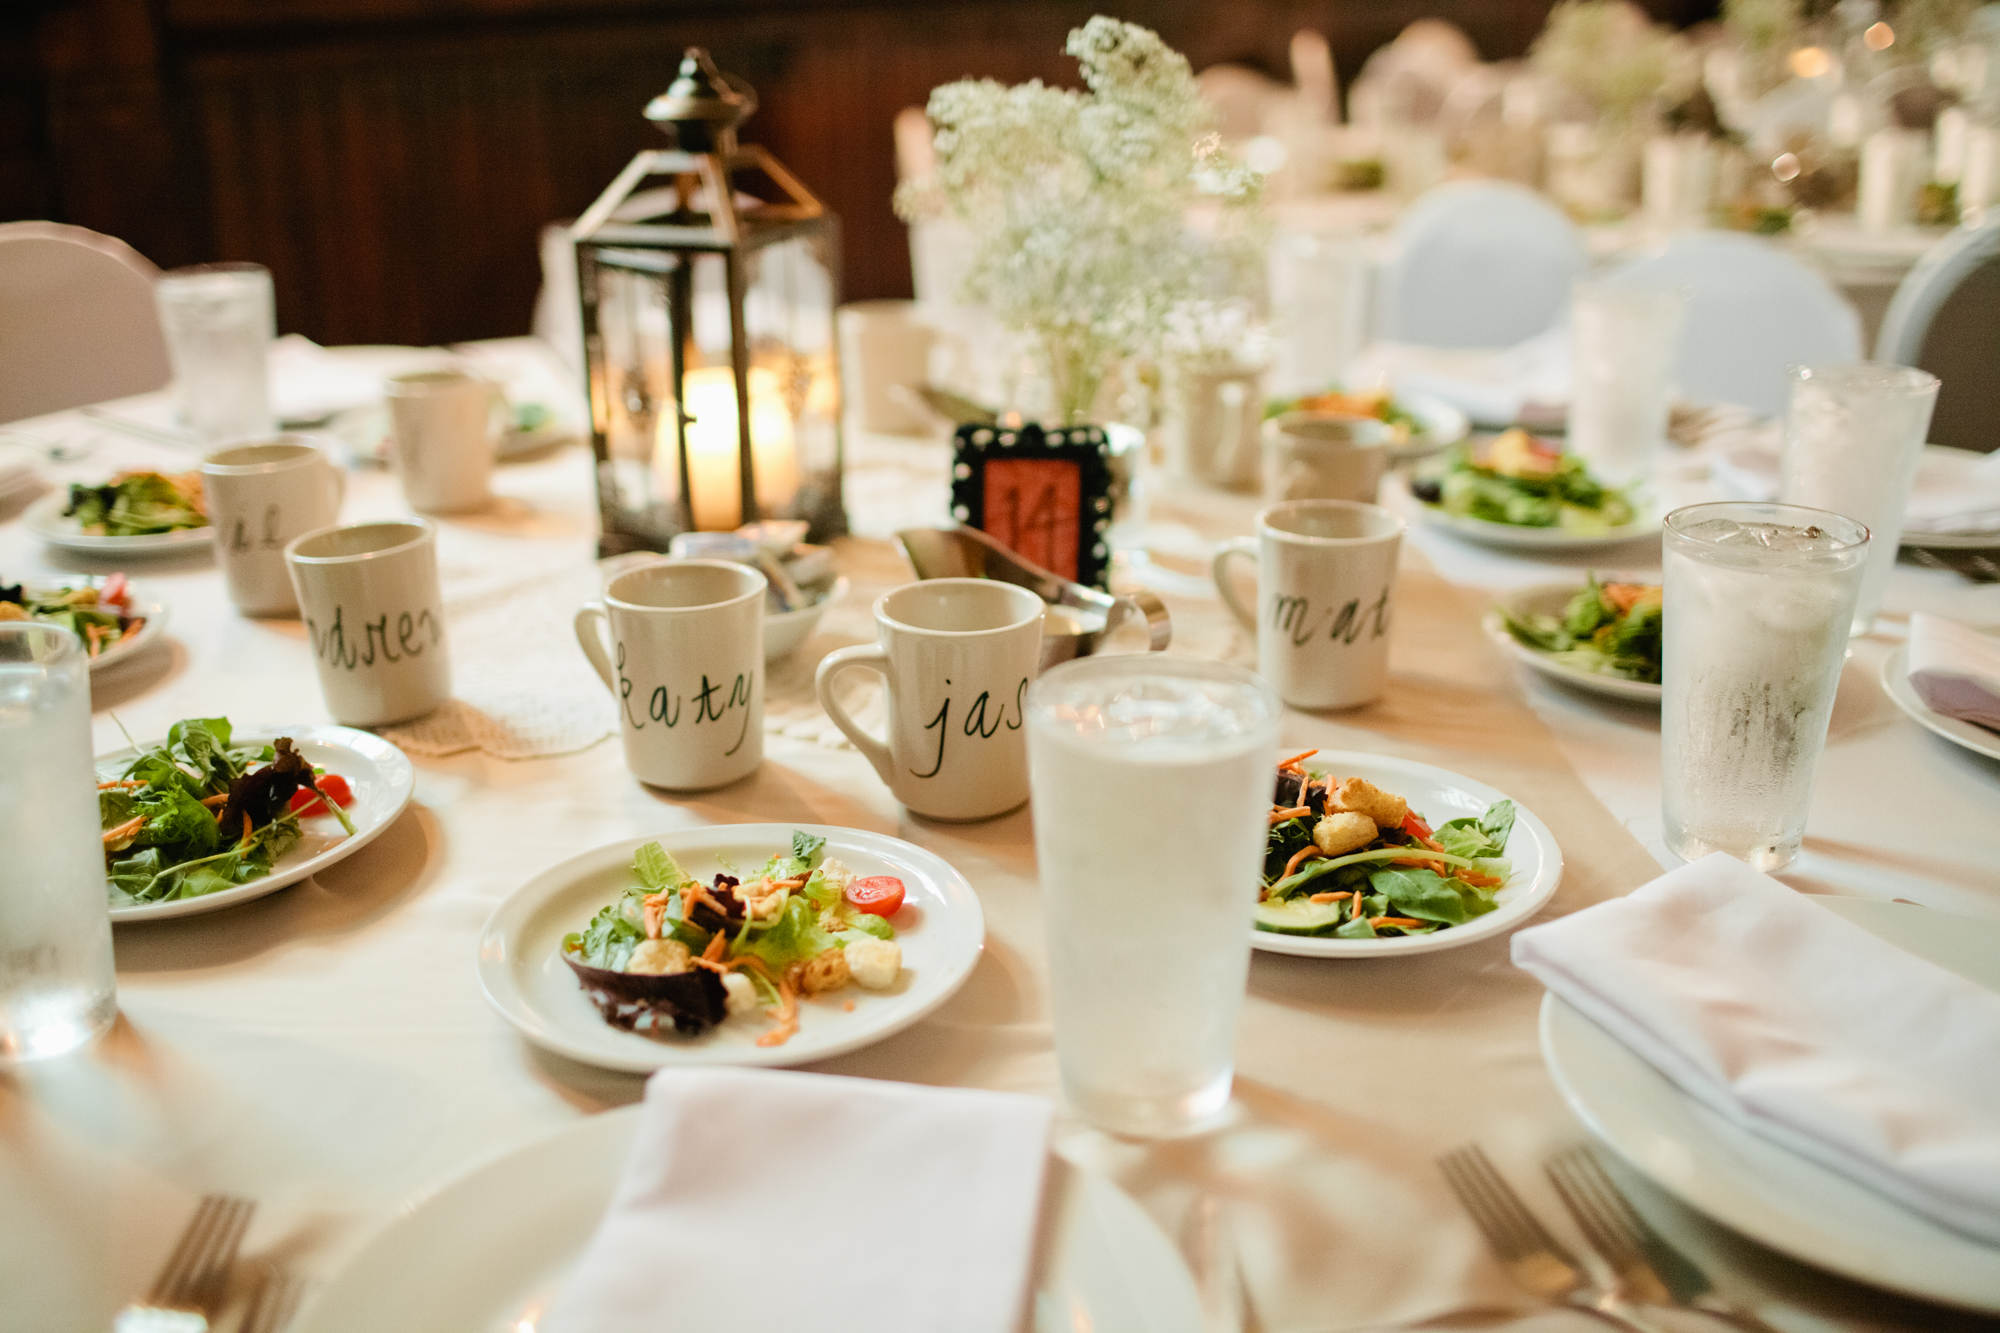
The first two things I love in life are my family and friends. The third is coffee. Making personalized coffee mugs was the natural choice for our wedding favors.
We contacted a friend who sells coffee mugs in bulk (everyone has a friend who sells coffee mugs, right?) and made the initial purchase. We then researched and researched and researched the best “sharpie mug DIY” project we could find that had the best reviews with the longest lasting and clearest results. Naturally, we were afraid that we would spend so much time writing our guests’ names on mugs, then they would go home and wash off immediately. Tacky.
Here is how we did our DIY sharpie mugs:
1. We purchased:
–Ceramic mugs in bulk. I am talking the classic, traditional, coffee mug you find at a local diner (my personal favorite type of coffee mug).
–A set of black Sharpie oil based paint pens/markers
–Rubbing alcohol
–Cotton balls
2. Each mug was then hand washed and stripped using the rubbing alcohol and cotton balls. This step removed all the oils on the mug, therefore allowing the paint to adhere.
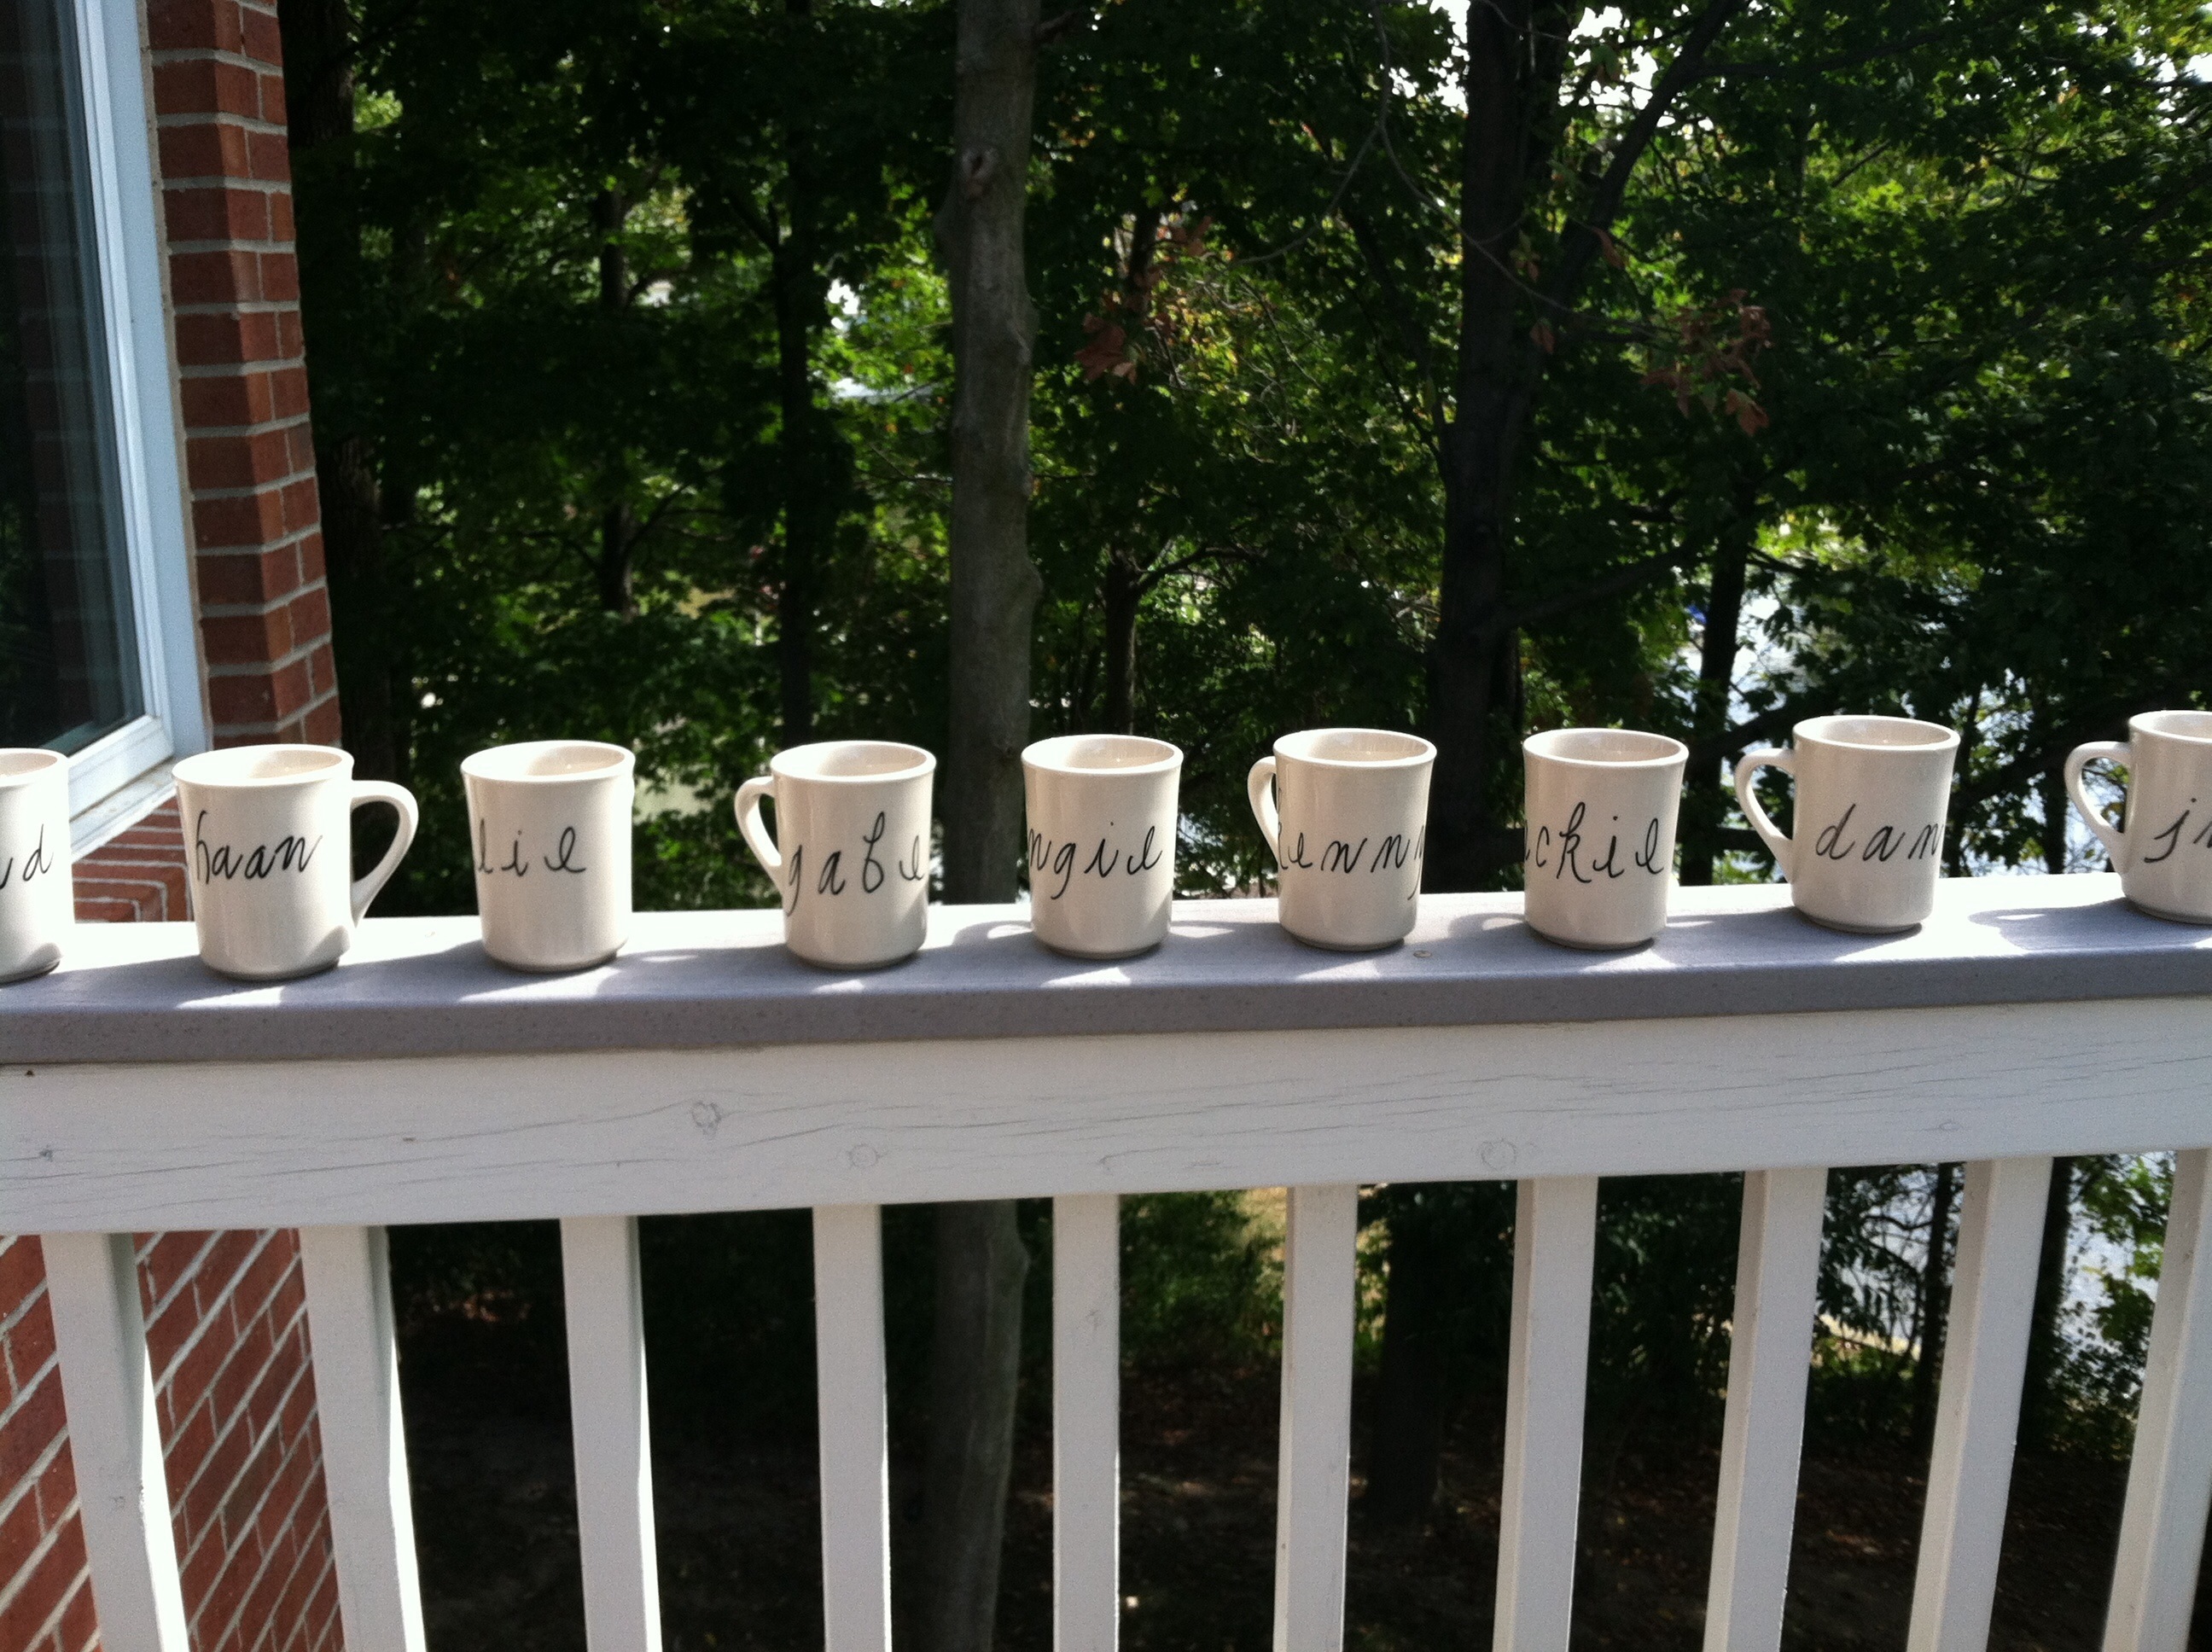
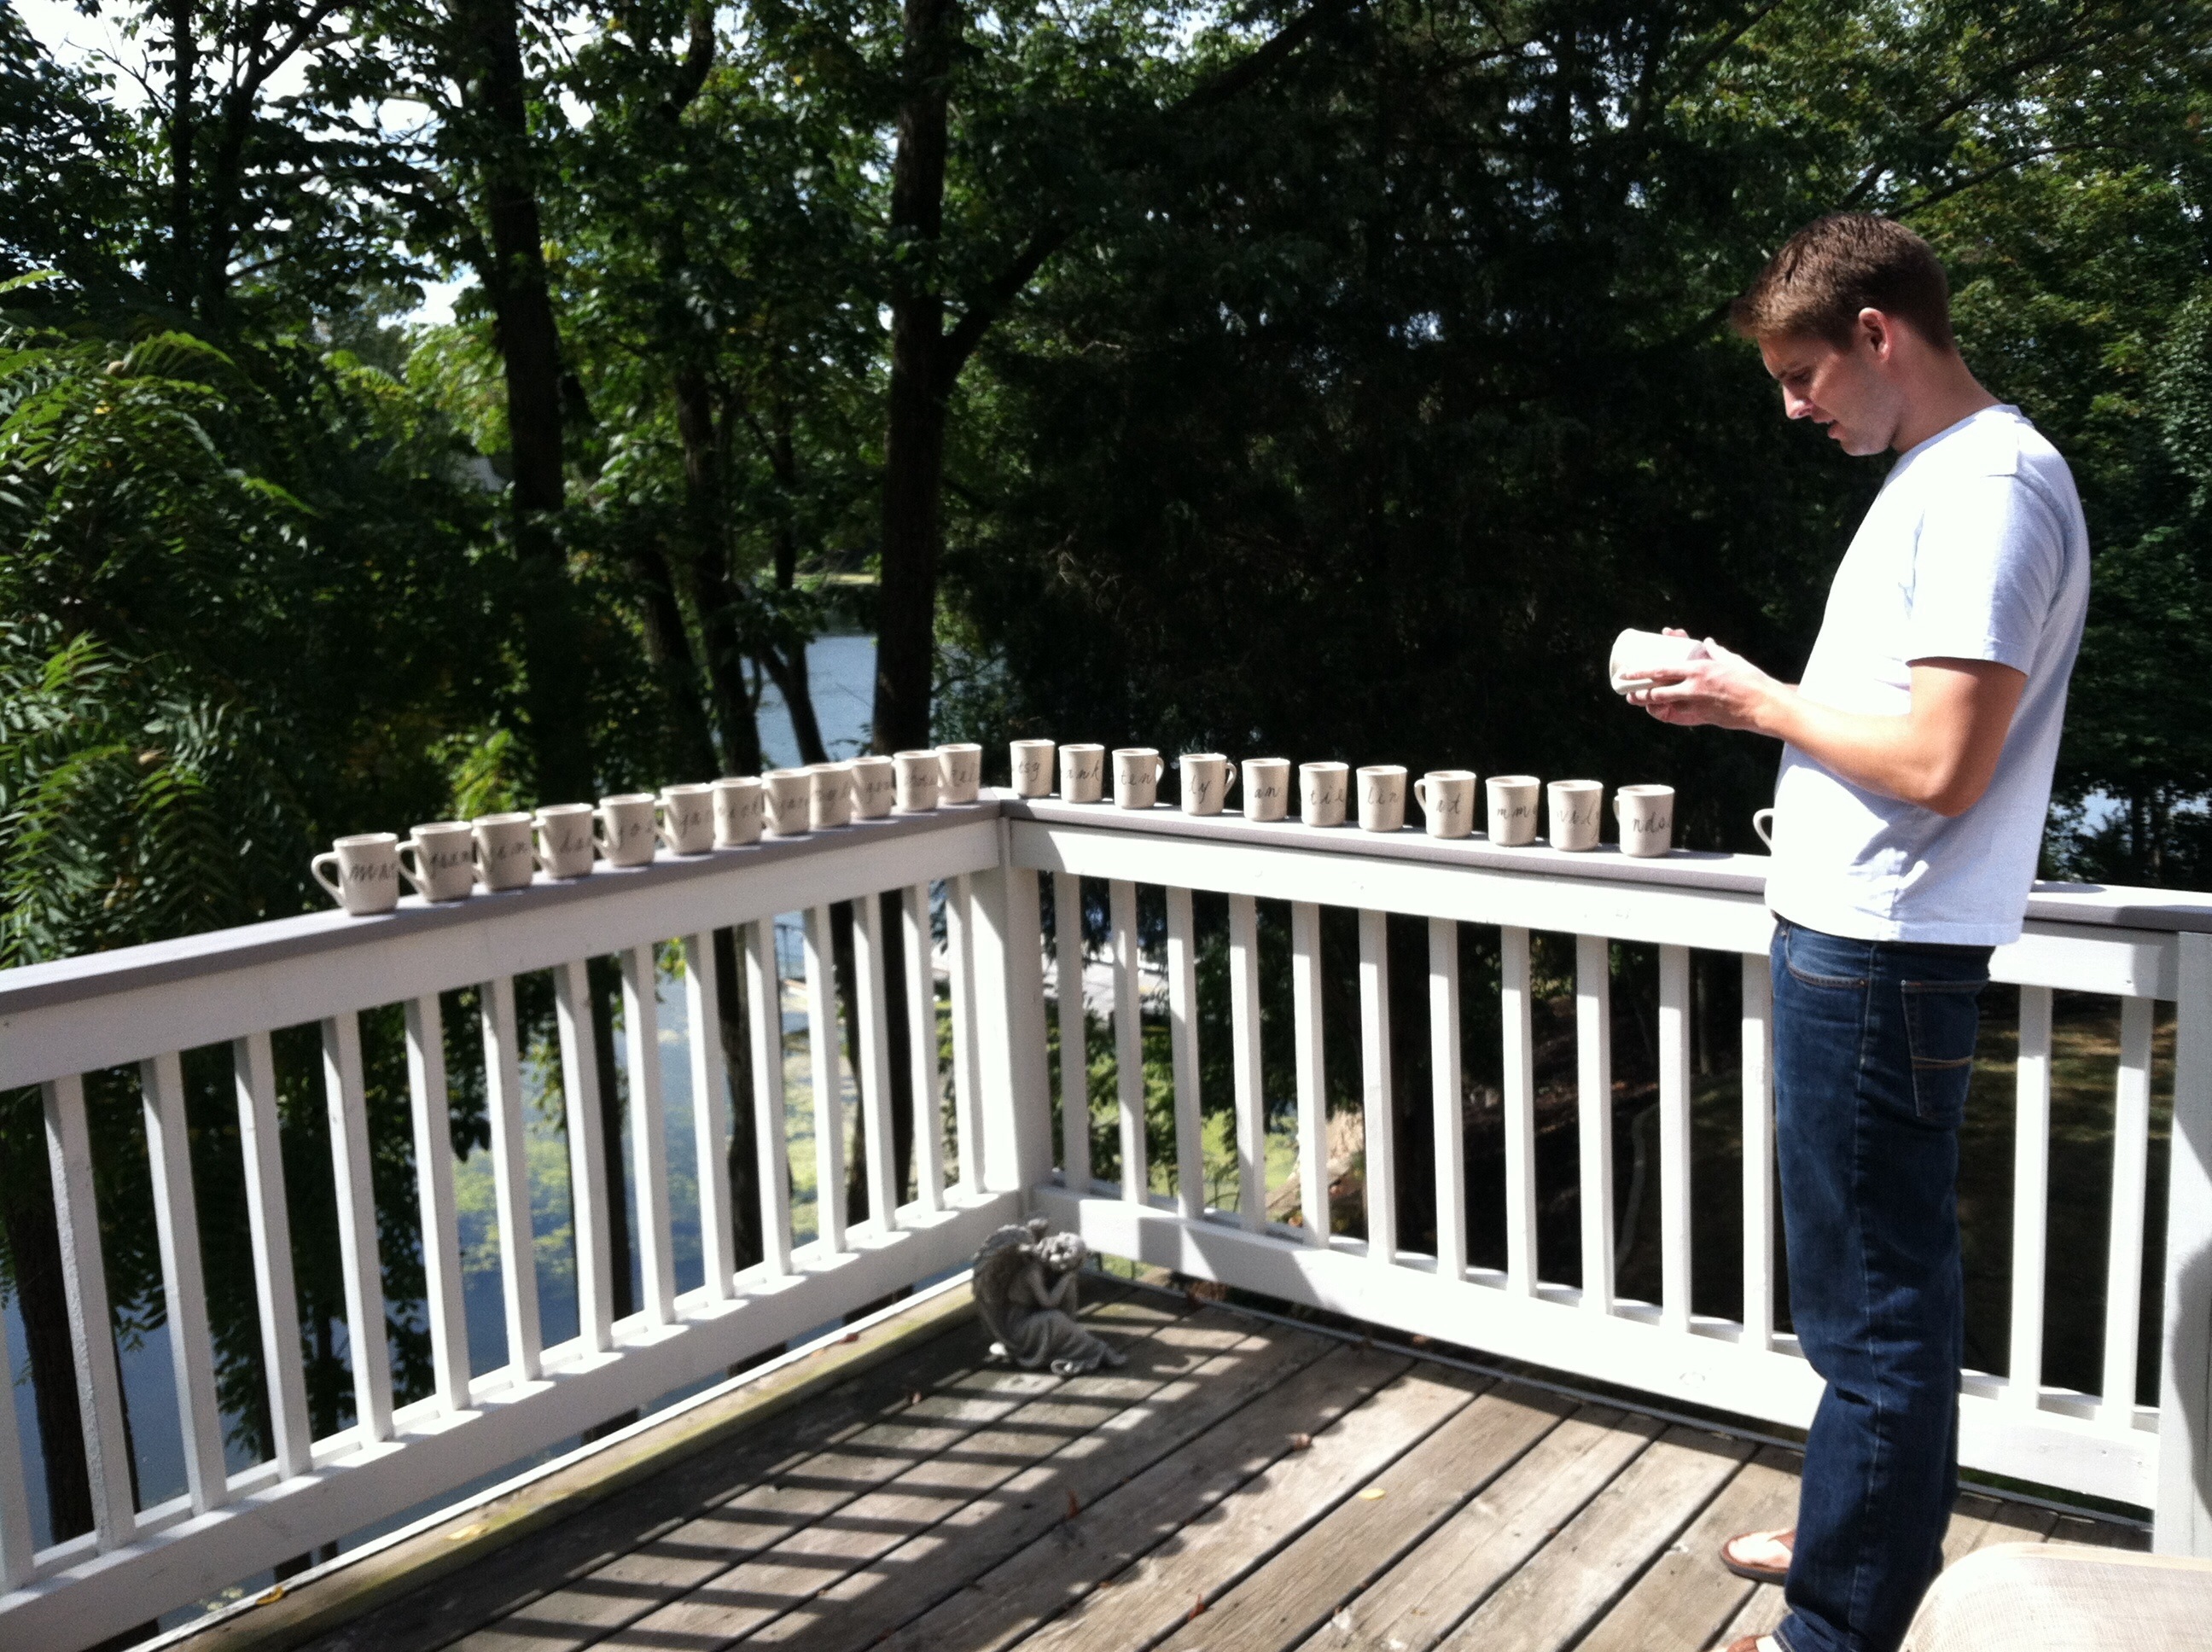
3. Once the rubbing alcohol was dry, we (err…I…Davey has the handwriting of a small child) hand wrote each guests’ name on a mug.
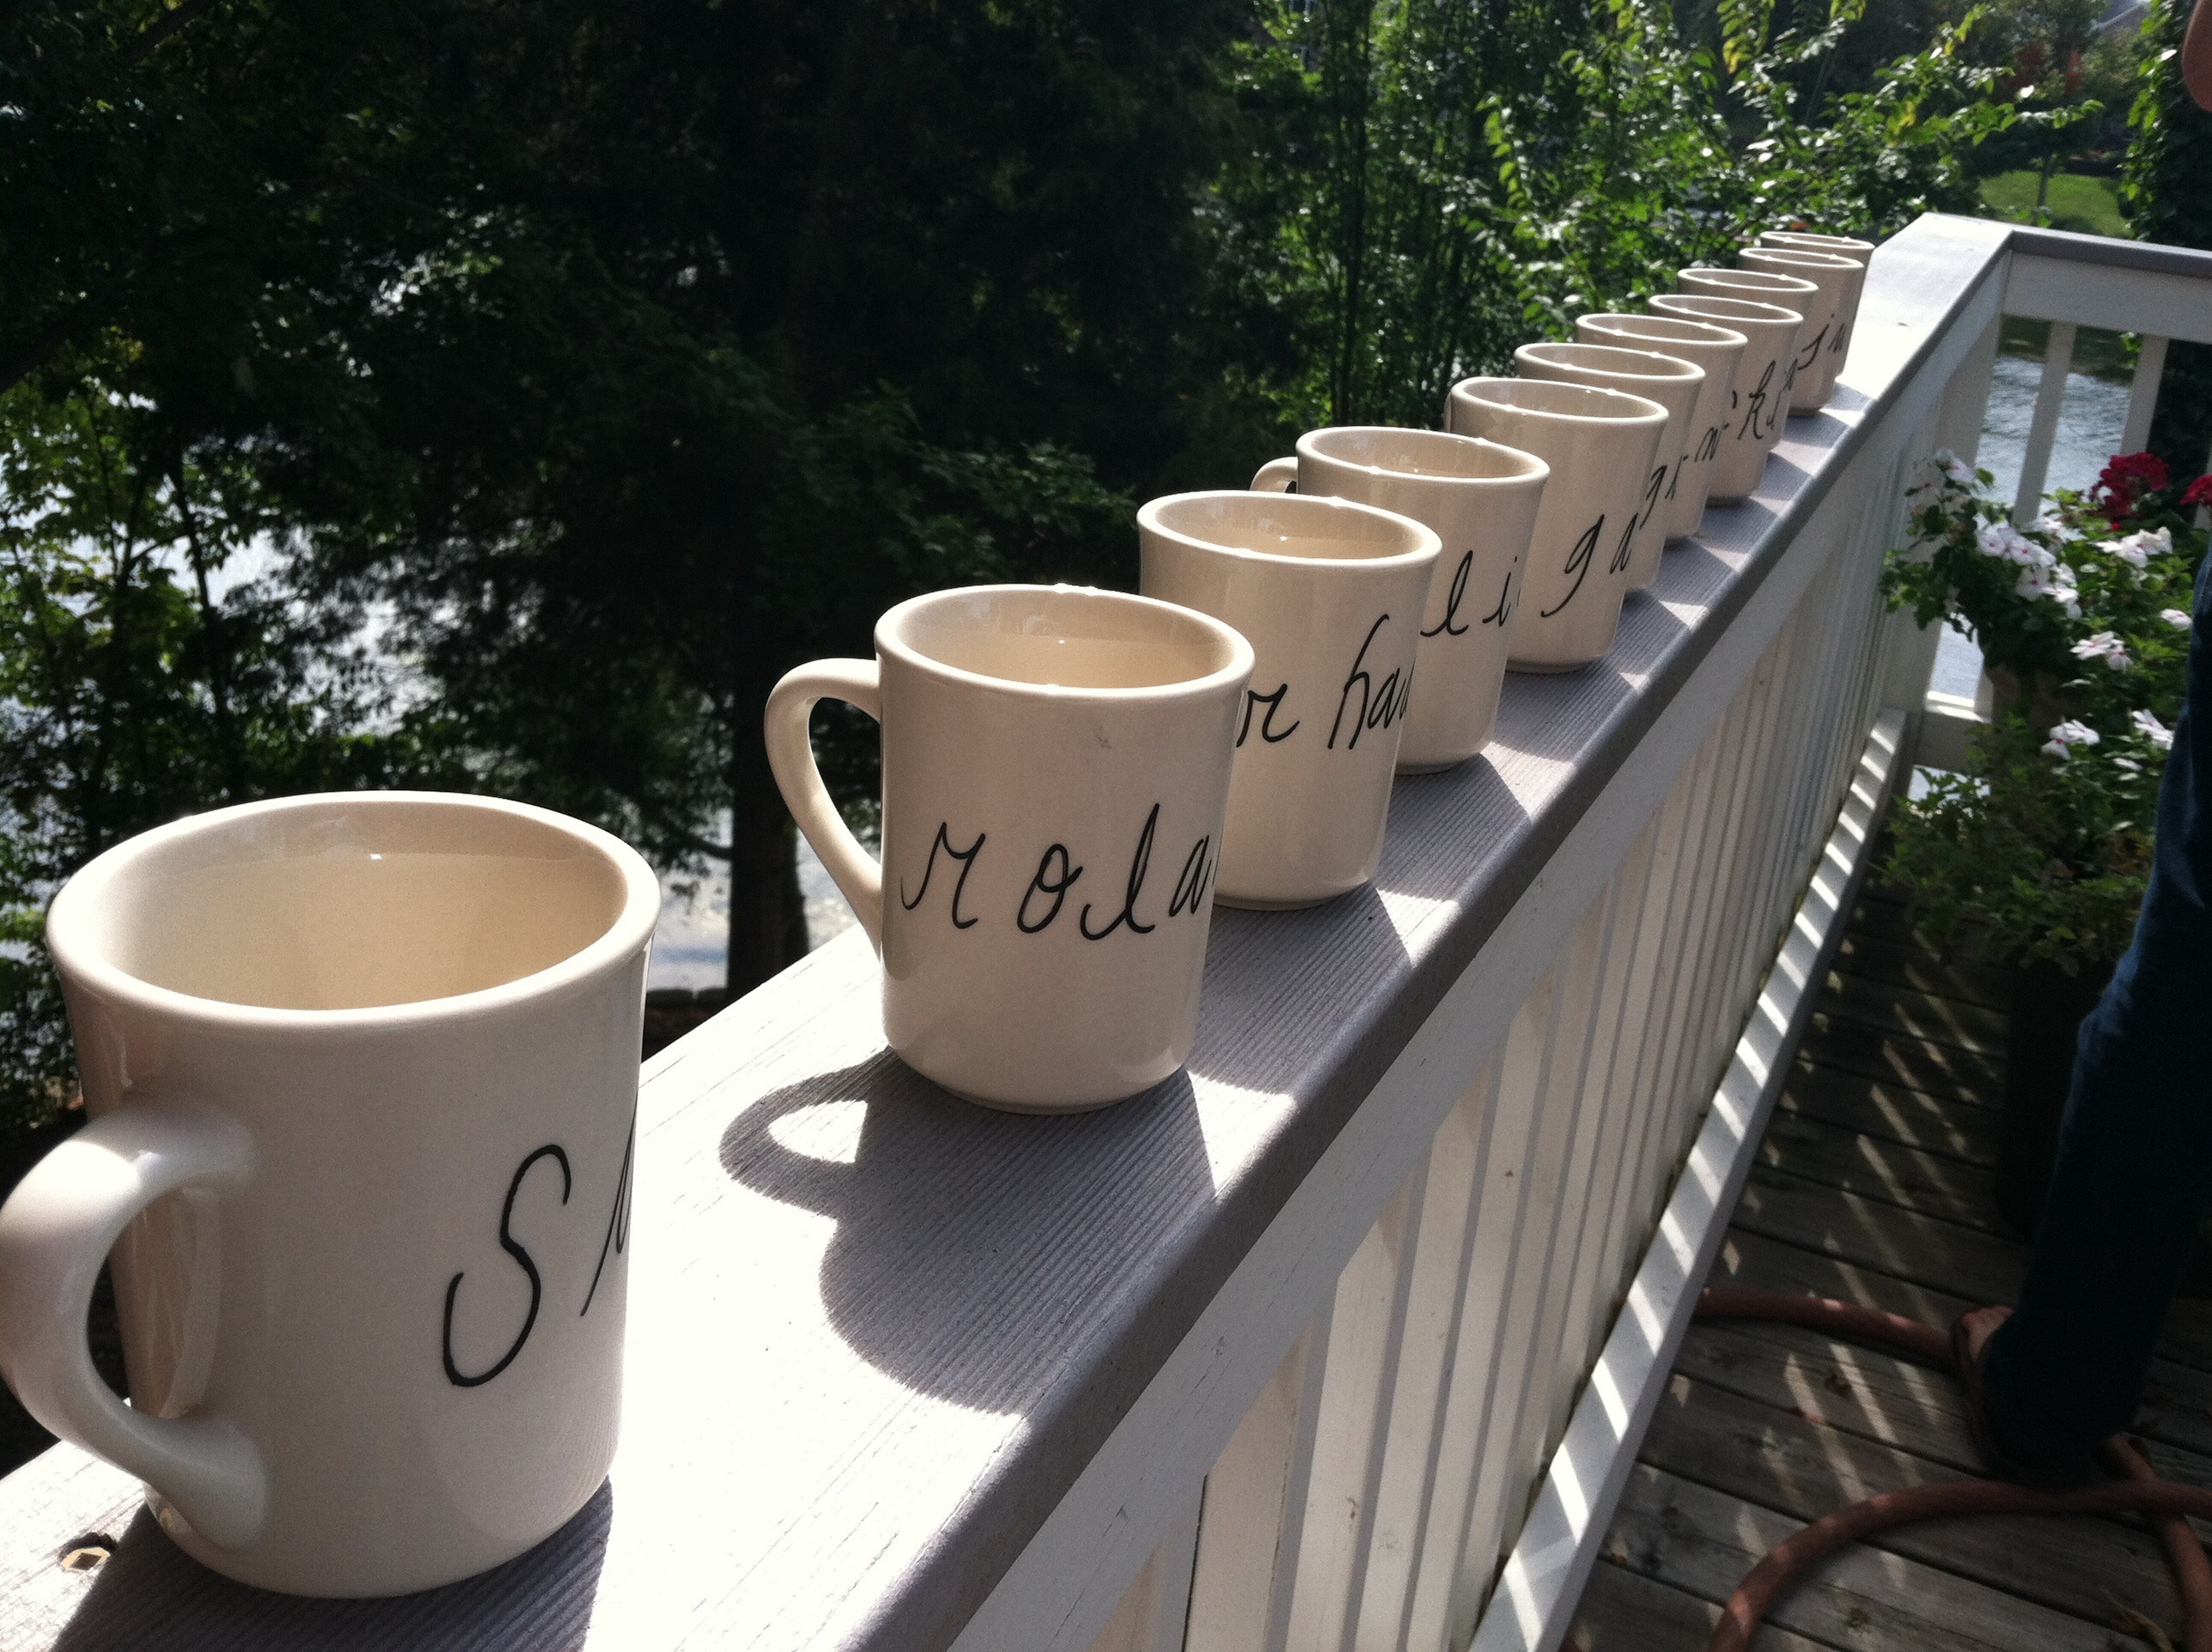
4. The mugs sat for 24 hours…la dee da…
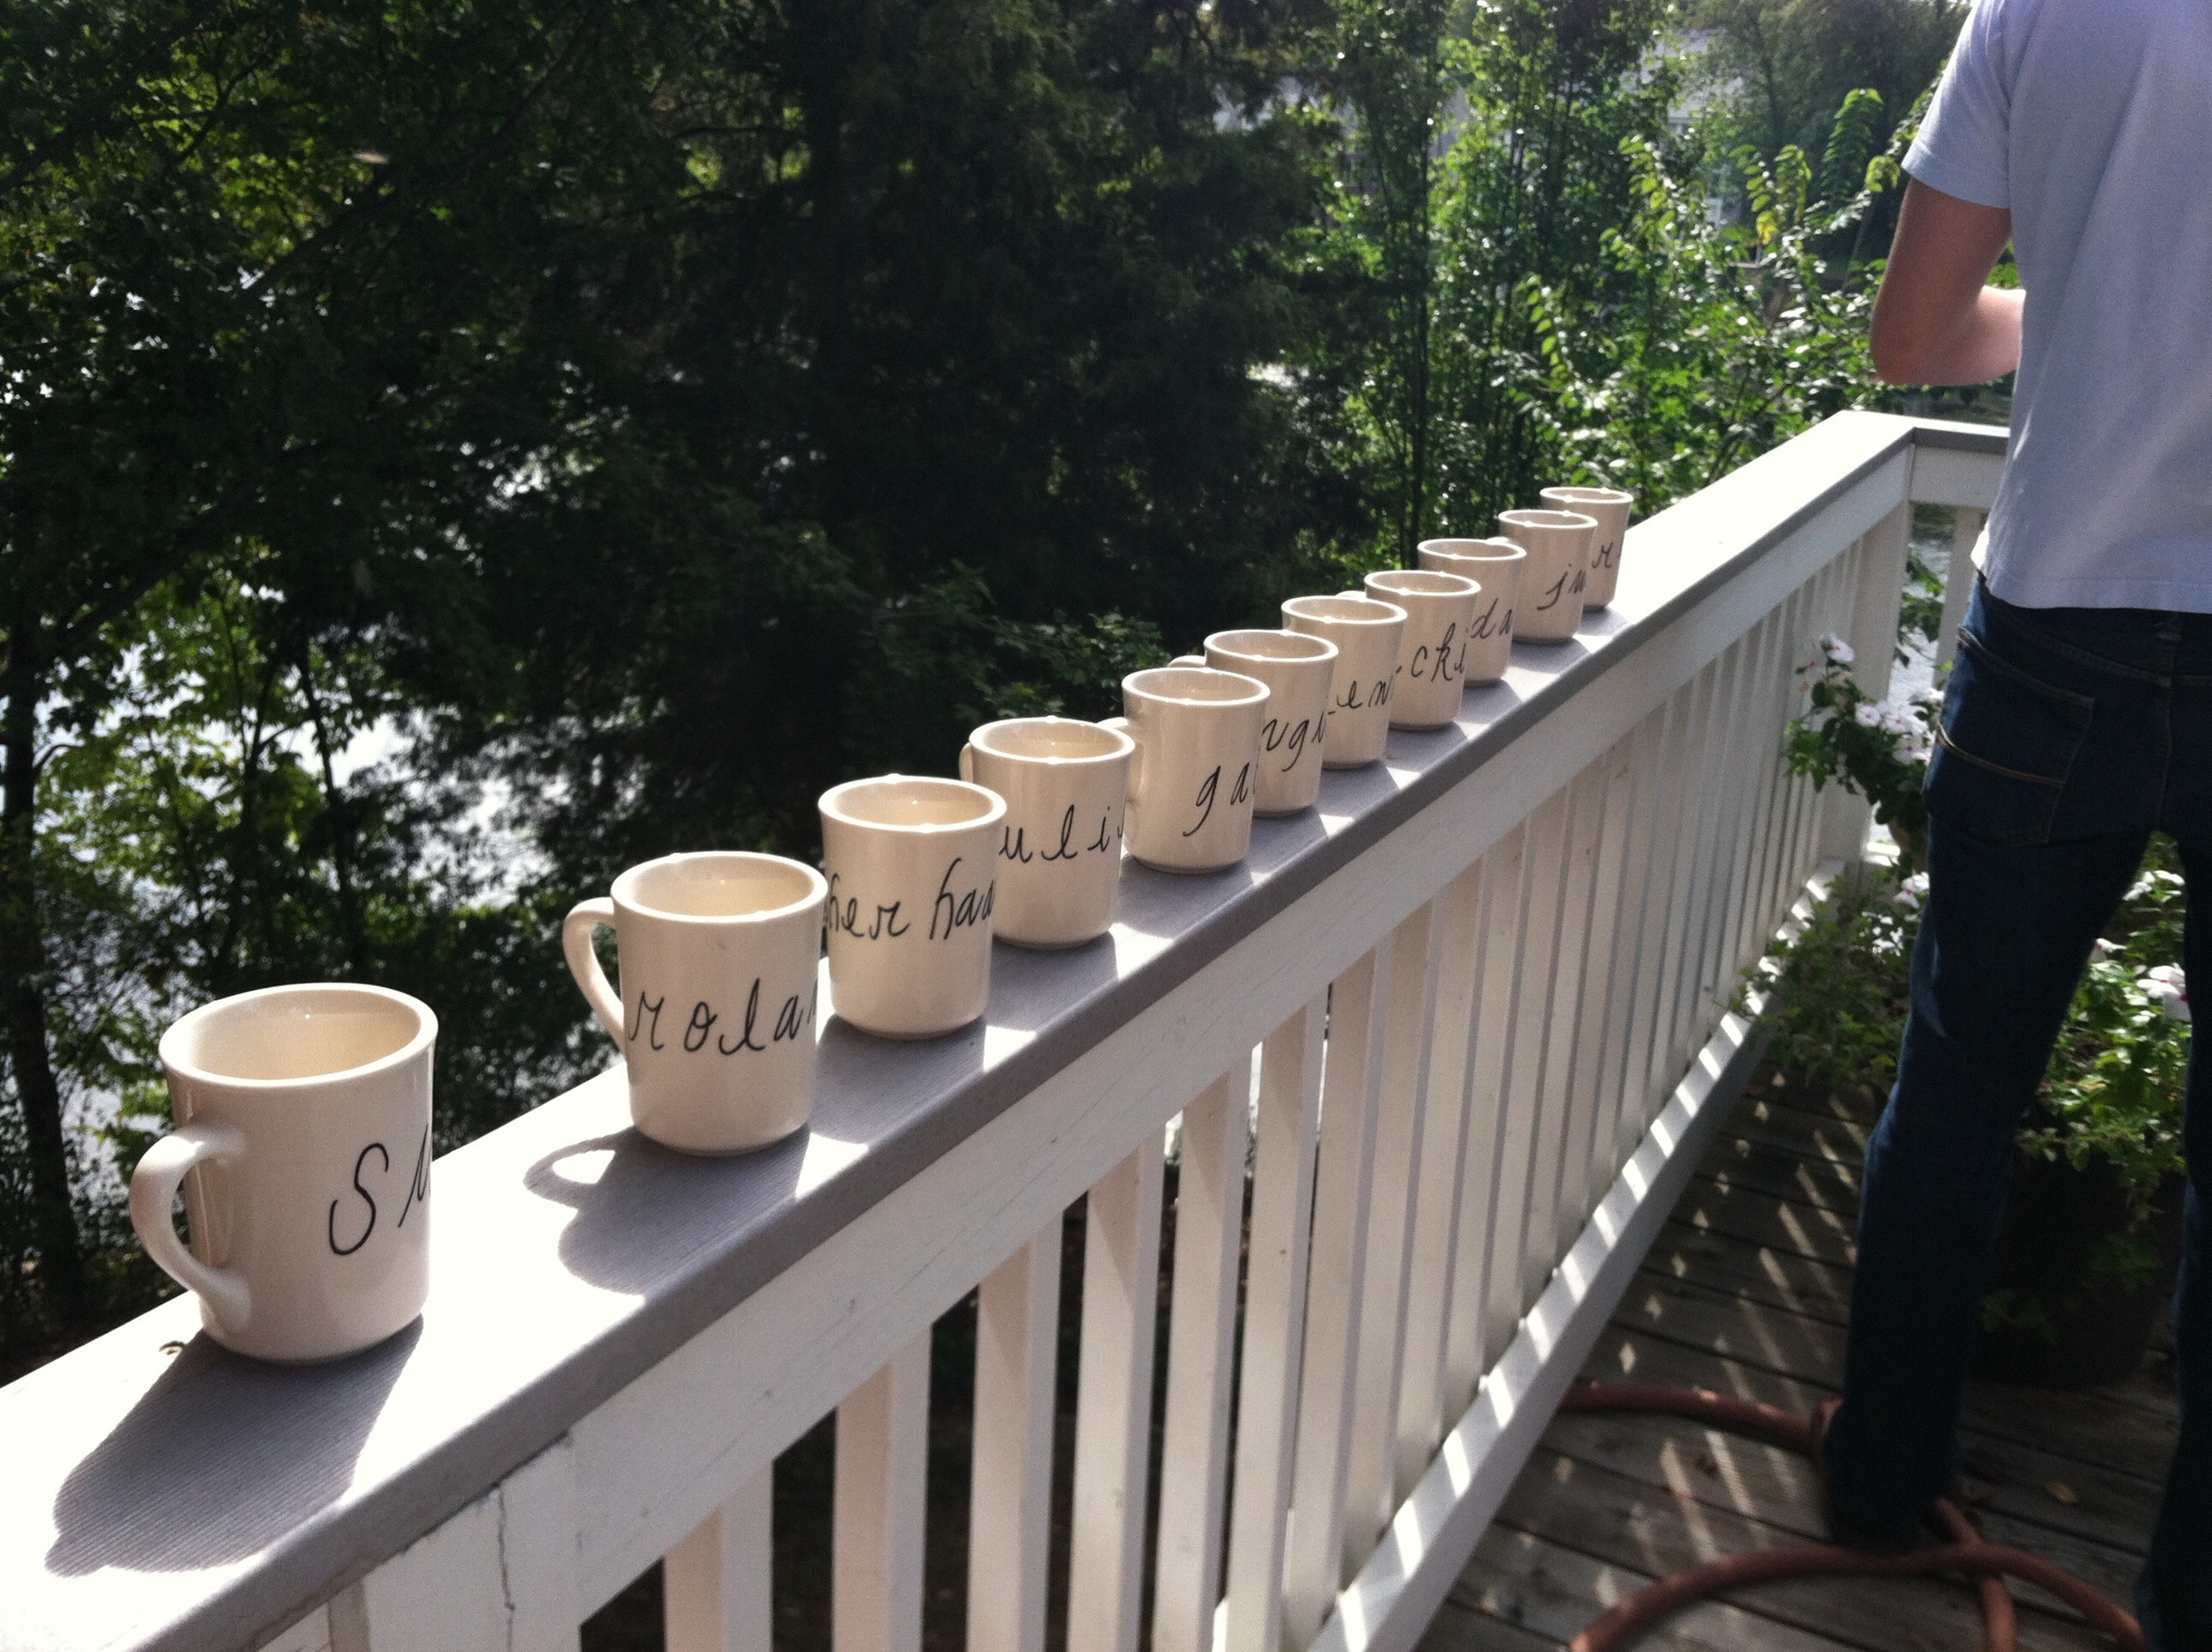
5. 10 mugs at a time were placed on a baking sheet and set in the oven. The oven was then turned on to 425 deg F and the timer was set for 35 minutes. When the timer went off, we left the mugs in the oven to cool down with the oven (so the mugs didn’t crack).
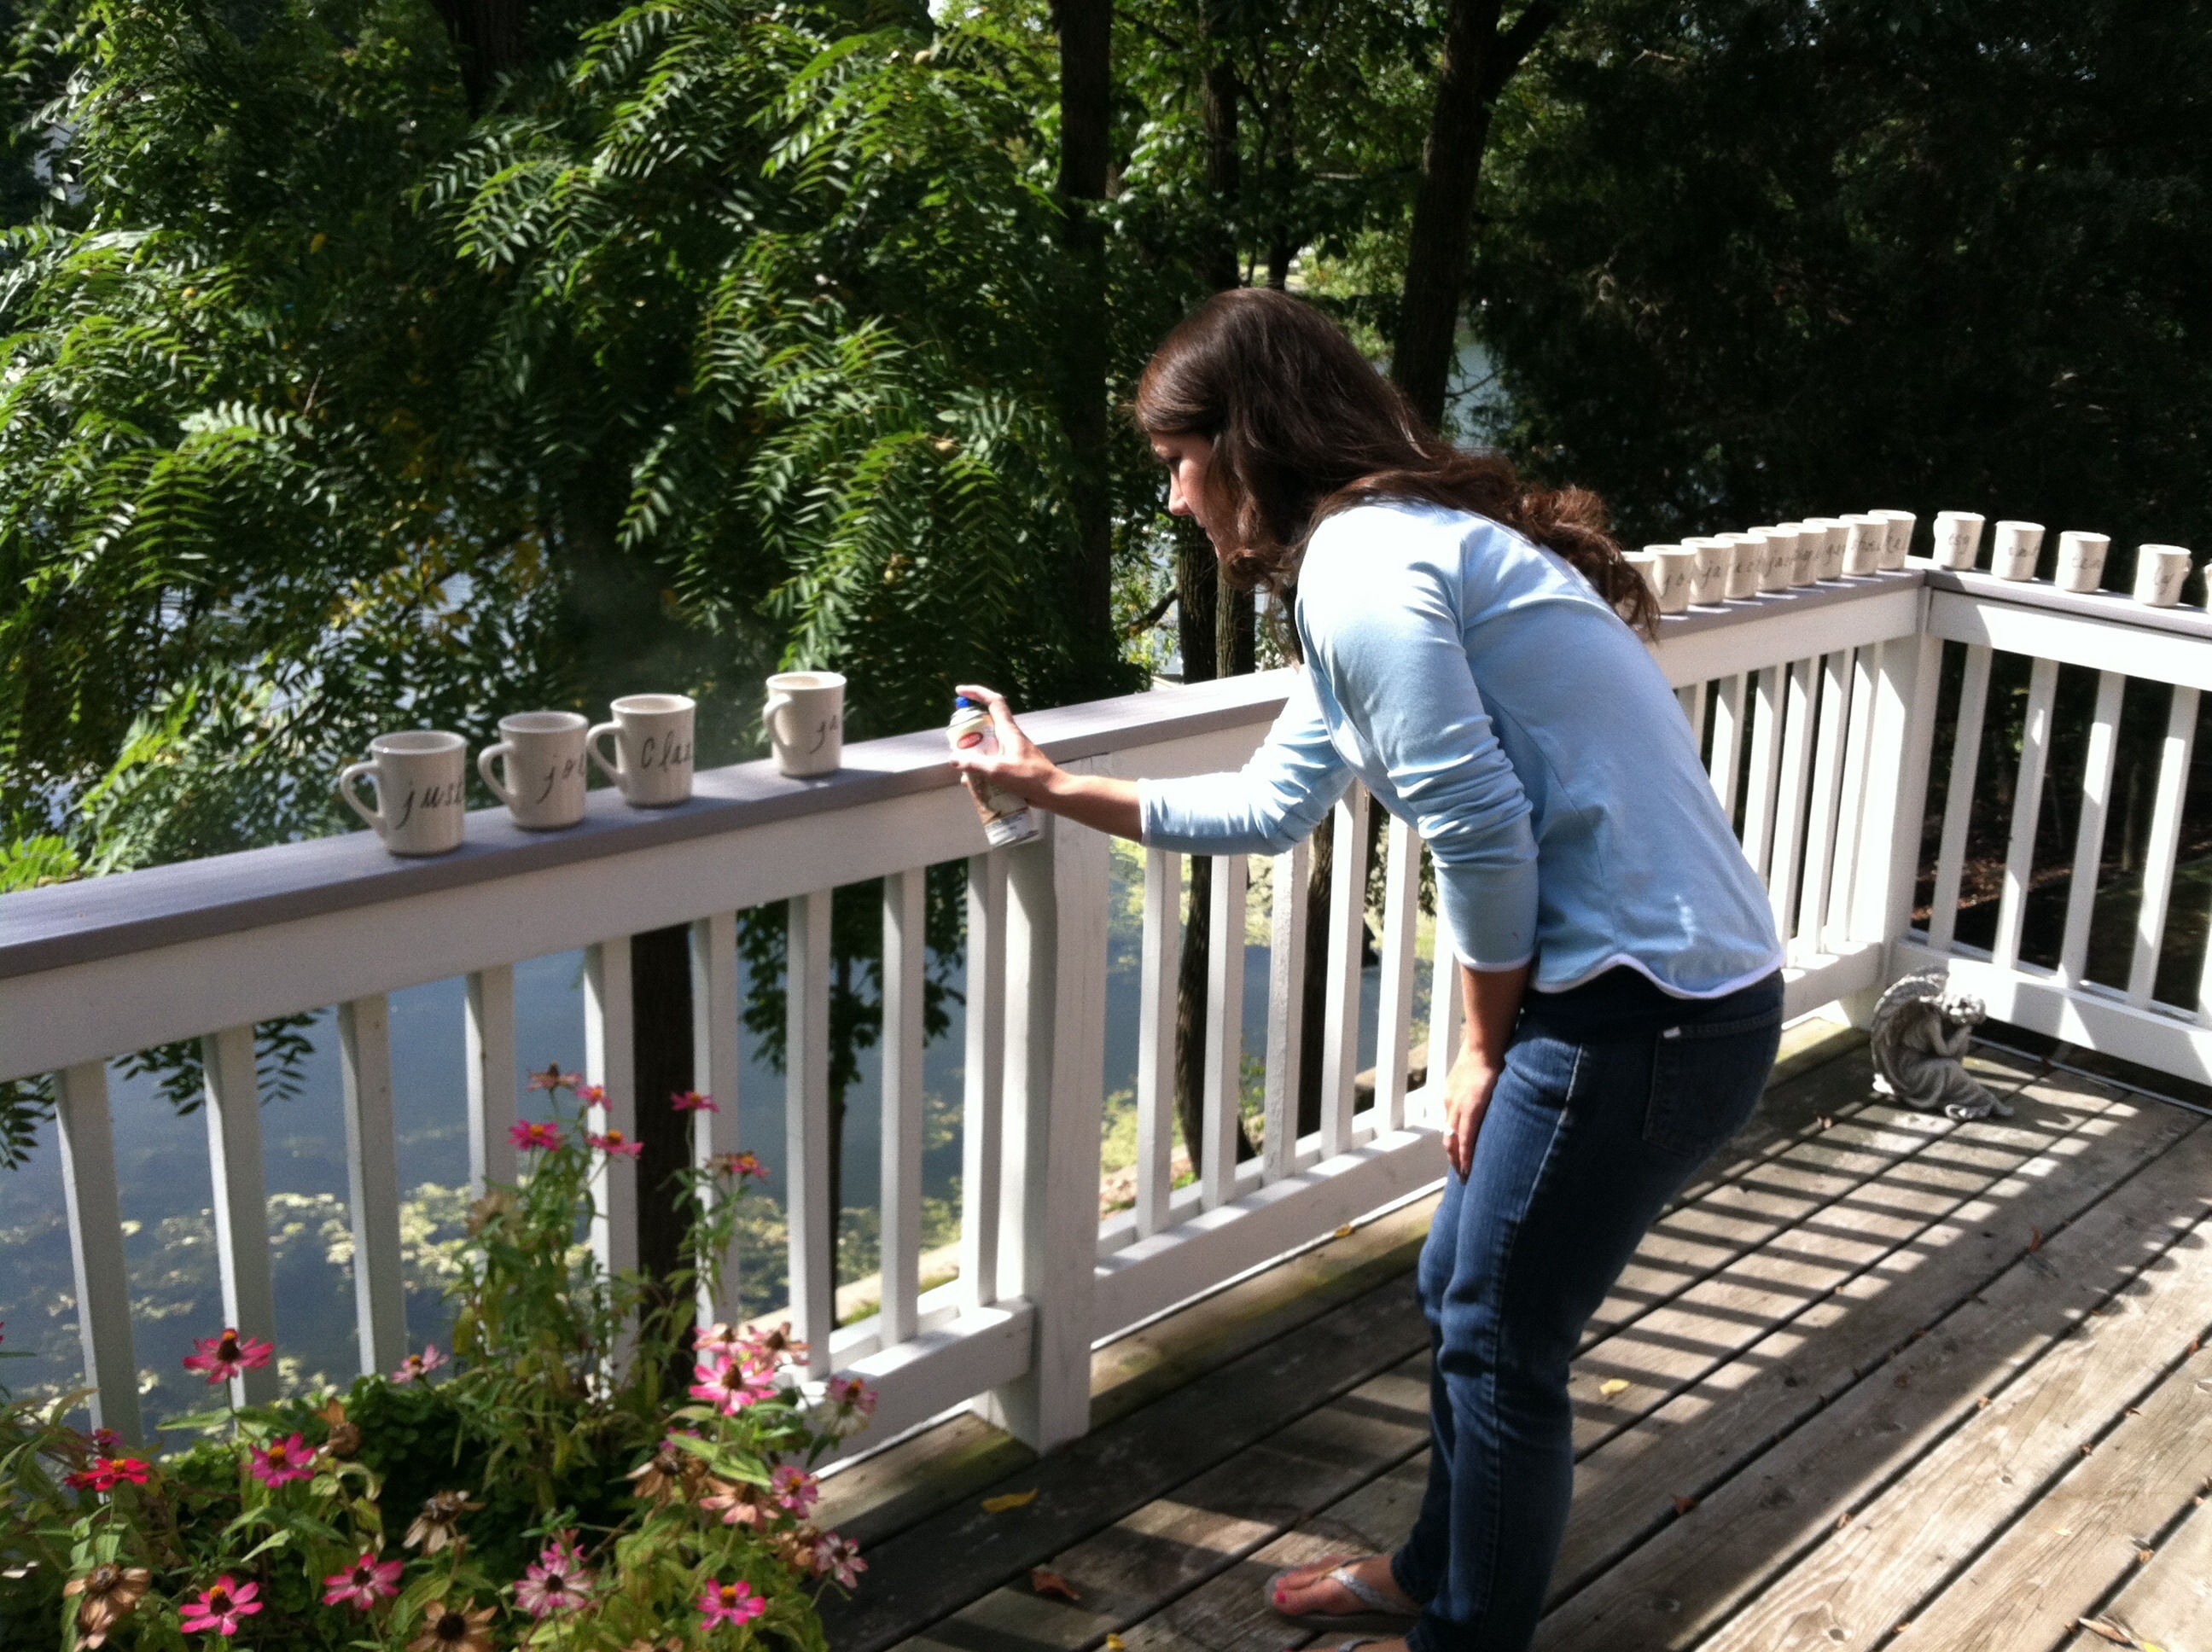
6. When the mugs were completely cooled, we sprayed each mug with acrylic spray finish to set the ink.
And voila!

If you plan on doing all your guests’ mugs in a day…well, you’re a fool. We did a batch every time we received 10 RSVPs. Then we sprayed them all with the finish on the same day. This made it manageable for our 200 guests.
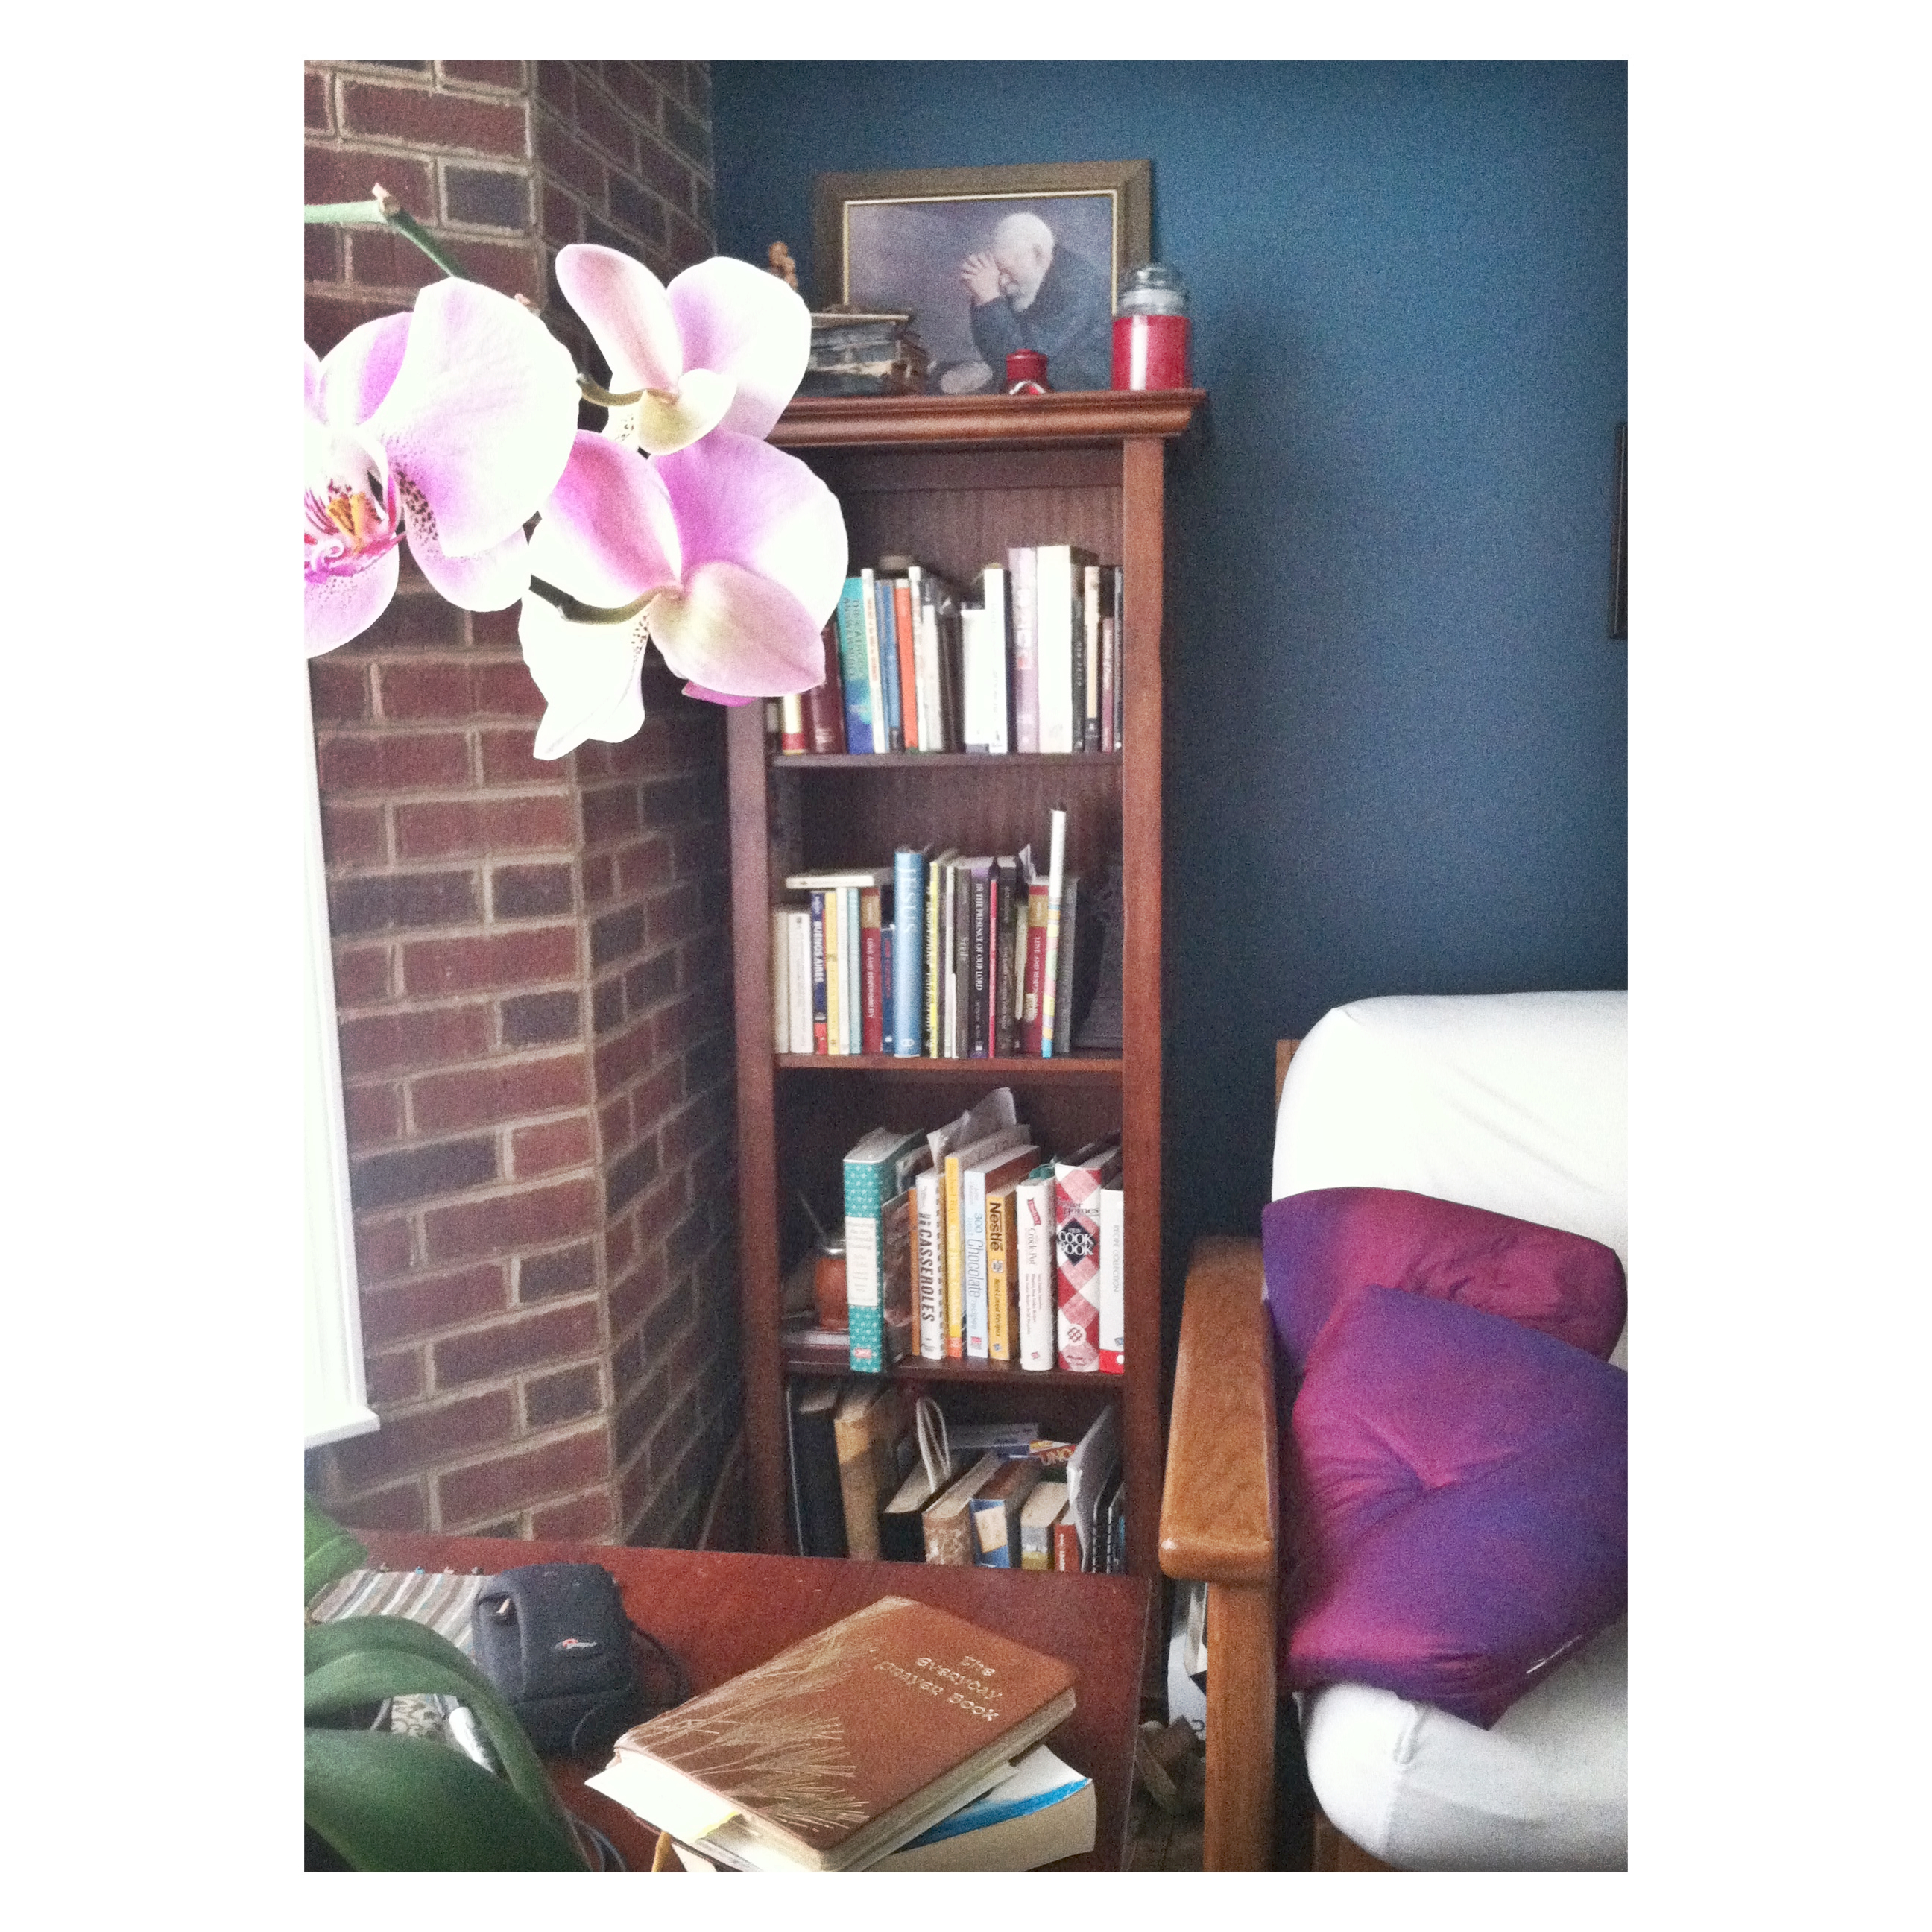
We also used our mugs to organize our table placements on our living room floor:

We have had some feedback from our guests and it is positive! Our guests who hand wash their mugs have noticed that the ink does not wear away. The dishwasher is a little harsher on the ink. I think no matter how you do “DIY sharpie mugs”, it’s always best to plan on hand washing for the longest lasting results.
My favorite part of the whole process has been getting picture texts of our family and friends enjoying coffee, cocoa, or hot toddies from their mugs and remembering how much we appreciate them!