I guess I am feeling very brave today (or something), but I am posting pictures of myself (sorry) at 23 weeks pregnant. I say sorry because I am not one of those gorgeous pregnant woman on Pinterest that look so adorable that I pin their maternity fashion mainly because I want their body. But I just couldn’t resist the opportunity to share the top 3 exercises every pregnant woman should do!
I have treated countless pregnant women in physical therapy for various aches and pains, but it took being pregnant for me to realize that even our own doctors, although eager to help us, don’t consider how exercises may ease our aches and pains. I told my doctor I had calf cramping in the middle of the night, and her quick response was “magnesium!” I told her my back was aching, and she said, “Tylenol and a heating pad!” While these are good options, stretching and gentle exercises can provide pain relief without adding another pill to our evening prenatal rituals.
Without further adieu, the top three exercises every pregnant woman should do are: 1) The Pelvic Tilt; 2) Quadruped Stabilization While Rocking Back; and 3) Hip Abduction with Lateral Rotation (“Clamshell”).
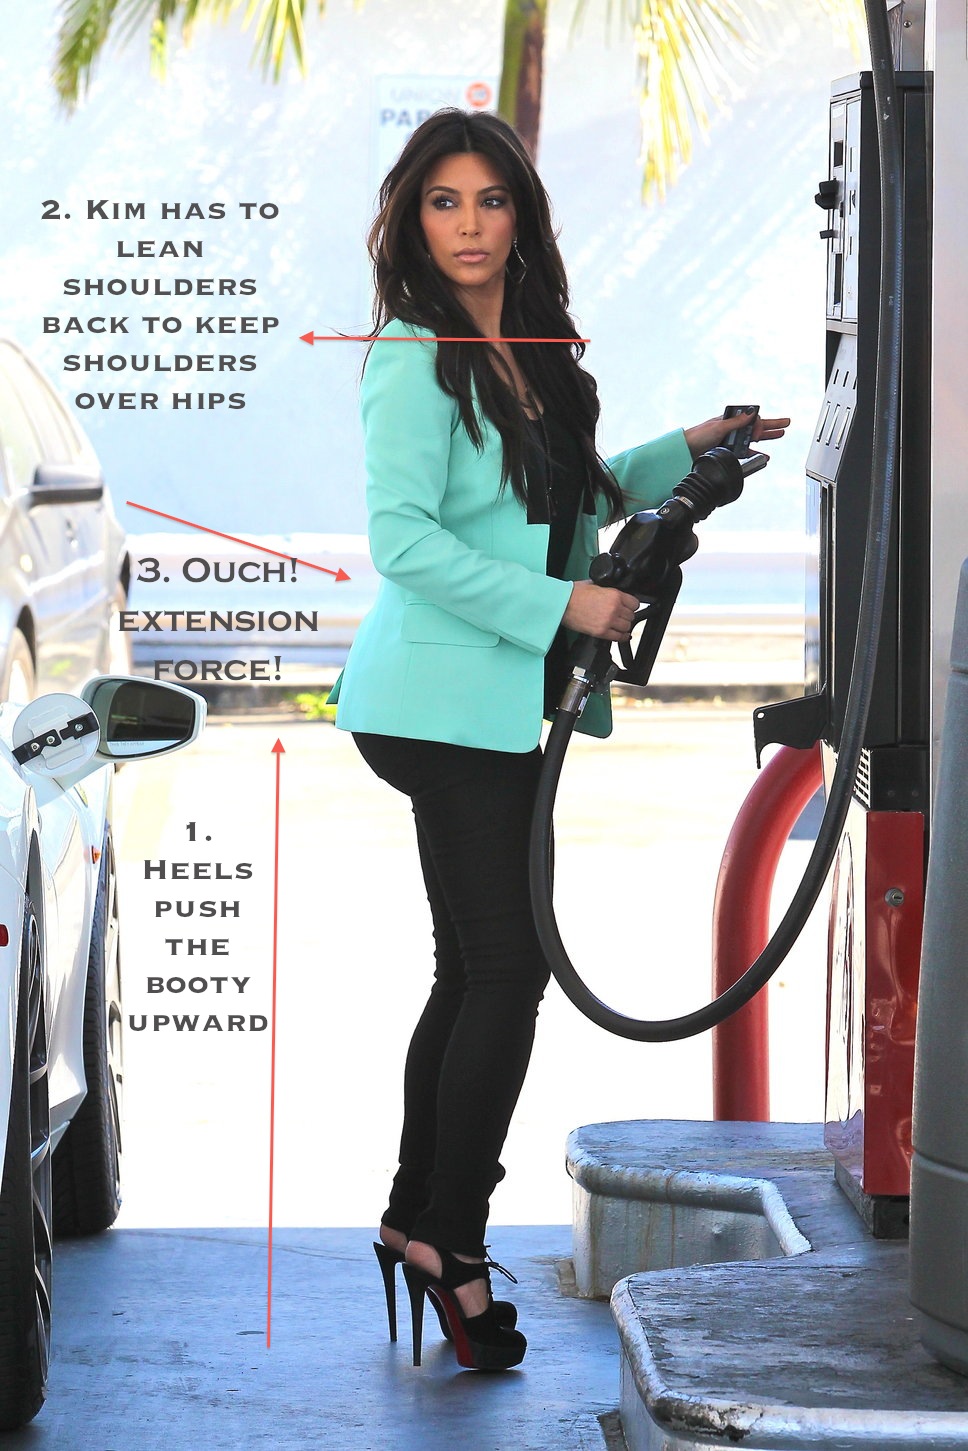
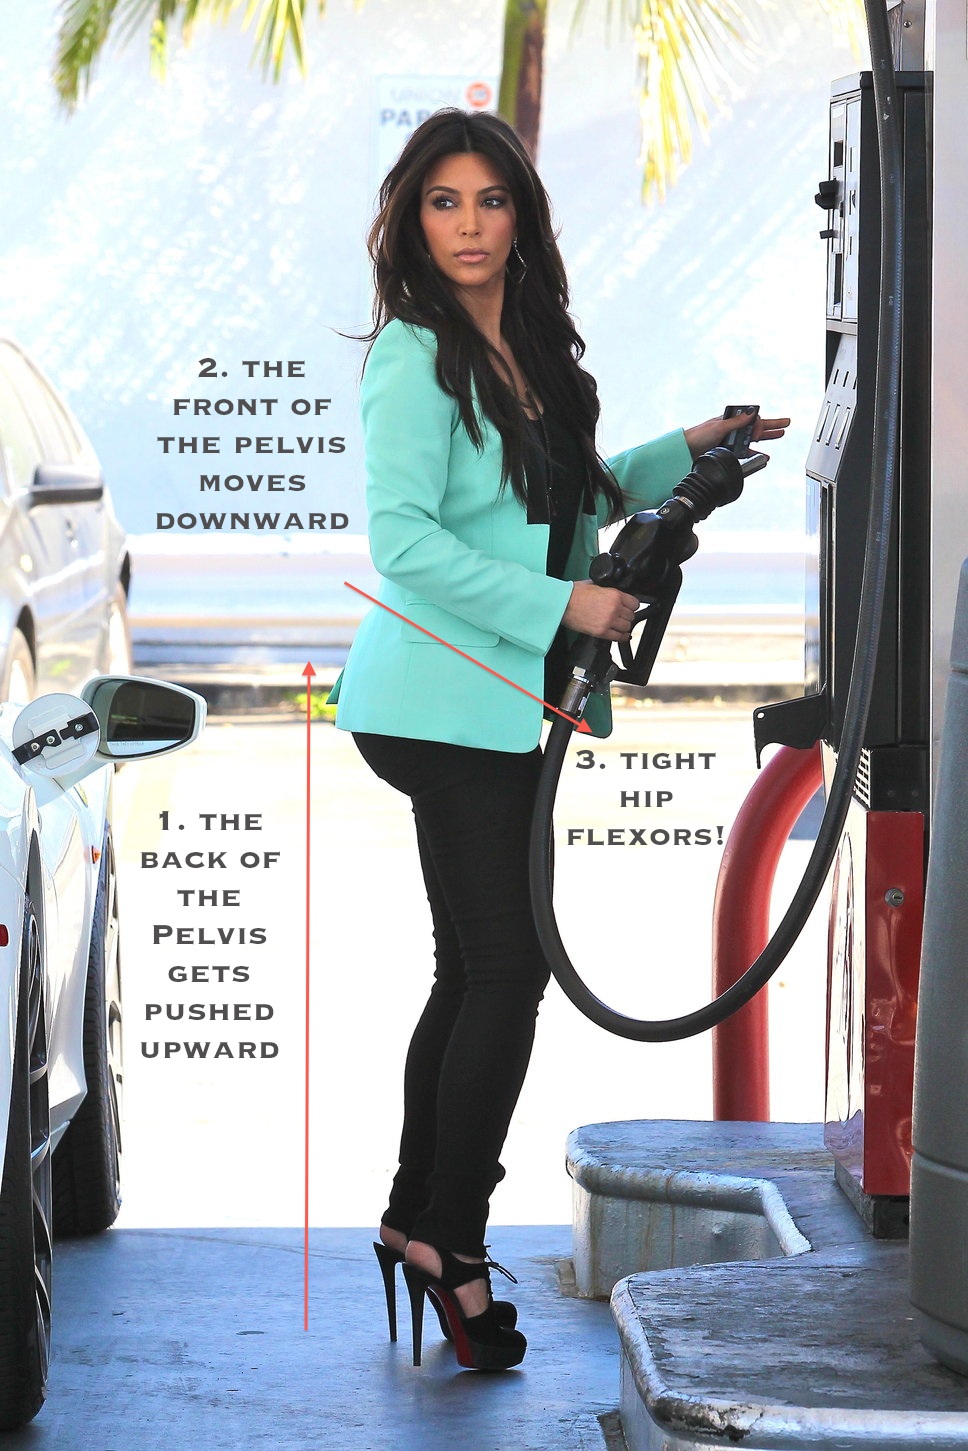
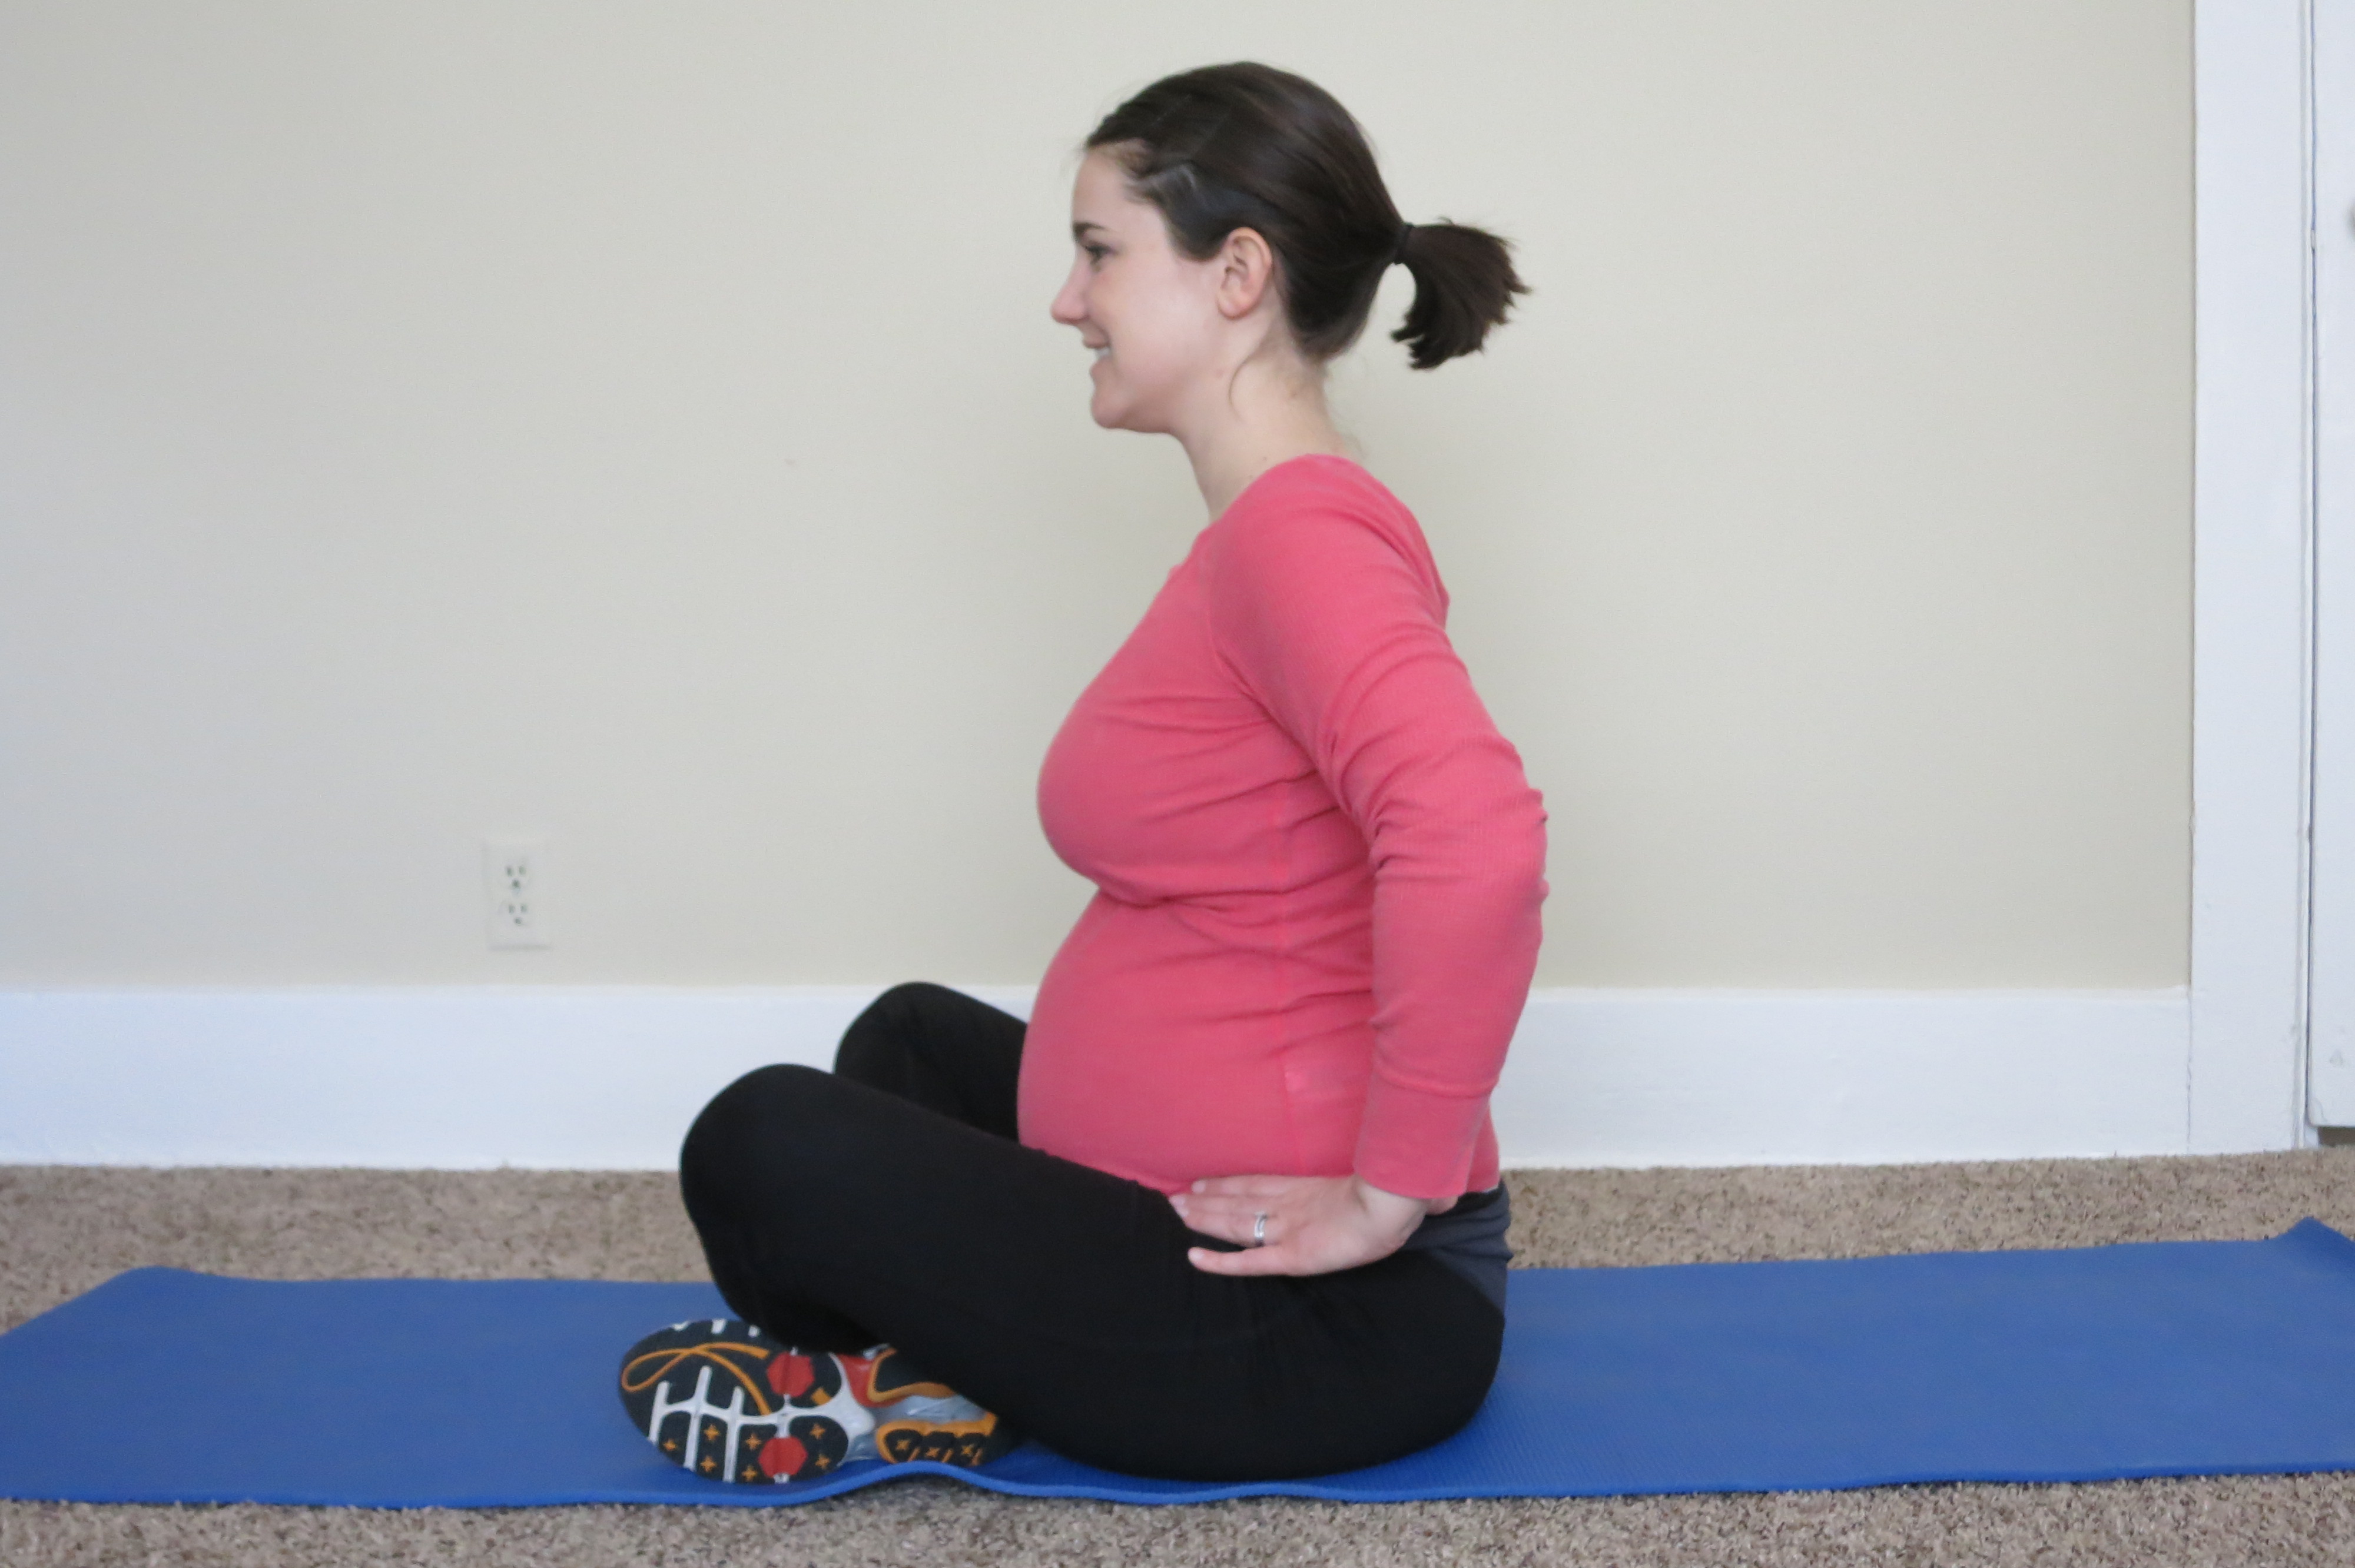
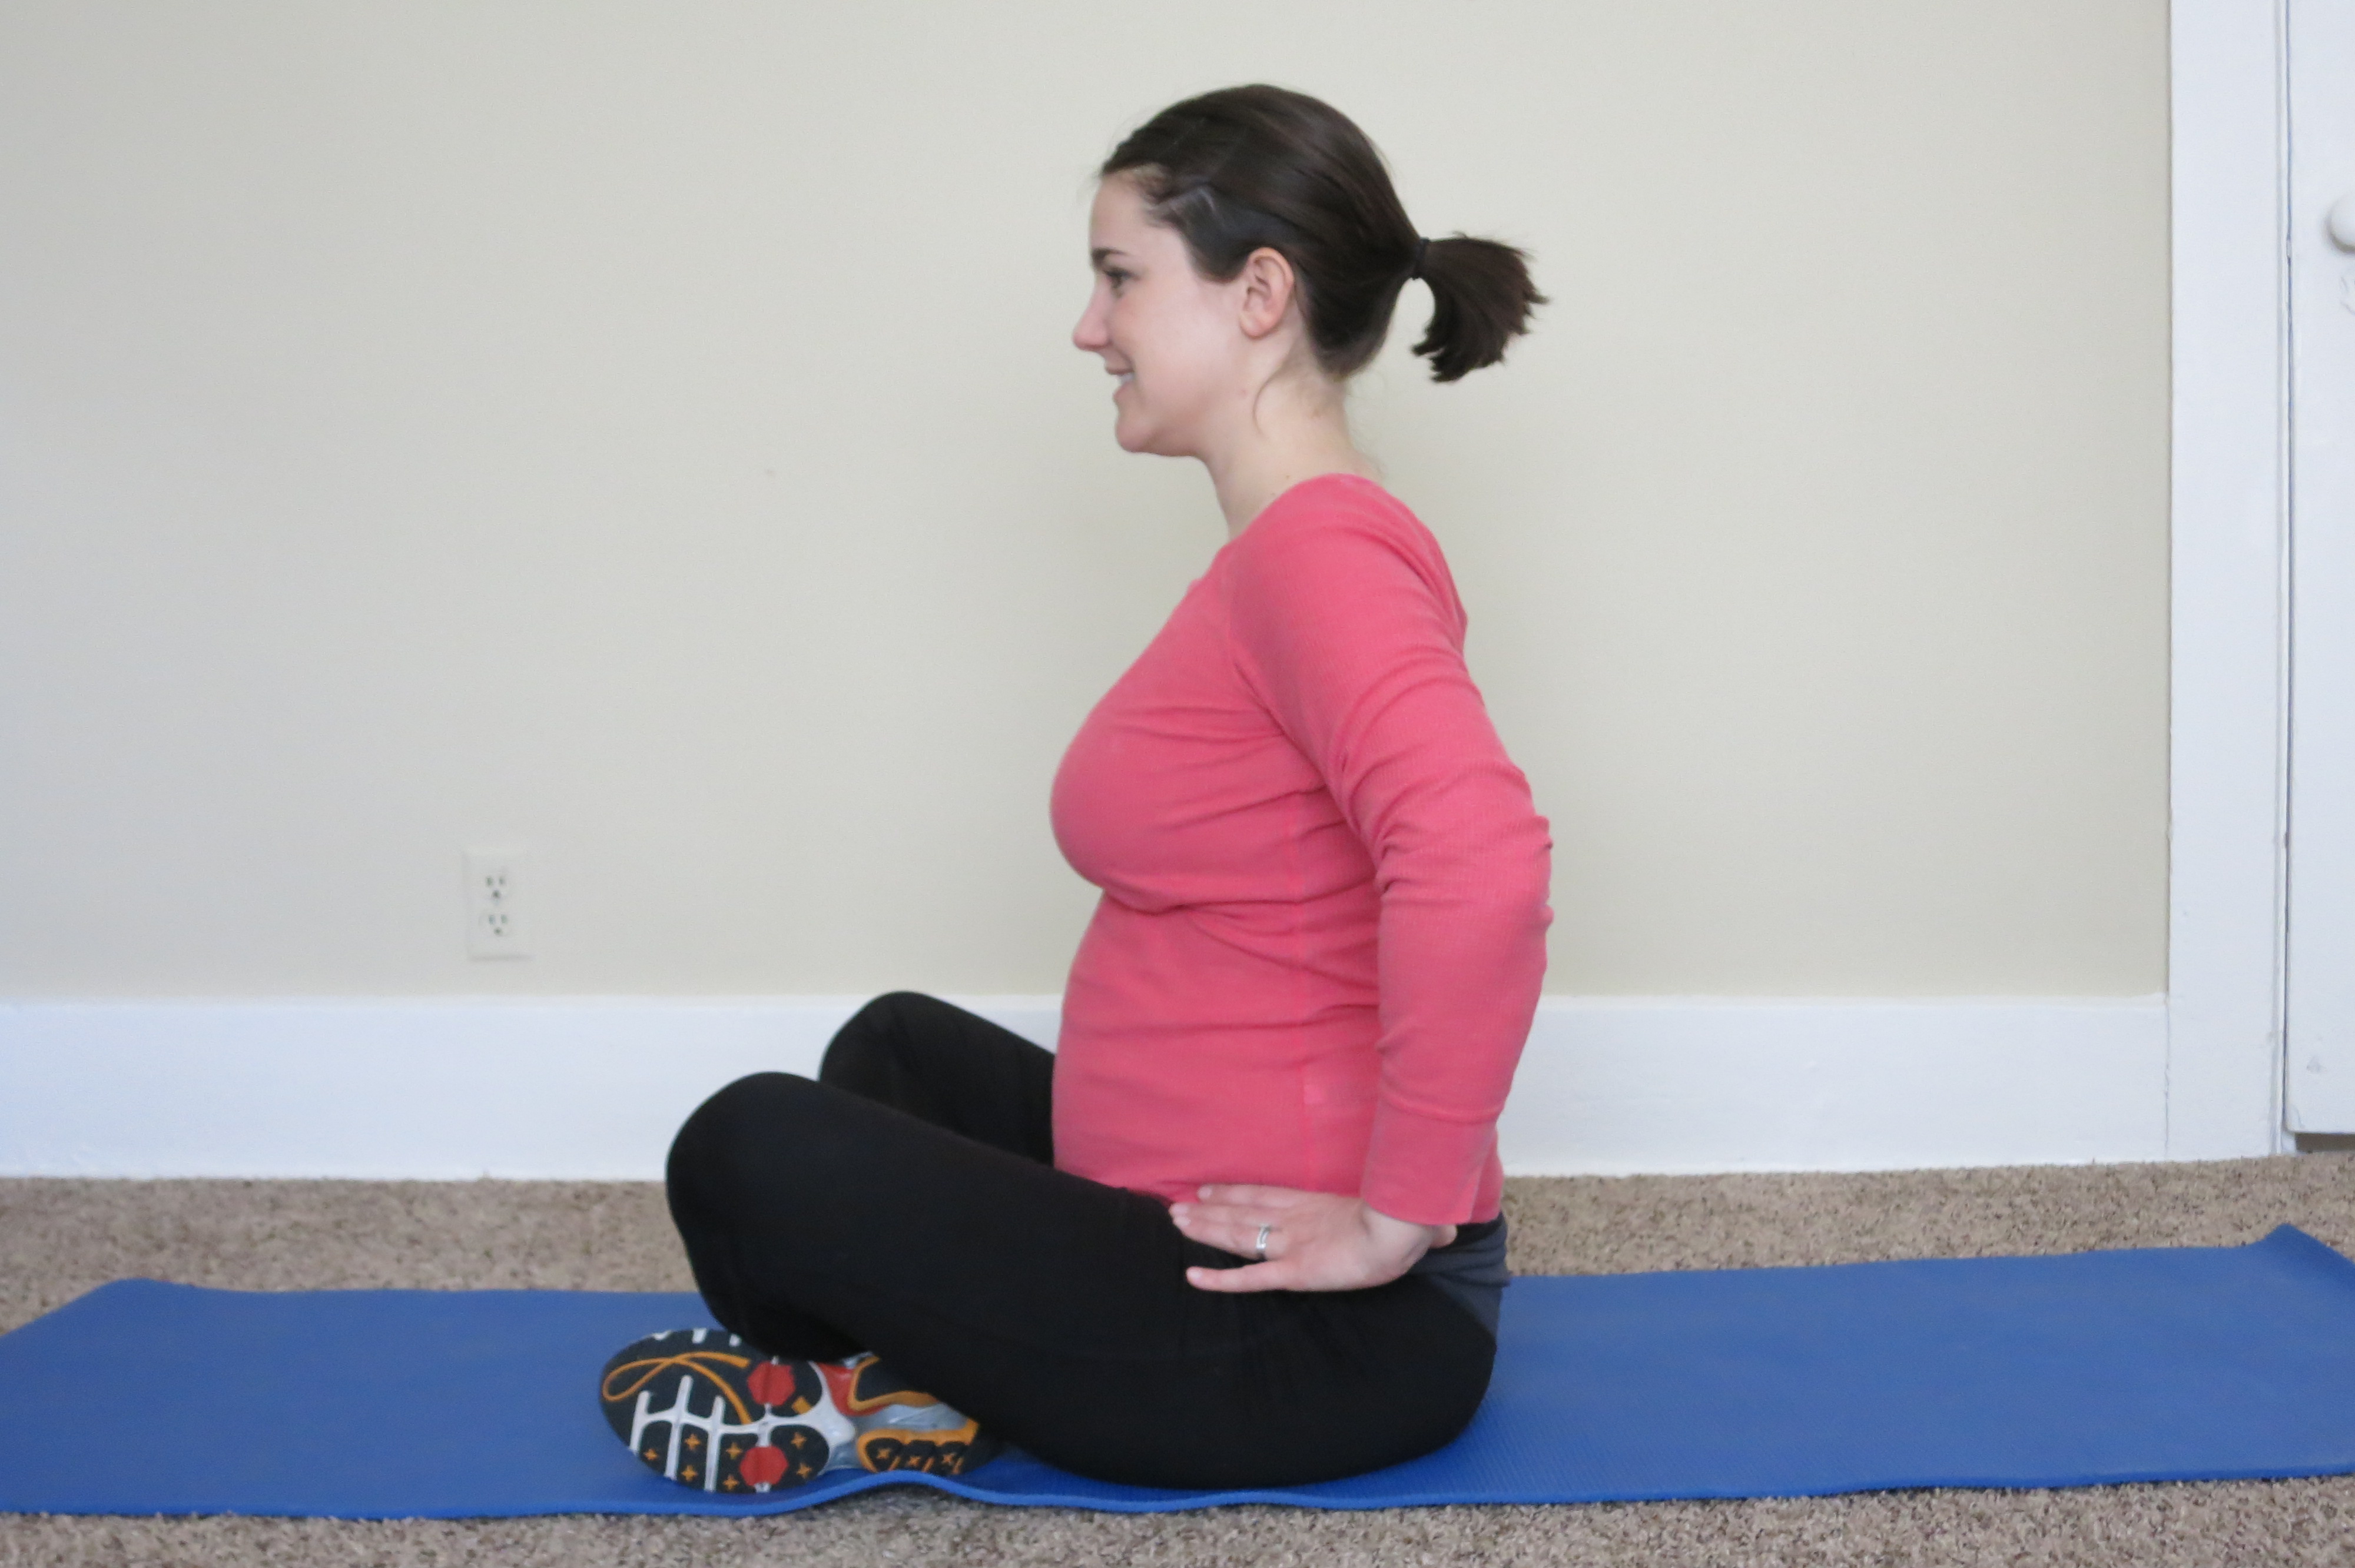
The Pelvic Tilt
Step 1: Sit or stand with good posture.
Step 2: Contract abdominals by pulling your belly button toward your spine.
Step 3: Hold 5-10 seconds. Repeat 10-20 times at least twice per day.
Purpose: Maintain and/or strengthen abdominals. Our abdominals, when strong and firm, act as a natural back brace that stabilize and support our low back. Additionally, labor will be easier if our abdominals are strong enough to help with the pushing! We all want labor to be easier, right?!
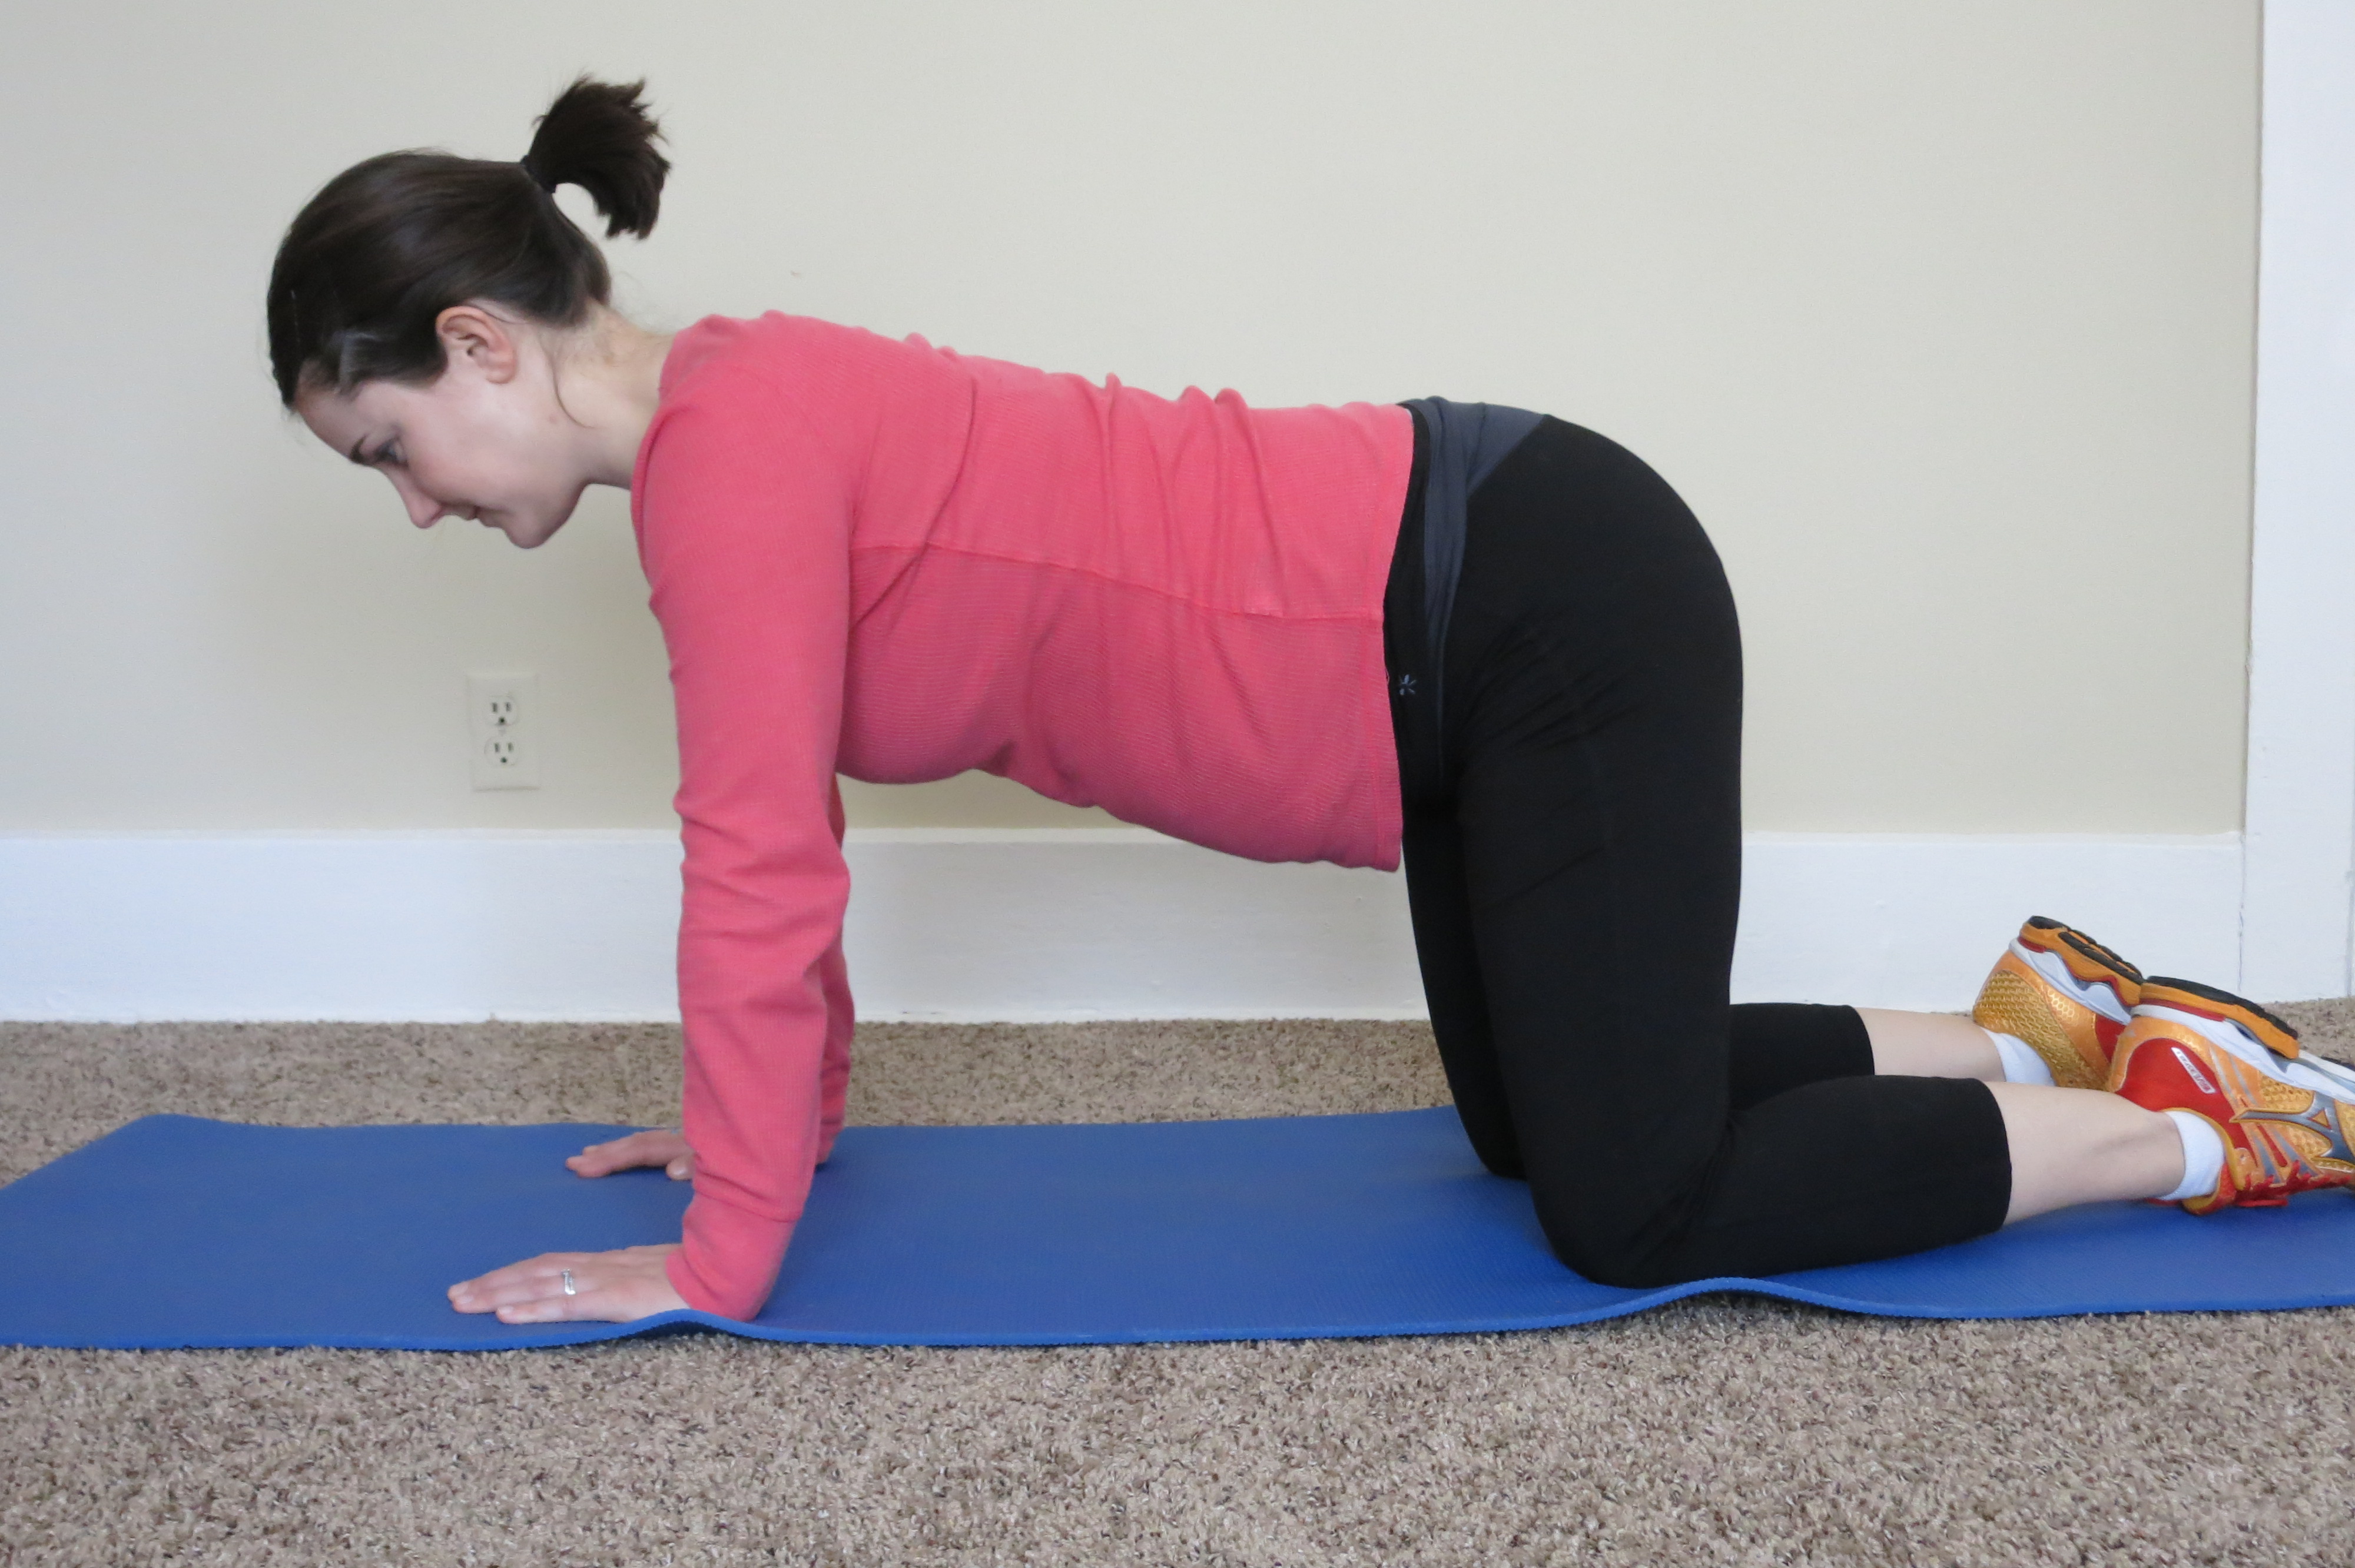
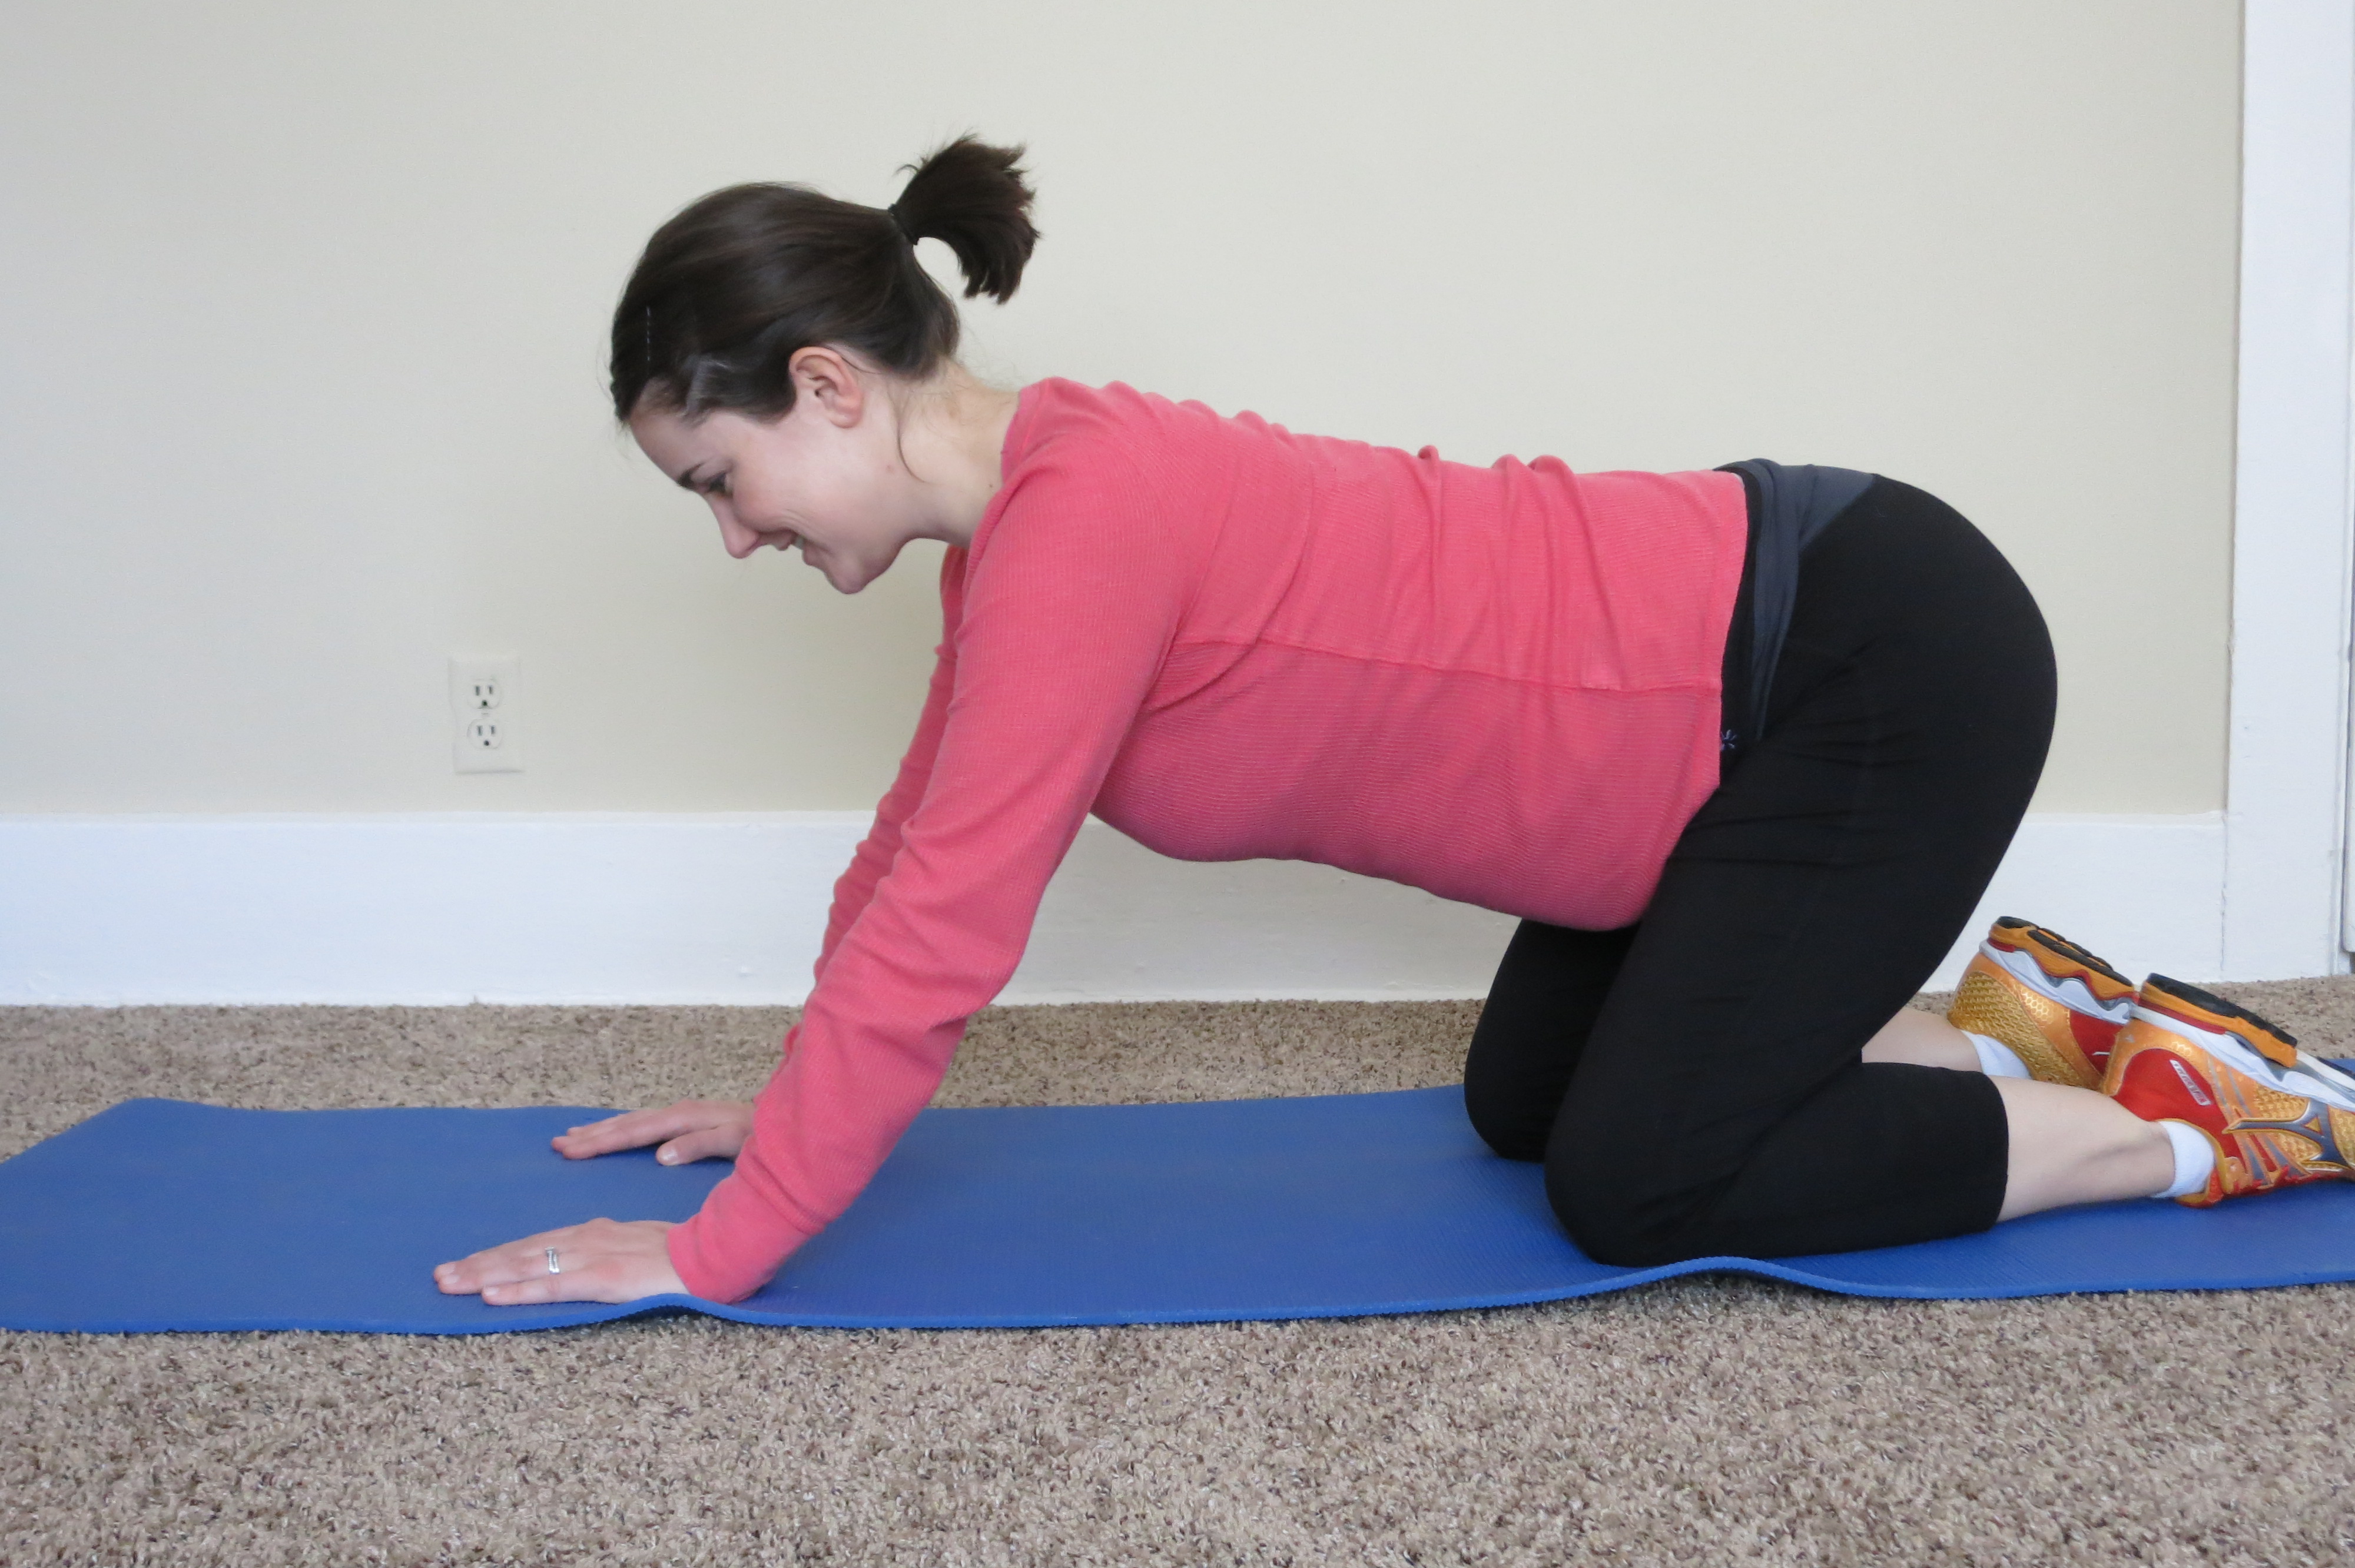
Quadruped Stabilization While Rocking Back
Step 1: Position yourself on your hands and knees. Make sure your hands are directly under your shoulders and your knees are directly under your hips.
Step 2: Contract your pelvic floor muscles (the ones you use to stop the flow of urine). Hold.
Step 3: Contract your abdominals by pulling your belly button toward your spine.
Step 4: Holding the contractions, rock back toward your heels while keeping your back flat.
Step 5: Hold 1-2 seconds. Repeat 10-20 times twice per day.
Purpose: This is a great position because it is non weight-bearing for the spine! This equates to relief of lower back pain by just putting ourselves in this position. Can I get an amen, sista? It is also an easier position to recruit contractions from our abdominals and pelvic floor muscles, allowing us to fully engage our stabilization system to help our low backs!
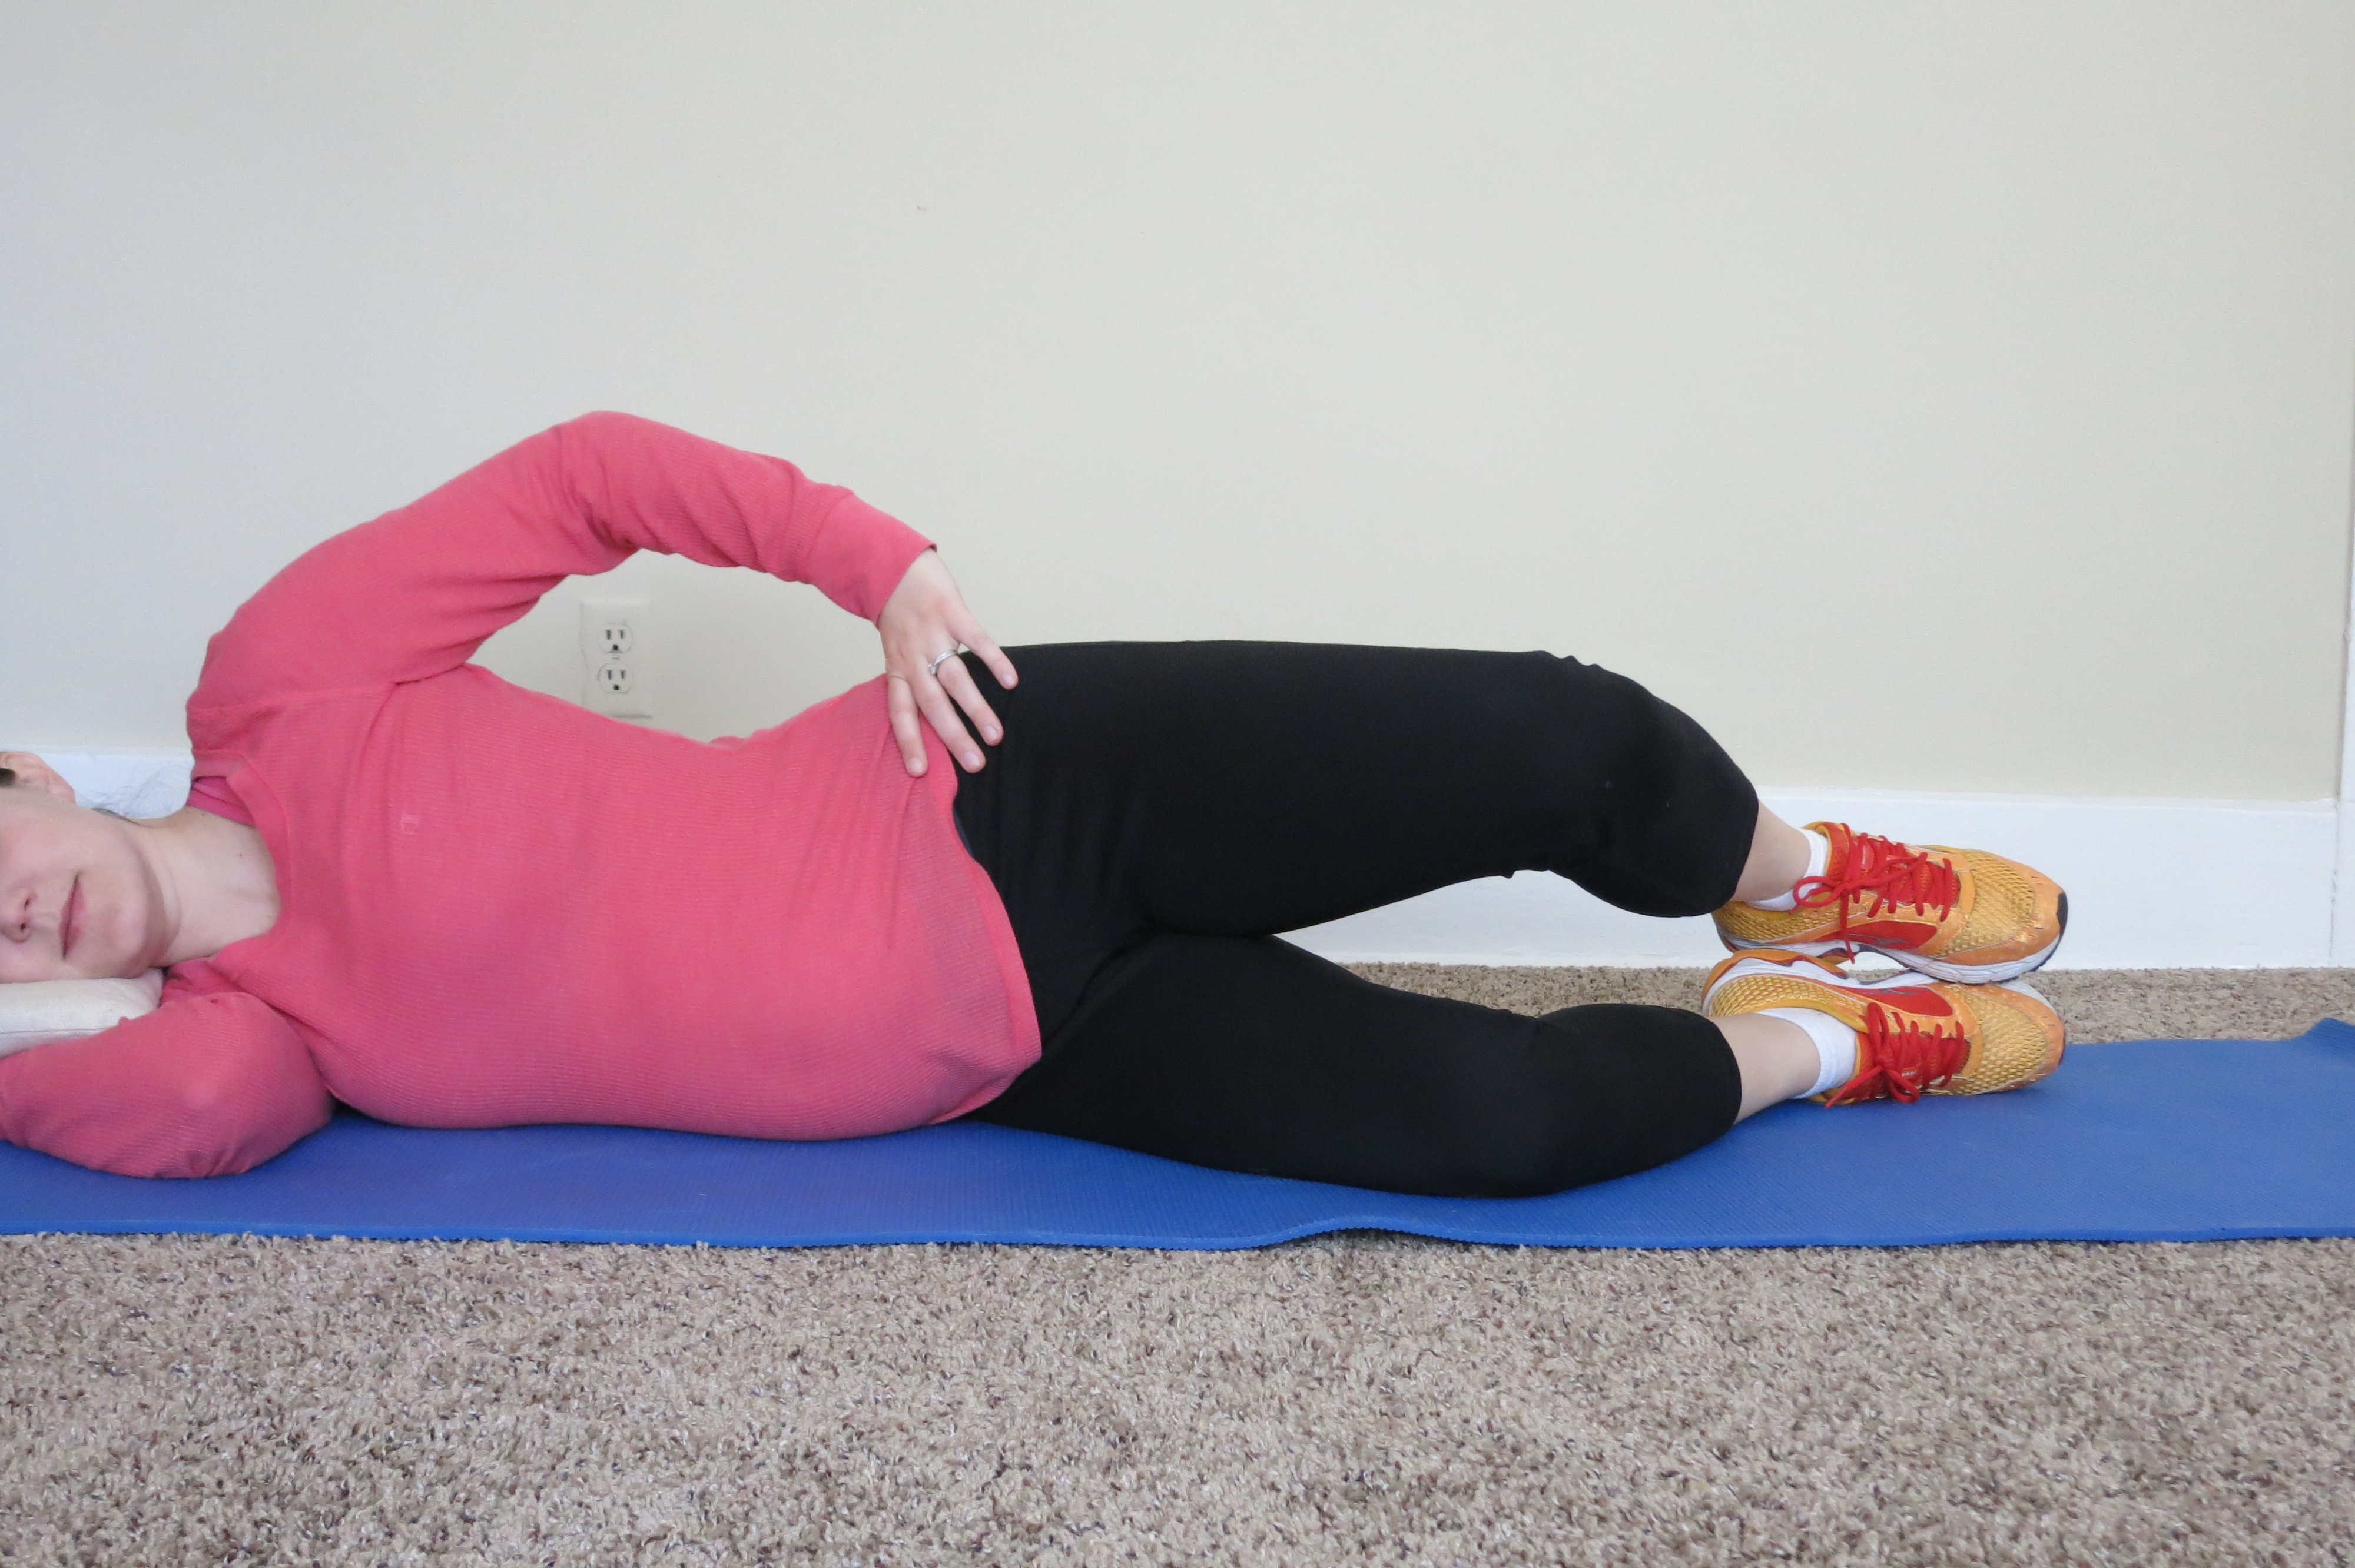
Hip Abduction with Lateral Rotation (“Clamshell”)
Step 1: Lay on your side with your pelvis exactly perpendicular to the floor. Knees and hips should be bent 45-90 degrees.
Step 2: Contract pelvic floor muscles and hold.
Step 3: Contract abdominals by pulling your belly button toward your spine.
Step 4: Keeping feet together, roll top knee off bottom knee. Make sure you keep the muscles in your thigh relaxed; you should be contracting your gluteal muscle to lift your thigh. Do not allow your pelvis to move.
Step 5: Hold 5-10 seconds. Repeat 10-20 times twice per day.
Purpose: This exercise engages our posterior gluteus medius (and minimus), one of the greatest muscles in our bodies that we all tend to ignore. By strengthening our “gluts”, we provide more stability around our sacroiliac joint which tends to be looser during pregnancy due to the affects of those fun things called hormones. The “Clamshell” provides us with muscular stability around our pelvis which further leads to a more stable spine.

Good luck, ladies!
***The content of www.kayleemay.com is for informational purposes only. The information presented is not to be taken as professional medical advice, diagnosis, or treatment. If you are having pain, or seeking medical advice, talk to your health care provider. Do not delay in seeking treatment because of information you have read on www.kayleemay.com. Taking recommendations presented on www.kayleemay.com is solely at your own risk***