Category: neck pain

The Dos and Don’ts of Breastfeeding | How to prevent musculoskeletal pain

Sometimes it seems like breastfeeding is a sport. It requires concentration, endurance, a balanced diet, practice, patience, and sheer determination.

The more you do it, the more weight you lose. (insert thumbs up emoji)

The more you do it, the more you are prone to injury. (insert thumbs down emoji)

Breastfeeding can cause back pain, neck pain, shoulder pain, and wrist pain. Each pain condition is directly related to posturing while nursing. The good news is, posture can be easily adjusted to reduce the risk of pain associated with breastfeeding.

In this post, I will discuss the most common breastfeeding positions and talk about how they can cause pain and what you can do to prevent the pain.

The key to good breastfeeding posture is taking the time to prepare for the nursing session. Your baby might be screaming his precious little head off, but take 5 extra seconds to think through your position and set up before latching on the starving little babe.

CRADLE HOLD
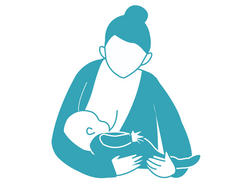
Source: BabyCenter.com | Positions and tips for making breastfeeding work

I’ve never personally done this position because…ouch. Seton was born at a whopping 8 pounds, 10 ounces and (obviously) has only been getting bigger. I was NOT ABOUT to hold that weight in the crook of my elbow for 15+ minutes at a time. In the picture above, one can see the weight of the baby will pull the entire right shoulder blade forward which subsequently rounds out the upper back.

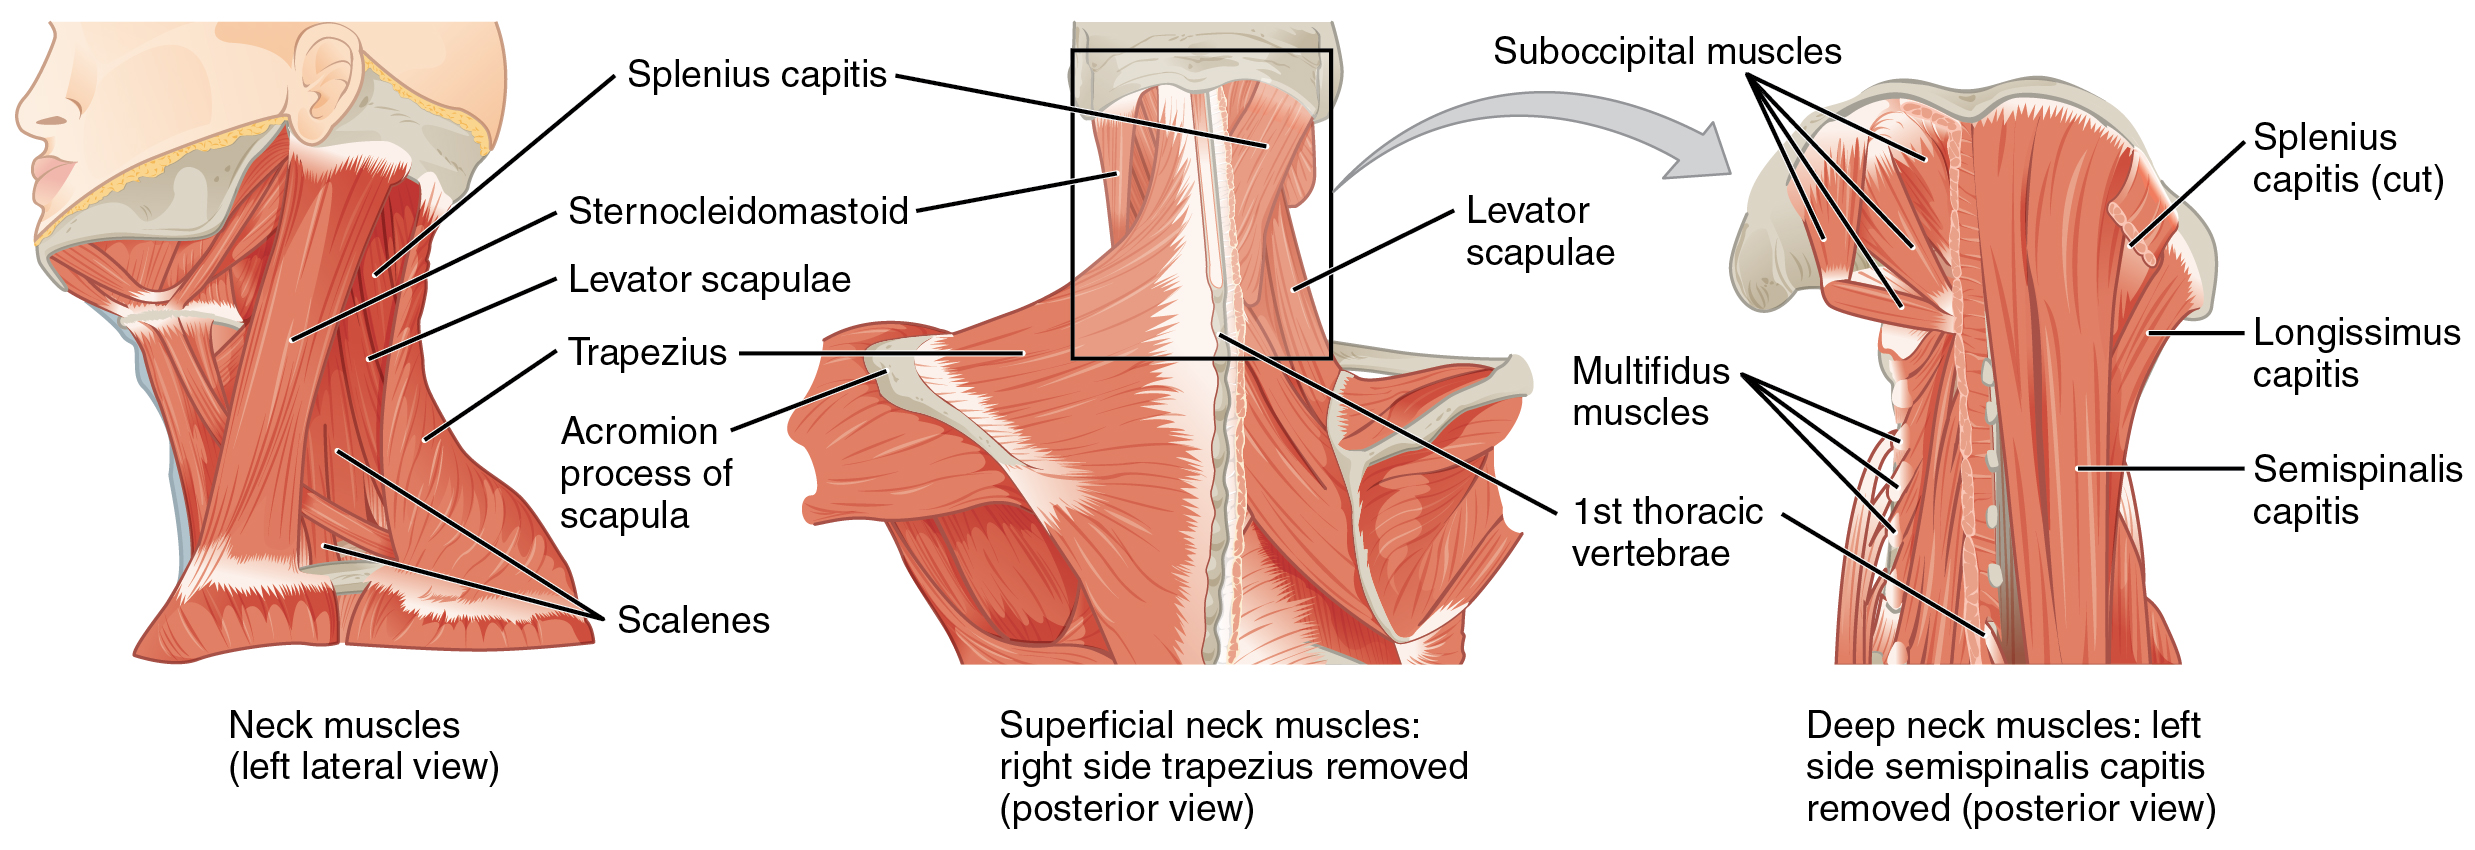
This picture also shows the mother tenderly looking down at her child. Let’s all let out a group sigh…”awwww”… and then let’s never do that. Looking down at your infant for the duration of the feeding causes the muscles on the back of your neck to work really hard for a really long time in a really elongated position. Really. And that’s a workout those muscles just don’t need. (did I say “really” enough to make my point?)

A better option is to place the infant on a stack of pillows (and/or a boppy) to take the pressure off the supporting arm and shoulder. Once the baby is latched, keep your neck tall and look forward. Alright, you can peak at the cutie pie once in a while.

To prevent lower back pain, make sure your feet are supported and not just dangling from the couch or rocking chair. Sit evenly on your buttocks. If you have one foot tucked under your hips, your back is in a bent and rotated position that can cause pain.

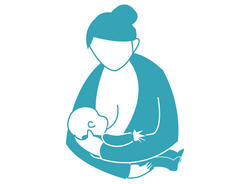
THE CROSS OVER HOLD
Source: BabyCenter.com | Positions and tips for making breastfeeding work

This is similar to the cradle hold, but the position of the arms are switched. For this position, I suggest to make all the changes recommended above.

These two positions put an enormous amount of pressure on the arms and pull your upper back forward. Unless you’re going for the hunchback look, USE PILLOWS to support the baby!

Also make sure your back is fully supported. In some chairs your feet may not reach the floor if your back is supported on the back of the chair. In this case, you may need to use pillows behind your back to support your back and allow your feet to touch the floor.

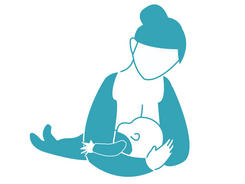
THE CLUTCH OR FOOTBALL HOLD
Source: BabyCenter.com | Positions and tips for making breastfeeding work

This position is great for so many mothers including those with large breasts, those with twins, and those who have had a Cesarean section.

As you may have guessed, I recommend placing the infant on pillows so you take out the work your arm would have to do. Sit with your back supported so that the arm that is guiding the infant’s head does not have the tendency to pull your shoulder girdle forward and cause your back to round out. As always, once the infant is latched, keep your head up and look forward. Your feet should be supported.

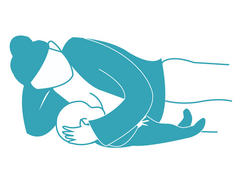
THE RECLINING POSITION
Source: BabyCenter.com | Positions and tips for making breastfeeding work

Great was the day that I mastered this position because it meant I did not have to sit on my postpartum bum. (TMI?) This is also a great position if you have low back pain. Just remember to support your head with pillows so your neck is in a neutral position. I’ll take this moment to refer to my post on the Ergonomics of Sleep where I mention the importance of keeping your neck in a neutral position while laying down. Don’t prop your head up with your hand like the ever-so-informative cartoon shows above.

To summarize the dos and don’ts of breastfeeding:

DON’T support the weight of the baby with your arms.

DO rest the infant on pillows and/or a boppy (I use a boppy and pillows galore and have remained pain free).

DON’T look down at your baby for the duration of the feeding…(or your Kindle, Nook, or iPad…)

DO keep your neck in a neutral position.

DON’T allow legs to dangle or be crossed under your booty.

DO make sure feet are flat on ground or stool to take pressure off the low back.

Happy nursing and feel free to message me with any questions!

3 tips to preventing running injuries

The ice is melting. The sun is shining. The warmer temps are calling our names.

Before you lace up your running shoes and inhale in your first deep breaths of spring air, stop to read these injury prevention tips for runners.

injury, runner, prevention

Buy the right shoes.

Who needs an excuse to buy new shoes? Not this girl. But if you’re looking for one, here are three.

Buy new shoes if…

1. There is any breakdown in your current running shoe (aka your shoes are old!)
2. You have been running on a treadmill all winter and are switching to land.
3. You have been using your running shoes for walking.

Make sure to choose the right running shoe for your foot. You can read about how to choose the right shoe here.

Ease into outdoor running.

Your first outdoor routes of the season should be on level ground, then gradually start working in inclines and different terrain. Trail runs (personal fave) can quickly bring on ankle injuries if you haven’t worked up to them.

Pay attention to what your body is trying to tell you.

Muscles aches the day after running are signs your muscles are changing and adapting in good ways. Localized pain, sharp pain, or joint pains are signs you should ease off a bit.

Check to see if your local physical therapy clinic has a “Running Clinic” where your run can be analyzed, and you can get pointers on how to improve your stride!

Happy running!

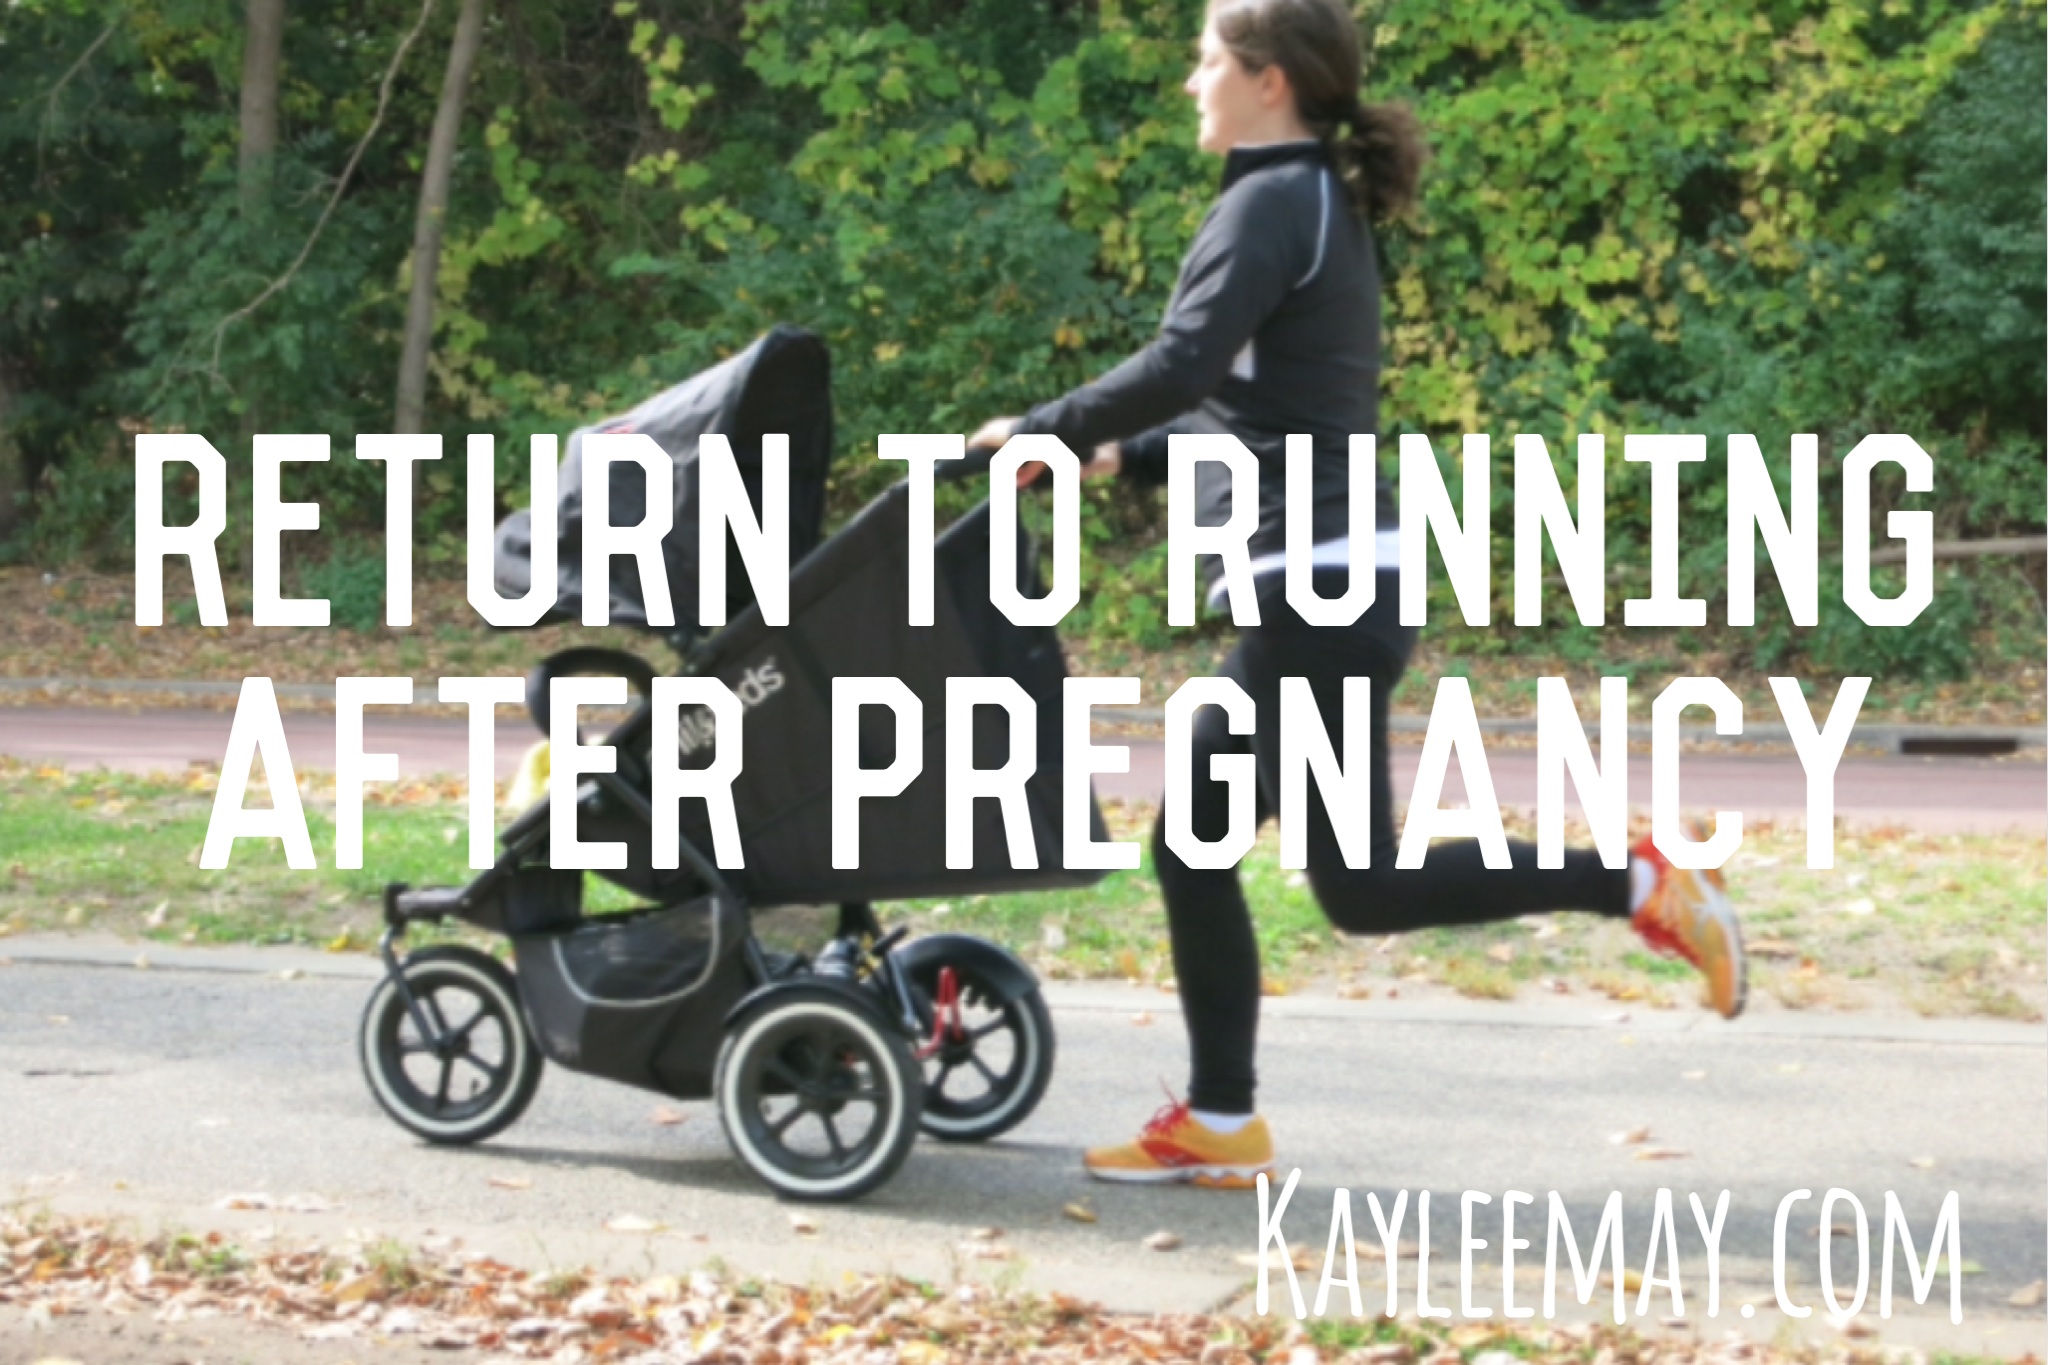
Return to Running After Pregnancy

Postpartum has been a long road. And not the kind of “oh, what a journey…” road. The first days after Seton’s birth I didn’t so much want to roll over in bed. I was definitely not dreaming of tying up my shoelaces and going for a run. But eventually, albeit after many weeks, I found myself promising the exercise gods that I would never complain about working out again as I watched Netflix count down to the next episode of my TV marathon in utter disbelief that my current state of life existed on a couch. Being restricted from doing something just makes you want to do it, right? I longed for the feeling of my tennis shoes hitting pavement, my heart beating through my chest, and my frequent breath mixing with the fall air.

running after pregnancy

We may be anxious to return to running after pregnancy, but it’s important to make our comebacks gradual. Lots of changes just happened to our bodies and, as mothers, we now need our bodies to take care of our babies. Being injured isn’t an option.

To prepare for running, I encourage you to strengthen your abdominals and pelvic floor muscles through the abdominal progression and pelvic floor exercise progression I recommend. Having strong abdominals for running can reduce the risk of injury to our backs, hips, knees, ankles, and even should girdles and necks! The abdominals will work to stabilize our backs and pelvis to allow the limbs to generate movement for each step.

I also encourage you to strengthen your gluteals. You should do this the same way I recommended doing it throughout your pregnancy: by performing Hip Abduction with Lateral Rotation (“The Clamshell”). You can read through the steps in my post Top 3 Exercises Every Pregnant Woman Should Do.

When you feel as though your abdominals and pelvic floor muscles are strong enough that you can keep them contracted throughout the course of the day (even when going up/down stairs or getting up for the floor while holding your baby), you are likely ready to begin a running progression. Make sure your doctor has cleared you to exercise!

To begin, start with running and walking at one minute intervals, aka run a minute, walk a minute. Prior to pregnancy, I told my patients to do this for 30-minutes. But, now that I am experiencing the joys of postpartum first-hand, I recommend doing this for as long as you can up to 30-minutes. I started my progression (ahem, last night) and barely made it to 18 minutes. I walked that last 12 minutes telling myself, “whatever, I’m strong…I pushed a human out of my body!” as I somehow heard my heart beating the way you do after an insane workout.

Since you are only running one minute at a time, use the minute to focus on running with good form. After pregnancy, our bodies will forget we have abdominals and gluteals, so we will be relying on muscles like the tensor fascia lata (TFL, which is the muscle that controls the infamous IT band) that can lead to injury. Focus on contracting your abdominals. Review my post Improve Your Running Stride Part II: The Gluteals which will help you use your gluteals to improve your stride.

Once you hit this walk/run cycle for 30 minutes, start aiming for running 2-minutes, then walking 1-minute up to 30-minutes.

Add a minute to your running spurts when you feel ready (should be every three to five runs), and so on.

Keep in mind:

Do not push yourself too quickly. Your muscles need time to catch up to what you are asking your body to do.

Do not set time goals until you are confident you can run with good form.

If you’re having unusual aches, pains, or … ahem, dare I say leaking, talk to your physical therapist.

And, lastly, you may want to wear two bras. 🙂

This was my reaction to finally getting the green light from my doctor to exercise:

running after pregnancy

Hopefully you enjoy you first run back as much as I did.

***The content of www.kayleemay.com is for informational purposes only. The information presented is not to be taken as professional medical advice, diagnosis, or treatment. If you are having pain, or seeking medical advice, talk to your health care provider. Do not delay in seeking treatment because of information you have read on www.kayleemay.com. Taking recommendations presented on www.kayleemay.com is solely at your own risk***

{Health and Body} A Pain in the Neck!

Do you have a pain in your neck–literally?

Neck pain is more common than you may realize. According to the National Center for Health Statistics, 15% of American adults who present to the doctor’s office with pain report it in their necks. That number doesn’t include the areas of pain that are so closely related to the neck that poor neck mechanics may actually contribute to the pain. For example, 16% of adults report headaches and migraines, 28% report low back pain, 9% report shoulder pain and 8% report finger pain. These are all related to neck mechanics.

Neck pain takes its toll on all age groups. I have seen high school swimmers with severe neck pain, middle aged salesman with neck pain, and ninety year old bridge players with neck pain.

So what’s the scoop on this neck pain and how can we manage it and/or avoid it?

As always, musculoskeletal pain tells a story about how we move … or how we don’t move.

An excess motion in one direction more than another can lead to neck pain. For example, if swimmers get in the habit of breathing to one side during the free-style stroke, they are setting themselves up for pain. If salesmen consistently talk on their cell phone on the right ear with their head bent slightly to the right, they are setting themselves up for pain. If bridge players are constantly looking down at their cards through their bifocals, they are setting themselves up for pain. In each scenario, the simple solution is what I tell my patients: “Don’t do that!” When swimming, breathe out both sides. When talking on the phone, use speaker phone or headphones. When playing bridge, hold the cards higher. The solution seems very simple … because it is.

Our poor necks support and move a 10 pound head day in and day out. Consider how you move your head each day and what you can do to make sure your movements are symmetrical and not overly excessive.

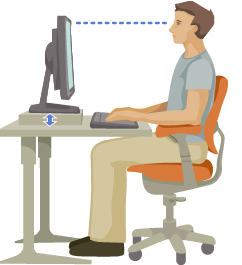
Aside from how we move our necks, we also have to think about what happens when we aren’t moving our necks. What positions do we sustain for long periods of time? The classic example of a sustained position for the neck is how our head is positioned when we are looking at our computers. If you sit at a computer day in and day out, it’s important that you position your head in the most neutral position. Follow these four recommendations for your computer set-up, and you should be good to go:

1. Sit with your knees and hips bent 90 degrees. You may have to raise/lower your chair or put a stool under your feet.

2. Sit all the way back in your chair so that your spine is supported. Most people tend to sit on the edge of their chairs, whether slouched over or erect. This may require you to scoot your chair closer to your computer.

3. The top of your computer monitor (the top of the frame) should be level with your eyes. More than likely, your computer screen may be up too high because when you set it up, you thought your line of eyesight should be straight to the screen. However, this causes a slightly extended position in your neck than can become bothersome.

4. Armrests are a great thing. Use them. A lot of people say “I carry tension in my shoulders” and feel like their upper traps are always sore. They are usually the people who don’t use their arm rests, so their muscles are just tired from holding up their arms all day at a keyboard.

http://blog.codinghorror.com/computer-workstation-ergonomics/

Your sleeping position may also aggravate your neck. Consider whether or not your head is turned toward one side all night. Read my post The Ergonomics of Sleep for good sleeping position ideas.

***The content of www.kayleemay.com is for informational purposes only. The information presented is not to be taken as professional medical advice, diagnosis, or treatment. If you are having pain, or seeking medical advice, talk to your health care provider. Do not delay in seeking treatment because of information you have read on www.kayleemay.com. Taking recommendations presented on www.kayleemay.com is solely at your own risk***