Becoming a Selfless Prayer Giant

As I have mentioned before, pregnancy has made me view the role of Mary, Jesus’ mother, differently than I ever have before. I never grasped the extent of her love for Jesus, and although I still don’t think I can completely grasp it, I am able to understand it from a new perspective. My reflection during our hour of adoration today was Stabat Mater (At the Cross Her Station Keeping):

At the cross her station keeping,
Stood the mournful Mother weeping,
Close to Jesus to the last.

Through her heart, His sorrow sharing,
All His bitter anguish bearing,
Now at length the sword had pass’d.

Oh, how sad and sore distress’d
Was that Mother highly blest
Of the sole-begotten One!

Christ above in torment hangs;
She beneath beholds the pangs
Of her dying glorious Son.

Is there one who would not weep,
Whelm’d in miseries so deep
Christ’s dear Mother to behold?

Can the human heart refrain
From partaking in her pain,
In that Mother’s pain untold?

Bruis’d, derided, curs’d, defil’d,
She beheld her tender child
All with bloody scourges rent.

For the sins of His own nation,
Saw Him hang in desolation,
Till His spirit forth He sent.

O thou Mother! fount of love!
Touch my spirit from above;
Make my heart with thine accord.

Make me feel as thou hast felt;
Make my soul to glow and melt
With the love of Christ our Lord.

Holy Mother! pierce me through;
In my heart each wound renew
Of my Saviour crucified.

Let me share with thee His pain,
Who for all my sins was slain,
Who for me in torments died.

Let me mingle tears with thee,
Mourning Him who mourn’d for me,
All the days that I may live.

By the cross with thee to stay,
There with thee to weep and pray,
Is all I ask of thee to give.

Virgin of all virgins best,
Listen to my fond request
Let me share thy grief divine.

Let me, to my latest breath,
In my body bear the death
Of that dying Son of thine.

Wounded with His every wound,
Steep my soul till it hath swoon’d
In His very blood away.

Be to me, O Virgin, nigh,
Lest in flames I burn and die,
In His awful Judgment day.

Christ, when Thou shalt call me hence,
Be Thy Mother my defence,
Be Thy cross my victory.

While my body here decays,
May my soul Thy goodness praise,
Safe in Paradise with Thee.

I can’t begin to imagine what it was like for Mary to see her son nailed to a cross.

I am getting to a point where I feel like I have been pregnant forever. Not in a sense of discomfort, swollen ankles, shortness of breath, etc. It’s more like I feel like the day we found out we were pregnant (November 13, 2013) was forever ago. I have been preparing so long for the arrival of this baby. But after reflecting the Stabat Mater, I began to think that 9 months of pregnancy is giving me the chance to fully become who I want to be as a mother. It’s not only a time for the baby to grow and develop, but a time for me (and Davey) to become parents. We are growing and developing, too.

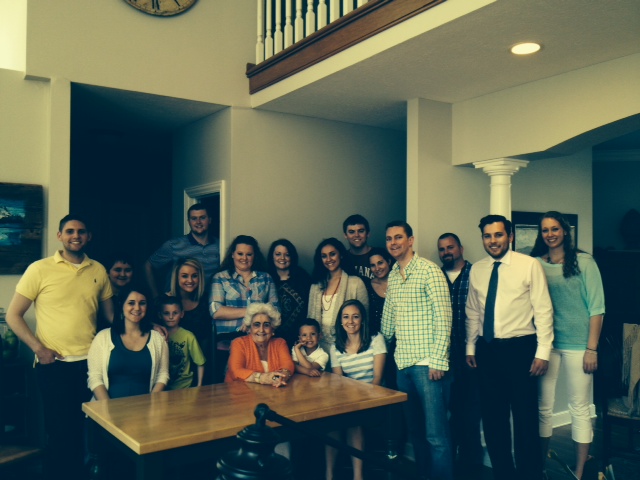
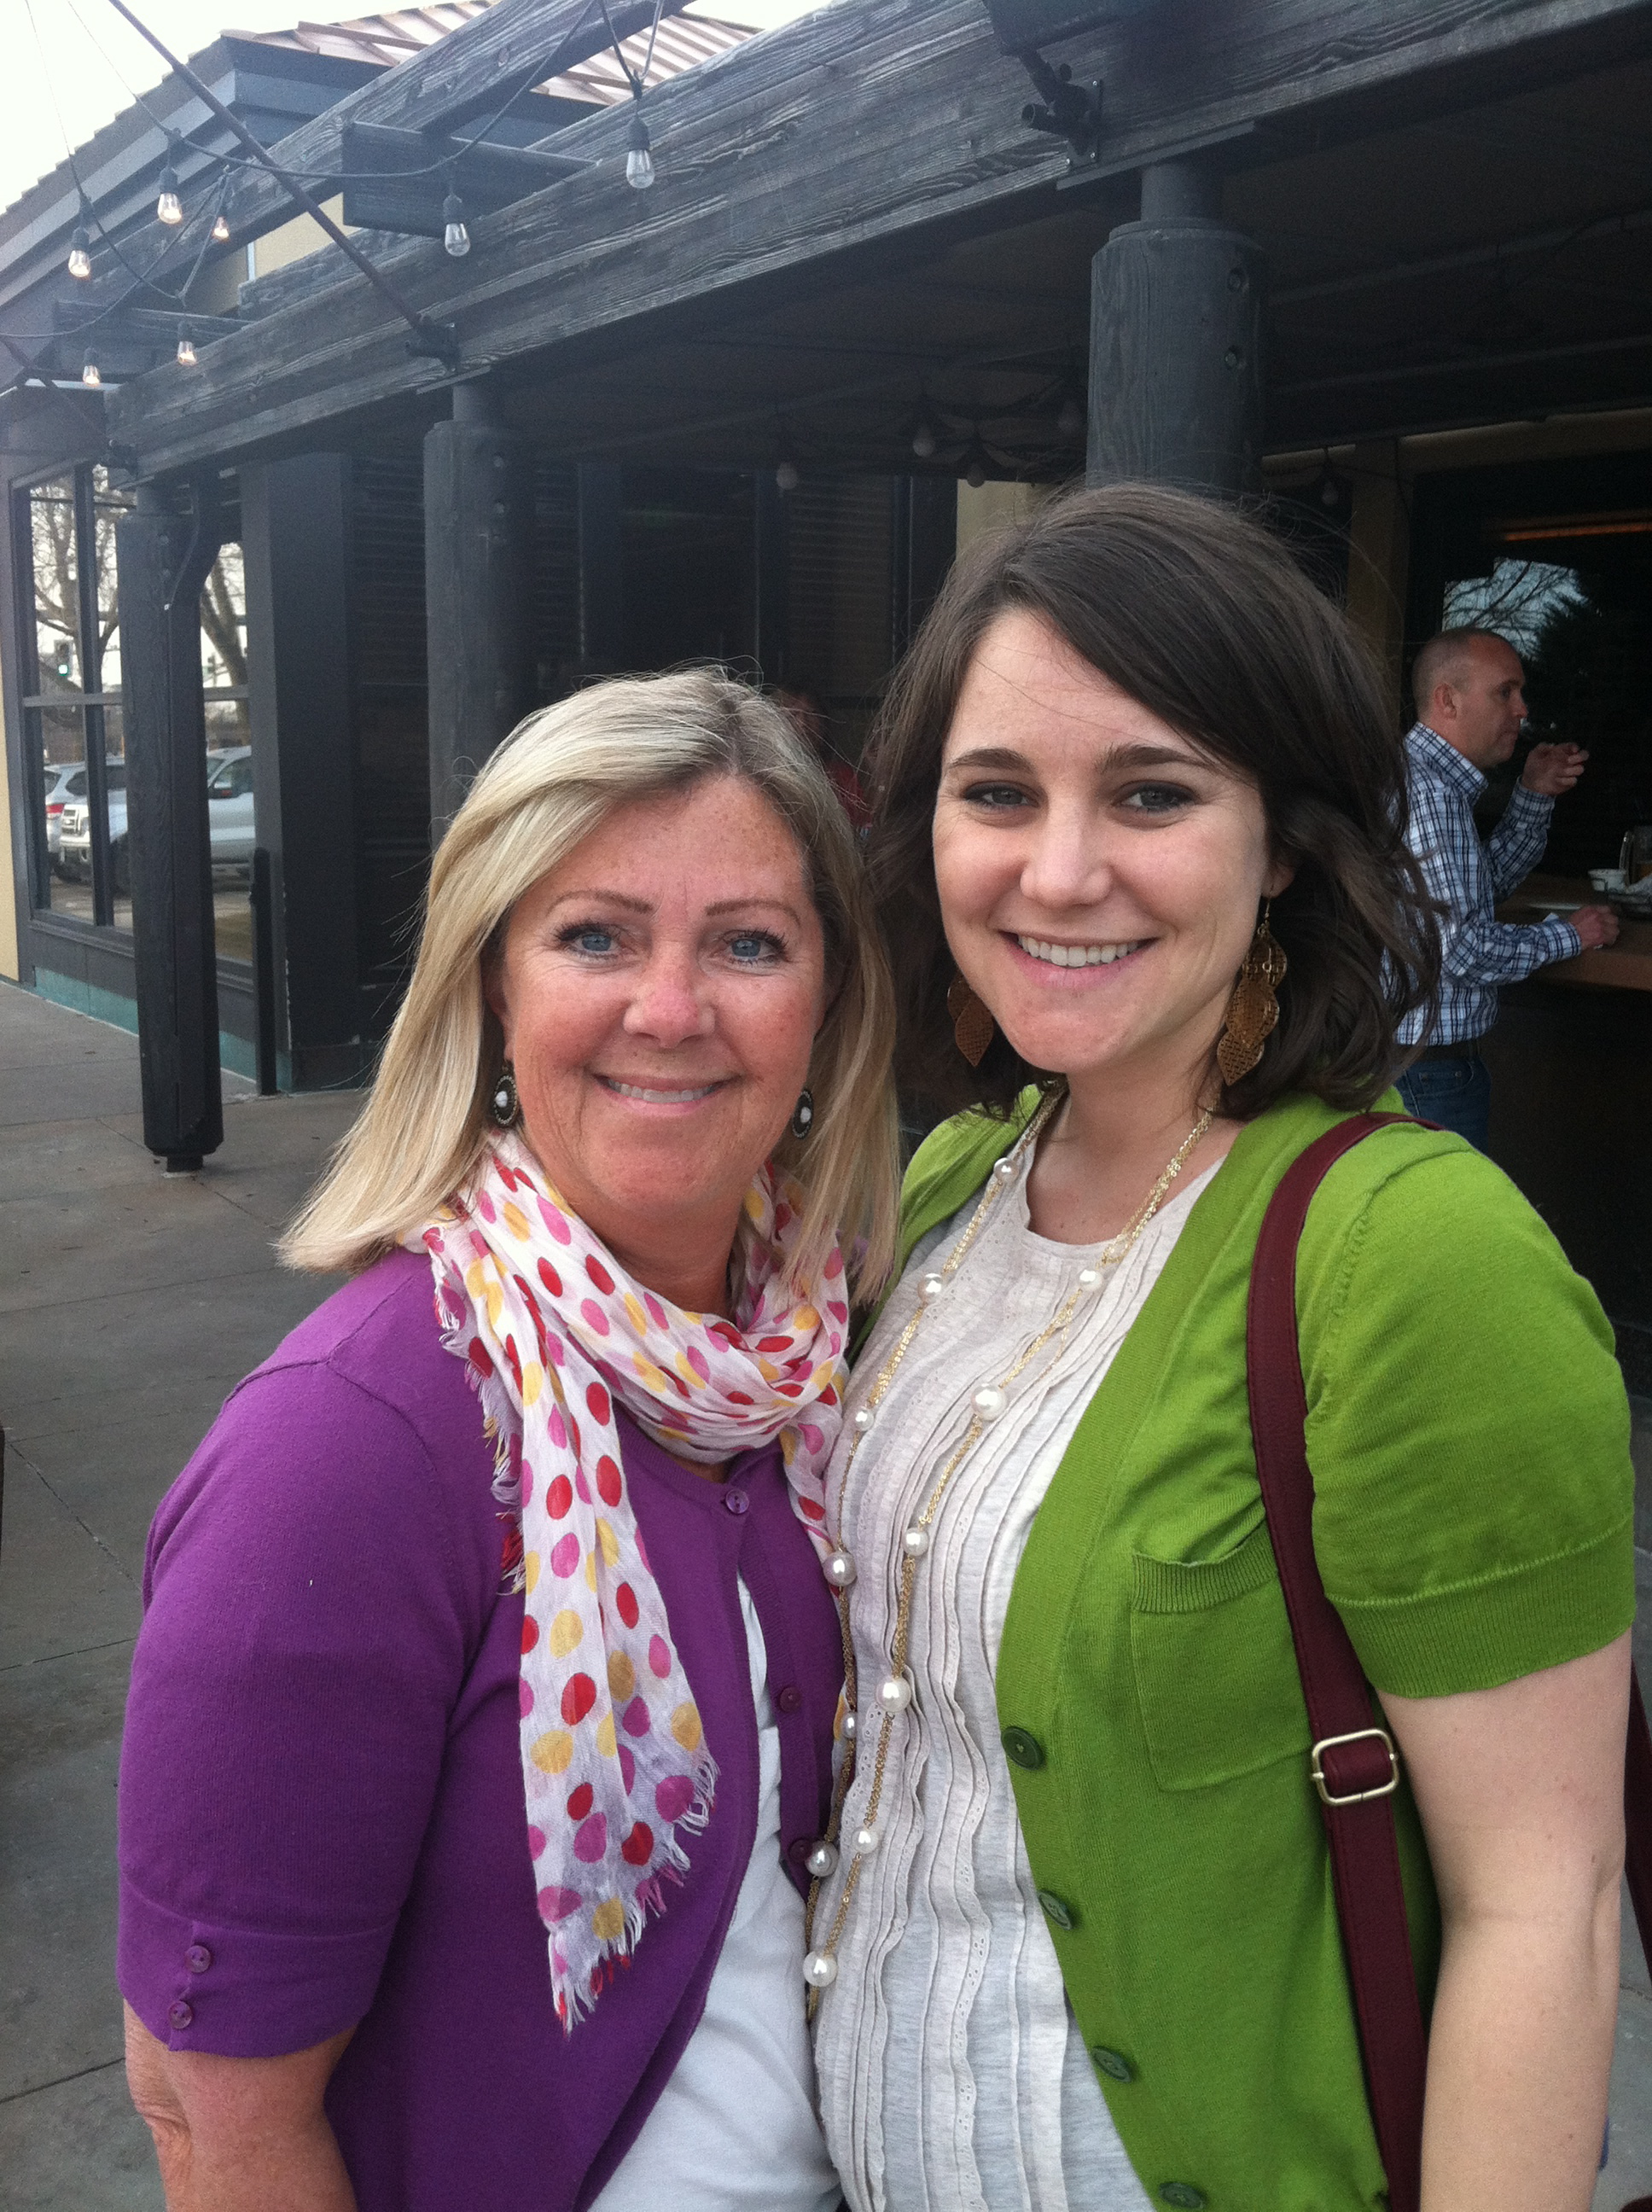
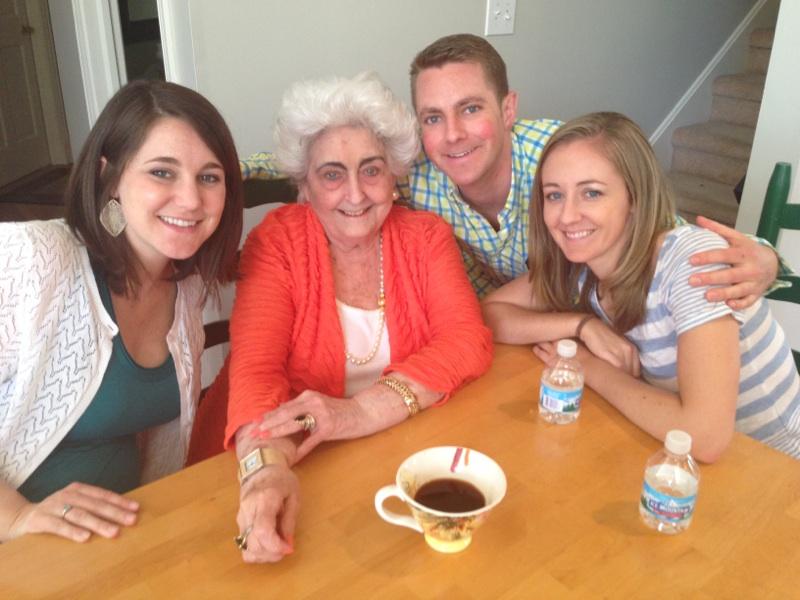
When I think of what kind of mom I want to be, naturally, I want to be like my mom. The best word to describe my mom is selfless. I think she has been completely selfless since the day my oldest sibling was born and remains that way today. Just this weekend, she planned a baby shower for me, made cookies for Davey and I, showered us with gifts, and gave us her time.

I also want to be like my grandmother. I would describe my grandmother as a prayer giant, a term I just learned of today when reading The Four Signs of a Dynamic Catholic. Matthew Kelly describes a prayer giant:

Over the years, I have encountered many great families in my travels. A number of years ago, I tried to work out what made these families so steadfast and full of life. Tolstoy begins the epic novel Anna Karenina with these lines: “Happy families are all alike; every unhappy family is unhappy in its own way.” What I have discovered is that all the great families I have encountered have a giant of prayer. These prayerful giants pray constantly for their families, surrounding them with God’s protection. Somewhere in the not-too-distant past is a person who was a prayerful giant. A prayerful giant is a person who covers their family with prayer, anchoring the family in God’s grace. Sometimes it is the grandmother or grandfather, the mother or father, an uncle or aunt, and from time to time you have to go back two or three generations, sometimes more. But you always find a prayerful giant in their family tree. Every family needs a cornerstone of prayer to pray for the family, now and in the future.

I have told so many people that “my life is so good because my Grandma is constantly praying for it to be that way.” I truly know that the opportunities I have been given in life– and the grace I have been given to take the opportunities– is a result of my grandma’s prayers.

Every good thing that has happened to me can be traced back to my mom’s selflessness and my grandma’s prayers.

So, as I prepare for motherhood over the next 13 weeks, I will spend a lot of time praying to be more like my mom and grandma: a selfless prayer giant.

My grandma and  a few of her grandchildren :)
My grandma and a few of her grandchildren 🙂

A Guide to Abdominal Strengthening For Runners

abdominal strengthening

As technology becomes a greater influence, it becomes more common for me to hear from my patients that they previously looked up exercises to treat their injury on Google before they even get to me. Part of me thinks, Yes! People are taking ownership of their health! And the other part of me cringes in anticipation to hear what they read online. It’s a great thing that we have so many resources at our fingertips to learn how to take care of our bodies, but it’s really hard to know what to trust when reading through things online.

The runners I treat all have their own understanding of how to strengthen their abdominals. So I put myself in my patients’ (running) shoes and Googled “abdominal strengthening exercises” to see where they were getting their information.

I wanted to cry. None of them were exercises I would refer to the majority of my patients, and certainly none of them were exercises I would suggest to my runners.

When strengthening our abdominals (which is an important part of a good running stride), we have to consider what movements are happening during the exercise. We want the exercise to essentially mimic the movement of the stride. When does the movement of a sit-up occur during running?! NEVER! When does a “crunch” happen during a running stride?! NEVER! So why is the internet telling us to bend our backs repeatedly to strengthen our abs for running? Just because we feel a muscle burn does not mean the exercise is beneficial.

During running, we want our low back to stay relatively still. The movement we generate is coming from our limbs. I want to provide runners with a guide to abdominal strengthening that mimics the running stride.

This post will take you through 5 abdominal exercises, each progressively more difficult. You will notice that the low back does not move at any point in the exercises. Rather, the abs work to stabilize as the limb movement becomes progressively more challenging. To work through the exercises, you must first successfully perform up to 20 repetitions correctly before progressing to the next exercise. Therefore, you may be on one level for up to 2 weeks before you feel you are ready for the next. If you can not perform an exercise without moving your low back (arching it away from the floor, pushing into the floor, or allowing your abdominal muscles to “pooch” up toward the ceiling), you must go back down to the previous level.

Level 1

abdominal strengthening
Level I Abdominal Strengthening for Runners

Step 1: Lay on back with knees bent and feet flat on floor.
Step 2: Contract abdominals buy pulling navel toward your spine as you exhale.
Step 3: Hold 5-10 seconds.
Step 4: Repeat 10-20 times.

Watch out! Do not push your back into the floor or arch it away from the floor. Your stomach should be sinking DOWN, not pushing UP toward the ceiling.

Perform exercise daily until you feel you are able to do 20 repetitions correctly.

Level 2

abdominal strengthening
Level 2 Abdominal Strengthening for Runners

Step 1: Perform abdominal contraction as in Level 1.
Step 2: Raise one leg so hip is bent 90 degrees while maintaining abdominal contraction.
Step 3: Place leg back to starting position as in Step 1.
Step 4: Raise contralateral leg so hip is bent 90 degrees while maintaining abdominal contraction.
Step 5: Place leg back to starting position as in Step 1.
Step 6: Repeat 10-20 times.

Watch out! Do not push your back into the floor or arch it away from the floor. Your stomach should be sinking DOWN, not pushing UP toward the ceiling.

Perform exercise daily until you feel you are able to do 20 repetitions correctly.

Level 3

abdominal strengthening
Level 3 Abdominal Strengthening for Runners

Step 1: Perform abdominal contraction as in Level 1.
Step 2: Raise one leg so hip is bent 90 degrees while maintaining an abdominal contraction.
Step 3: Maintain position of Step 2 and raise opposite leg so hip is bent 90 degrees.
Step 4: Place one foot back to starting position (keep those abs contracted!)
Step 5: Place the other foot back to the starting position (keep those abs contracted!)
Step 6: Repeat 10-20 times.

Watch out! Do not push your back into the floor or arch it away from the floor. Your stomach should be sinking DOWN, not pushing UP toward the ceiling.

Perform exercise daily until you feel you are able to do 20 repetitions correctly.

Level 4

abdominal strengthening
Level 4 Abdominal Strengthening for Runners

Step 1: Perform abdominal contraction as in Level 1.
Step 2: Raise one leg so hip is bent 90 degrees.
Step 3: Raise opposite leg so hip is bent 90 degrees.
Step 4: Straighten out one leg, keeping heel close to the floor.
Step 5: Bring leg back to position in Step 3 (bent 90 degrees).
Step 6: Straighten opposite leg, keeping heel close to the floor.
Step 7: Bring leg back to position in Step 3 (bent 90 degrees).
Step 8: Continue alternating extending each leg (as if running!) while keeping abdominals contracted for 10 -20 repetitions.

Watch out! Do not push your back into the floor or arch it away from the floor. Your stomach should be sinking DOWN, not pushing UP toward the ceiling. If you cannot straighten your leg without moving your back, try sliding your heel on the floor. Progress to being able to straighten your leg with your heel just above the floor.

Perform exercise daily until you feel you are able to do 20 repetitions correctly.

Level 5

abdominal strengthening
Level 5 Abdominal Strengthening for Runners

Step 1: Perform abdominal contraction as in Level 1.
Step 2: Lift one leg so hip is bent 90 degrees.
Step 3: Lift other leg so hip is bent 90 degrees.
Step 4: While maintaining your abdominal contraction, straighten BOTH legs so heels are just above floor.
Step 5: Bring both legs back up to being bent 90 degrees.
Step 6: Repeat straightening both legs at the same time for 10-20 repetitions.

Watch out! Do not push your back into the floor or arch it away from the floor. Your stomach should be sinking DOWN, not pushing UP toward the ceiling. If you cannot straighten your leg without moving your back, try sliding your heel on the floor. Progress to being able to straighten your leg with your heel just above the floor.

Perform exercise daily.

Want more running advice? Read these:

Improve Your Running Stride Part I: The IT Band

Improve Your Running Stride Part II: The Gluteals

Improve Your Running Stride Part III: The Running Shoe

Stretches For Every Runner

***The content of www.kayleemay.com is for informational purposes only. The information presented is not to be taken as professional medical advice, diagnosis, or treatment. If you are having pain, or seeking medical advice, talk to your health care provider. Do not delay in seeking treatment because of information you have read on www.kayleemay.com. Taking recommendations presented on www.kayleemay.com is solely at your own risk***

{Life Lately} | Mom comes to Minnesota!

This week brought the warmest temperatures we have felt since last fall and our first visitor to Minnesota! Mom made her way to Minnesota on Monday and was able to stay until Thursday. As usual, I am left wishing I took more photos to capture our time together. It was so much fun to show Mom around our new town!

mom

mom

IMG_3129

My mom is awesomely thoughtful! We came home from work to find Easter treats. 🙂 We also found a new box of Kleenex in our Kleenex dispenser that had been empty since January, extra food in a our refrigerator, Easter cookies…etc!! Mom things. 🙂

IMG_0388

Davey and I have been getting outside every chance we get in this warm weather. We keep thinking it’s going to snow again, so we better get outside when we can. We took a long walk around one of Minneapolis’ many lakes!

IMG_0384

And Baby Hiatt has started to collect handmade baby blankets from my sweet, thoughtful patients!

IMG_3108

We have 14 more weeks until we get to meet Baby Hiatt…I can’t stop thinking about what the baby will be like!

IMG_3152

Top 3 Exercises Every Pregnant Woman Should Do

I guess I am feeling very brave today (or something), but I am posting pictures of myself (sorry) at 23 weeks pregnant. I say sorry because I am not one of those gorgeous pregnant woman on Pinterest that look so adorable that I pin their maternity fashion mainly because I want their body. But I just couldn’t resist the opportunity to share the top 3 exercises every pregnant woman should do!

I have treated countless pregnant women in physical therapy for various aches and pains, but it took being pregnant for me to realize that even our own doctors, although eager to help us, don’t consider how exercises may ease our aches and pains. I told my doctor I had calf cramping in the middle of the night, and her quick response was “magnesium!” I told her my back was aching, and she said, “Tylenol and a heating pad!” While these are good options, stretching and gentle exercises can provide pain relief without adding another pill to our evening prenatal rituals.

Without further adieu, the top three exercises every pregnant woman should do are: 1) The Pelvic Tilt; 2) Quadruped Stabilization While Rocking Back; and 3) Hip Abduction with Lateral Rotation (“Clamshell”).

The Pelvic Tilt

Step 1: Sit or stand with good posture.
Step 2: Contract abdominals by pulling your belly button toward your spine.
Step 3: Hold 5-10 seconds. Repeat 10-20 times at least twice per day.

Purpose: Maintain and/or strengthen abdominals. Our abdominals, when strong and firm, act as a natural back brace that stabilize and support our low back. Additionally, labor will be easier if our abdominals are strong enough to help with the pushing! We all want labor to be easier, right?!

pelvic tilt, pregnancy exercise
The pelvic tilt; Step 1
pelvic tilt, pregnancy exercise
The pelvic tilt; Step 2

Quadruped Stabilization While Rocking Back

Step 1: Position yourself on your hands and knees. Make sure your hands are directly under your shoulders and your knees are directly under your hips.
Step 2: Contract your pelvic floor muscles (the ones you use to stop the flow of urine). Hold.
Step 3: Contract your abdominals by pulling your belly button toward your spine.
Step 4: Holding the contractions, rock back toward your heels while keeping your back flat.
Step 5: Hold 1-2 seconds. Repeat 10-20 times twice per day.

Purpose: This is a great position because it is non weight-bearing for the spine! This equates to relief of lower back pain by just putting ourselves in this position. Can I get an amen, sista? It is also an easier position to recruit contractions from our abdominals and pelvic floor muscles, allowing us to fully engage our stabilization system to help our low backs!

pregnancy exercise
Quadruped Stabilization While Rocking Back; Step 1-3
pregnancy exercise
Quadruped Stabilization While Rocking Back; Step 4

Hip Abduction with Lateral Rotation (“Clamshell”)

Step 1: Lay on your side with your pelvis exactly perpendicular to the floor. Knees and hips should be bent 45-90 degrees.
Step 2: Contract pelvic floor muscles and hold.
Step 3: Contract abdominals by pulling your belly button toward your spine.
Step 4: Keeping feet together, roll top knee off bottom knee. Make sure you keep the muscles in your thigh relaxed; you should be contracting your gluteal muscle to lift your thigh. Do not allow your pelvis to move.
Step 5: Hold 5-10 seconds. Repeat 10-20 times twice per day.

Purpose: This exercise engages our posterior gluteus medius (and minimus), one of the greatest muscles in our bodies that we all tend to ignore. By strengthening our “gluts”, we provide more stability around our sacroiliac joint which tends to be looser during pregnancy due to the affects of those fun things called hormones. The “Clamshell” provides us with muscular stability around our pelvis which further leads to a more stable spine.

pregnancy exercise
Hip Abduction with Lateral Rotation; Steps 1-3
pregnancy exercise
Hip Abdcution with Lateral Rotation; Steps 4-5

Good luck, ladies!

***The content of www.kayleemay.com is for informational purposes only. The information presented is not to be taken as professional medical advice, diagnosis, or treatment. If you are having pain, or seeking medical advice, talk to your health care provider. Do not delay in seeking treatment because of information you have read on www.kayleemay.com. Taking recommendations presented on www.kayleemay.com is solely at your own risk***

Direct Access to Physical Therapy | Take Ownership of Your Health

The profession of physical therapy has come a long way in recent years. I am so excited about the fact that we can now treat patients without the referral from a physician. Here are some facts about direct access to physical therapy. I encourage you take ownership of your health and click the link on the bottom of this post to learn more about direct access in your state.

What is direct access to physical therapy?

Direct access, or “self referral”, to physical therapy services allows a person to seek physical therapy without having an order from a physician first.

What are the advantages of direct access?

Direct access saves time. For a person with a musculoskeletal injury, they can go directly to a physical therapist without having to first schedule an appointment with a physician, get a script from a physician, and then schedule an appointment with a physical therapist.

Direct access may also save money by eliminating unnecessary tests, diagnostic procedures, or other specialist referrals. There are many conditions that can be treated effectively from physical therapy without requiring expensive diagnostic testing.

Are there risks to direct access?

Opponents argue that persons who directly seek help from a physical therapist before a physician may be put at risk due to lack of diagnostic tests prior to treatment. However, there is currently no data to verify that people who use direct access spend more money or are put at increased risk.

To become a physical therapist, one must graduate with a doctorate of physical therapy degree. Doctors of physical therapy are educated to recognize signs and symptoms that require referral to a physician and/or specialist.

Click here to find out more about Direct Access and inform yourself on your state’s legislation regarding your access to physical therapy without referral from a physician.

Davey’s Famous Pretzels

pretzels

Sometimes my friends from the South use the phrase “y’all” as a complete sentence. It means, “Oh my goodness, you guys, can you believe it?” For example, we may go to the mall and see an awesome deal. Someone will simply say, “Y’all” to get our attention and hold up the price tag.

When I first tasted these pretzels, I wanted to look around to anyone who will listen and just say, “Y’all.” THESE ARE AMAZING. And no words can really describe them. If Davey didn’t like his job so much, I think I could convince him to quit and open up his own pretzel stand in the mall. He could give Auntie Anne a run for her money, that’s for sure.

Davey typically looks for extremely easy recipes (less than 5 ingredients), so I was surprised when he told me yesterday he was going to make pretzels. (side note: This may or may not have been after he took me to the mall because I told him I was craving mall pretzels — after which we left the mall empty handed because the pretzels looked ‘too hard and dry’ to satisfy my craving…err…). Not to say I don’t have confidence in my husband’s skills, but it seemed like a far-fetched idea for Davey—whose first home cooked meal two years ago consisted of a hot dog on a piece of white bread with shredded cheese on top—to make something that required active dry yeast. Doesn’t yeast make things difficult?

Well, apparently not. This recipe turned out surprisingly easy and surprisingly scrumptious.

I’m willing to share Davey’s recipe with you, but ladies, you’re on your own for finding a man who will make homemade pretzels for you when your 23 weeks pregnant and having strange cravings.

If you don’t want to just say, “Y’all!” after your first bite, then you must be missing some taste buds.

Ingredients

1 cup milk
1 package active dry yeast
3 tablespoons packed light brown sugar
2 1/4 cups all-purpose flour
10 tablespoons unsalted butter
1 teaspoon fine salt
1/3 cup baking soda

Sweet Flavoring:
1 cup sugar
3/4 cup brown sugar
dash of cinnamon

Directions
Warm the milk in a saucepan until it’s hot enough to stick your finger in the milk for 5 seconds, (think just above hot tub temperature). Pour into a medium bowl and stir in one packet of yeast. Let sit about 2 minutes. Stir in the brown sugar and 1 cup flour. Soften 2 tablespoons of butter and stir into the mix. Add the remaining 1 1/4 cups flour and salt. At this point, the dough should be sticky. Knead the dough on a lightly floured surface for about 5 minutes. Dough should be softer, but still slightly sticky. Shape into a ball and place in a lightly greased bowl. Cover with plastic wrap and let sit for one hour. Dough will double in size.

Preheat the oven to 450 degrees.

Punch the dough to deflate it, then place on a lightly floured surface. Use a pizza cutter to slice dough into 12-15 pieces. Roll each piece into the thickness of your finger. Each piece of dough should be about 6-12 inches long.

Dissolve the baking soda in 3 cups warm water in a shallow baking dish. Dip each pretzel stick in the soda solution, and lay on greased baking sheet (or pizza brick) leaving room between each pretzel stick.

Bake 5-7 minutes or until lightly golden brown.

Melt butter. Brush over each stick. Dip pretzel sticks into sugar and brown sugar mixture.

Enjoy!

IMG_0379

Milwaukee, WI

Davey and I went on an adventure this weekend to visit my brother, Rex, in Milwaukee! My sister drove up from Indianapolis for the adventure as well. Living in Minneapolis without any family makes us feel a little stranded at times, so spending a whole weekend with two of my siblings was great. We explored the city, watched some basketball, went to mass, and shared a lot of laughs! Siblings are the greatest —

Enjoy our short video recap of the trip!

Lenten Reflection

Music is pleasing not only because of the sound but because of the silence that is in it: without the alteration of sound and silence there would be no rhythm. If we strive to be happy by filling the silences of life with sound, productive by turning all life’s leisure into work, and real by turning all our being into doing, we will only succeed in producing a hell on earth. Thomas Merton, No Man Is an Island.

Chocolate chip cheesecake

chocolate chip cheesecake

At this point in pregnancy, I can’t really say I have cravings. I think it’s just my natural disposition to turn our pantry inside out looking for chocolate after every meal. The only difference is that for nine months I can blame my genetically ingrained sweet tooth on the fact that I am growing another human being inside me right now.

Davey is what you may call an enabler. He gives into my requests for homemade chocolate chip cookies on an all too-often basis. He is always agreeable to trying a new recipe– (maybe because I have learned that to get a man to bake, you have to make it a competition. So, I say things like, “I bet my batch of cookies will turn out better than yours.” Before you know it, I have two batches of cookies to devour. 75% of the time I tell him he wins, hands down. Best baker in the house. The other 25% of the time I say vague statements like “something’s missing…” It’s a form of classical conditioning that keeps the competition alive for a man. Whatever gets me more cookies. Maybe it is the pregnancy hormones that makes me manipulate my way to more sweets)

Here is a new recipe we tried the other day from our Nestle Cookbook.

chocolate chip cheesecake

CHOCOLATE CHIP CHEESECAKE

Crust
1.5 c crushed chocolate sandwich cookies
2 T butter, melted
2 c semi-sweet chocolate morsels, divided

Combine cookies and butter in bowl until moistened, then press onto the bottom of a 9-inch springform pan. Sprinkle with 1 cup morsels.

Filling
2 8-oz packages cream cheese
0.5 c granulated sugar
1 T vanilla extract
2 large eggs
2 T all-puropse flour
0.75 c evaporated milk
0.5 c sour cream

Beat cream cheese, sugar, and vanilla extract in large bowl until smooth. Beat in eggs and flour. Gradually beat in evaporated milk and sour cream. Pour over crust. Sprinkle with remaining morsels.

Bake 25 minutes at 300 degrees F. Cover loosely with aluminum foil, then bake for an additional 30-40 minutes. Refrigerate immediately for 2 hours or until firm.

Makes 12 to 14 servings.

Enjoy!

IMG_0154

Our second home

house, home, minneapolis

Leaving our first home in Carmel, IN was one of the toughest things about moving. We had just moved all my stuff in the apartment after getting married and were making it ours when we got the call that we were moving to Minneapolis. So, just after unpacking in Carmel, we packed everything back up and loaded the Uhual, making our trek up north on Christmas Day.

Until yesterday we still had a few boxes that had yet to be unpacked, but there is nothing like having people over that gives you a swift kick in the rear to get yourself together and unpack those last boxes….and hang those pictures on the wall…and figure our why that closet door won’t shut… So thank goodness we invited a couple friends over for lasanga last night. It gave us the motivation we needed!

We spent yesterday finalizing our move and making our house a home. Here are some pictures!

home, house, minneapolis

house, home, minneapolis

house, home, minneapolis

house, home, minneapolis

IMG_0236

house, home, minneapolis